Tips for a DIY wedding. Let’s do this! Planning to take on DIY projects at your wedding? Looking for tips and ideas on how to execute on your wedding day? Save money and get creative with these great tips! In this DIY guide, we’re sharing a DIY wedding planning checklist to help you how to plan a wedding on a budget!
Tips for a DIY wedding
- Budget wisely
- Consider the season and venue
- Incorporate your theme, but be flexible
- YouTube and Pinterest, then practice
- Choosing vendors
- Your DIY Projects
- Supplies and emergency kits
- Detailed timeline and lists
- Make it stackable
- Label, instruct and create visuals
- Speak to a pro
- Hire help
This site contains affiliate links. For more info, please see our full disclosure.
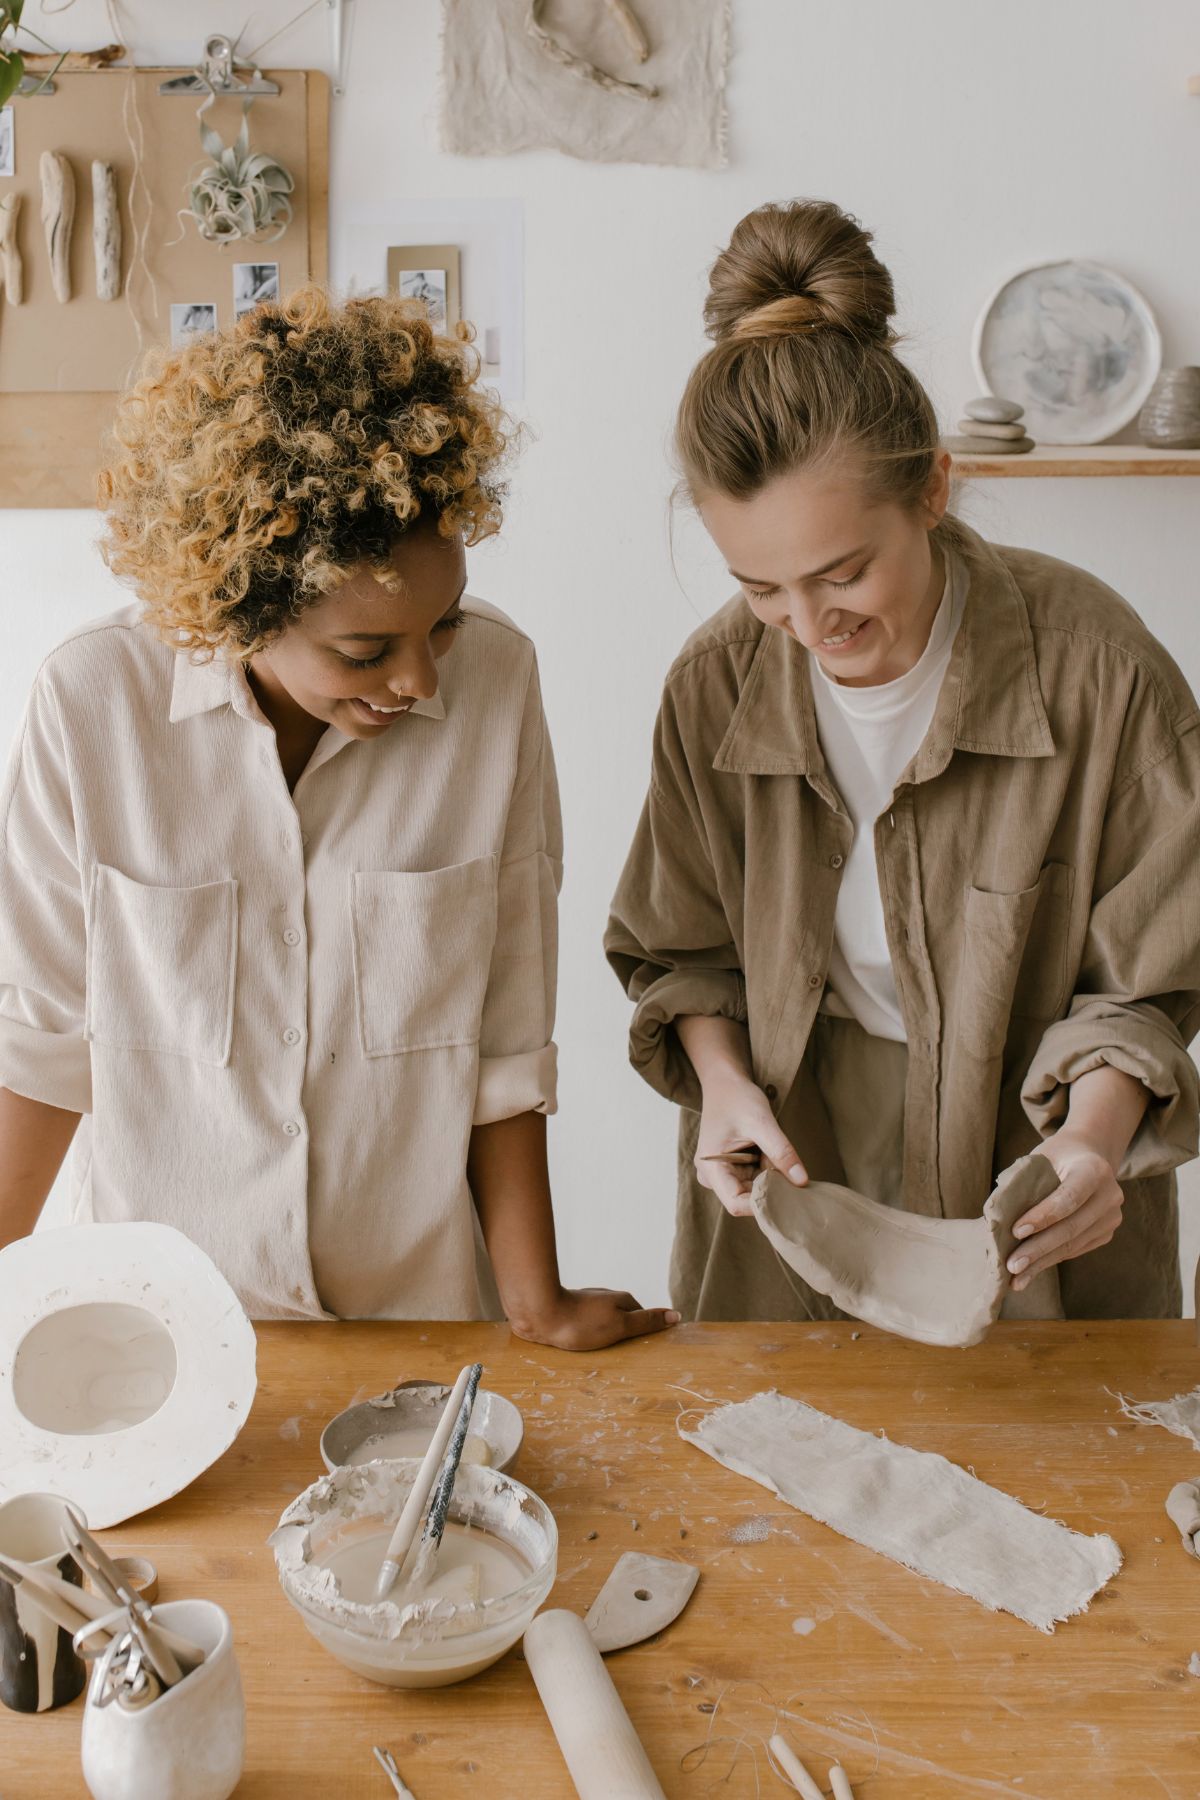
Well, hello there! Let me guess. Planning a DIY wedding? And looking for some DIY wedding tips? You got to the right place! We’ve rounded up top tips that will help you plan your DIY wedding.
DIY-ing a wedding isn’t as easy as everyone assumes it will be. DIY weddings require a lot of time and work, plus assistance and planning/logistics.
Embarking on the journey of planning a DIY wedding is like stepping into a world of creativity, personalization, and a touch of magic. From crafting your invitations to curating the ambiance, a DIY wedding allows you to infuse every detail with your unique style.
** SIDE NOTE: Before committing to a DIY project, it’s important that you evaluate what’s on your plate and estimate how much time it will take you to complete a task.
By the same token, also consider “phantom costs” associated with DIY projects like supplies. packaging, storing, transportation, and most importantly, being open to mistakes and re-doing things, which means you might need to re-purchase things to start over.
Taking on DIY projects can seem one of the ways on how to plan a wedding on a small budget, but also value your efforts. Choose tasks and wedding DIY stuff that will not stress you out!
Do not worry whether you are a DIY enthusiast or an interested newlywed-to-be looking to see if DIY is actually for you; read further, and we will help you out!
Tips for a DIY wedding
1. Budget wisely
Wondering how to plan a wedding on a budget? Budget restriction/s might be one of the main reasons you have decided to DIY your wedding. But it’s not always all about the budget; you are also probably considering creating something that you did yourself to have a more personal impact, not just on your guests but also on yourself and your partner.
We would typically say to set a budget and stick to it. But we also know that this is not always the easiest to do. Also, this depends on how near your wedding day is.
If you have time, you might manage more savings and stick to the budget better. But if you’re 2-3 months before the wedding, there might not be enough flexibility.
Make a priority list and assign a specific range (low and high) of the amount you are willing to spend. Having a working spreadsheet to manage this is key to keeping track of everything.
Based on your priorities, finalize which aspects are a DIY project for you.
For example, a photographer is one of the wedding vendors that we always suggest investing in. Once you’ve agreed to book a pro photographer, that is now something that is not part of your DIY list.
Think about your time as well. Did you “budget” enough time to get your DIY projects done? Is it sustainable for you?
2. Consider the season and venue
This might not be very common advice for tips for a DIY wedding!
Now, if you have already booked a wedding date and a venue, this might not apply to you. But if you haven’t, you might want to consider looking at dates with no harsh weather.
Why? Do you ask? Because if you are transporting lots of things that you have DIY-ed in the middle of winter with thick snow, it might not be the easiest task – not to mention, your products might be compromised by the weather.
In addition to that, consider venues where it will make it easier for you to load in and set up, or better yet, the venues that allow you to set up the night/day before. If they have an extra room they can lend you or even rent, that will be great!
Also, if you are considering planning a home wedding, you might want to consider where you will “store” your DIY things before the wedding
Another thing to add is if you are DIY-ing your entertainment, check for venues that already have built-in speakers so you can easily plug in your playlist or device.
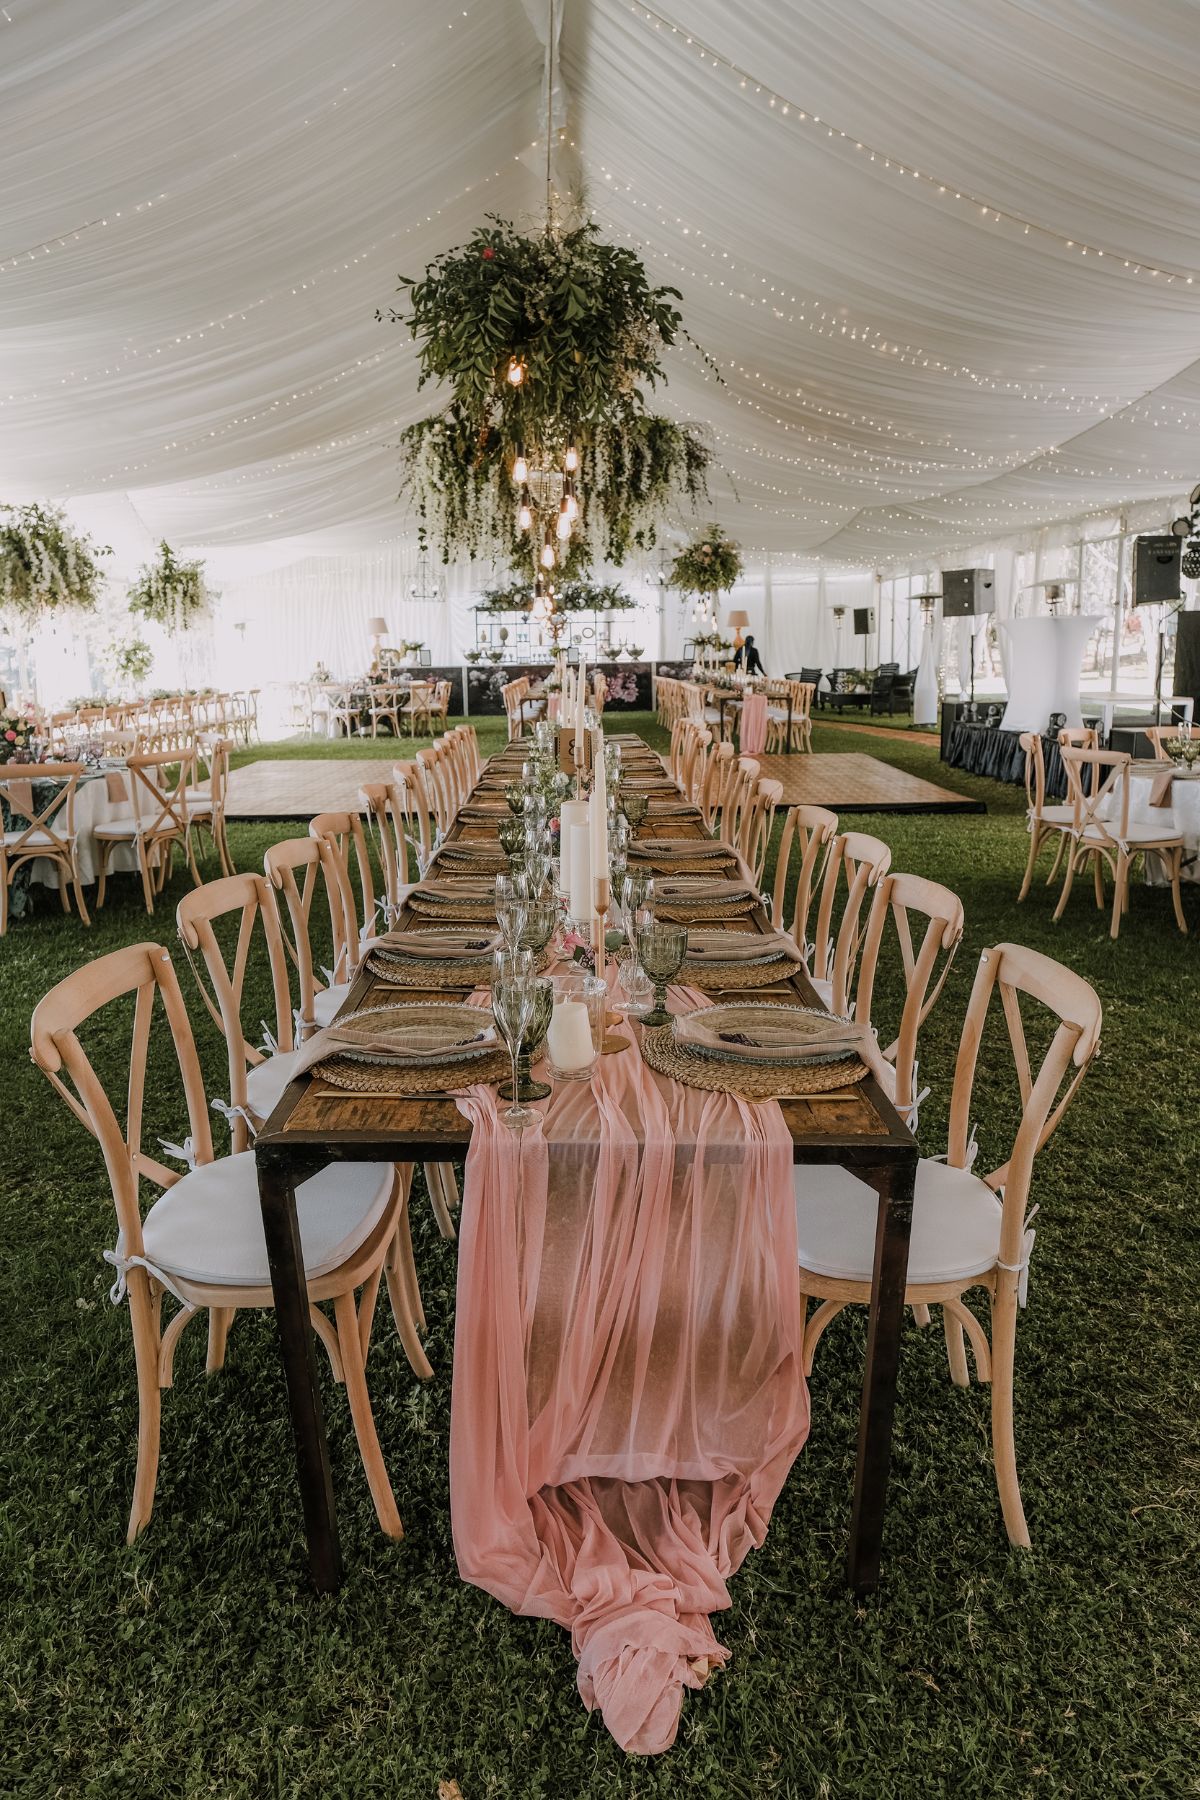
3. Incorporate your theme, but be flexible
This goes without saying that having a theme, color scheme, and vibe is essential to finalizing the details. Just because you wanted to DIY a wedding doesn’t necessarily mean you will have to do everything.
Knowing your theme but being flexible means, you have to consider other options that can produce, if not the same results, something very similar.
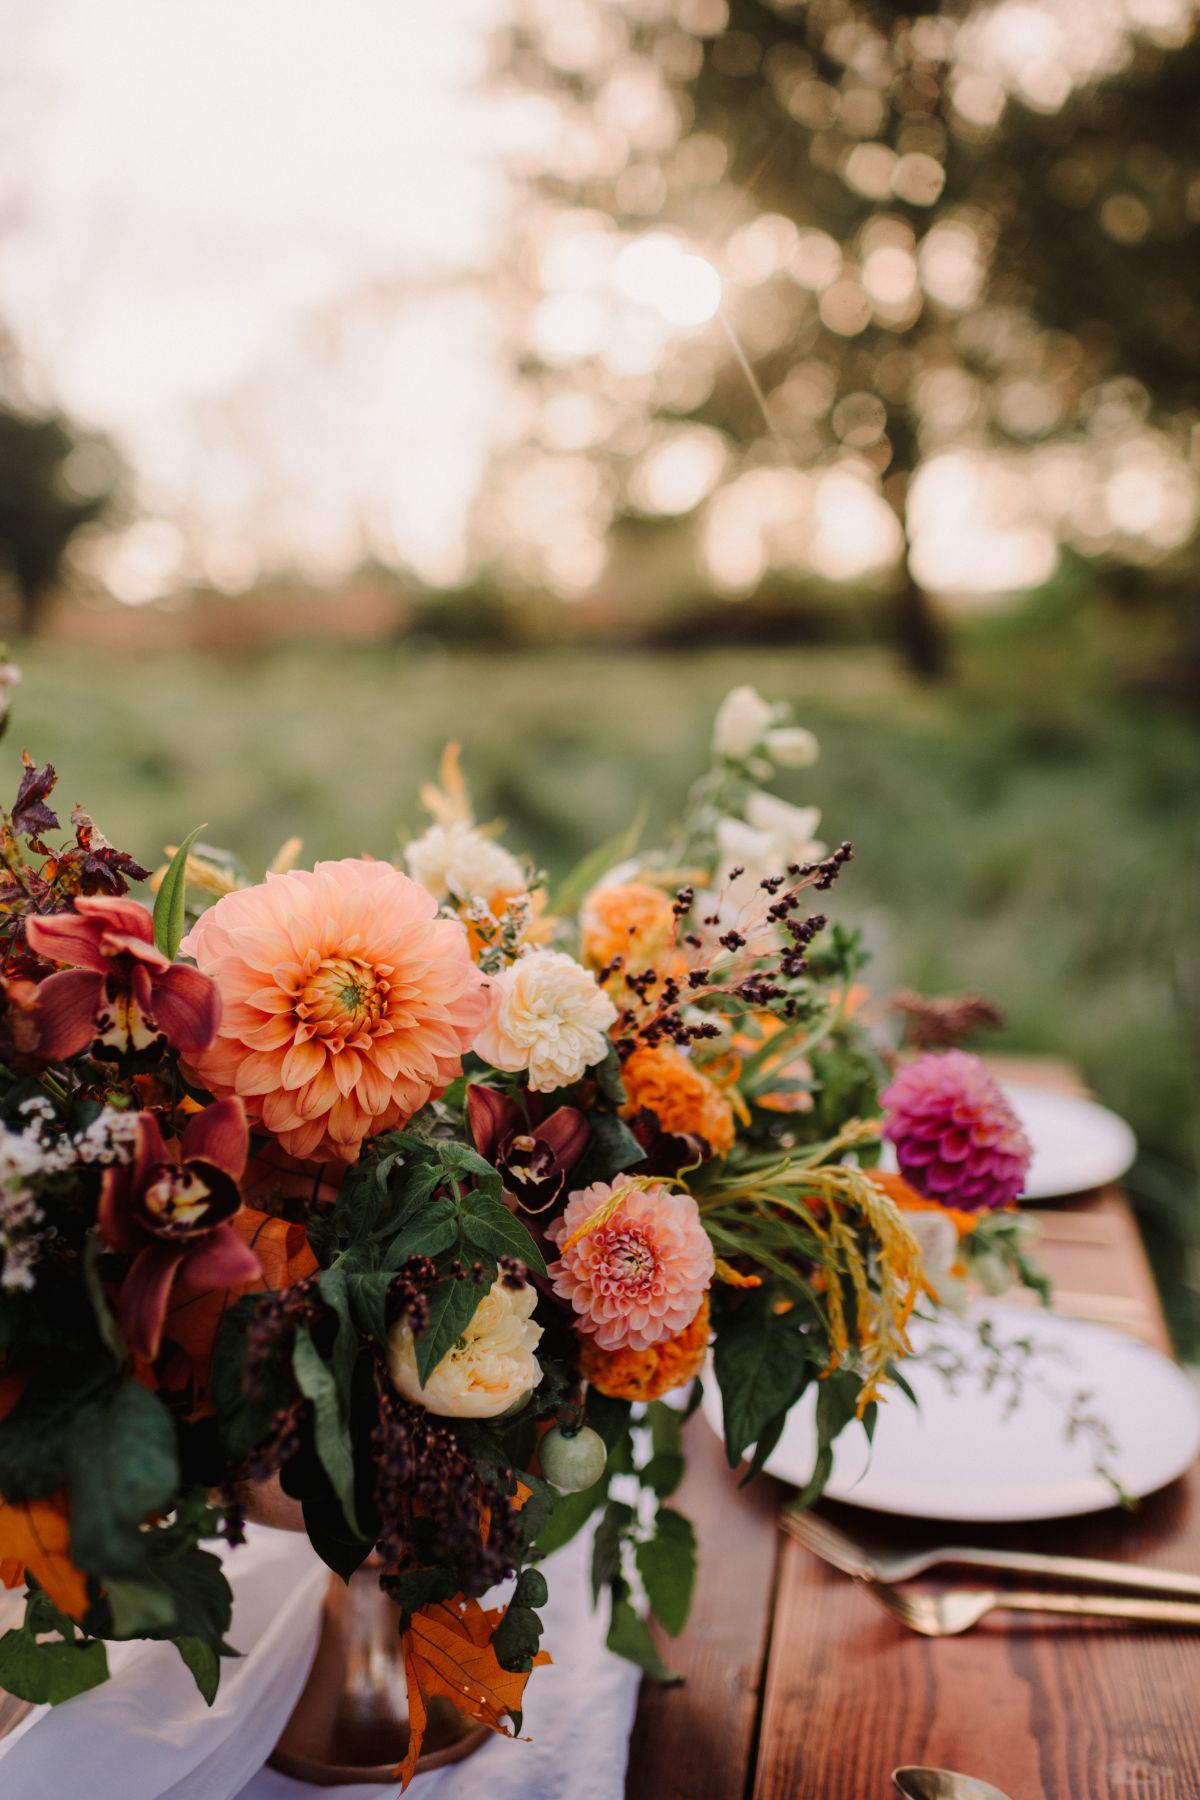
Whether you consider dried flowers (you can order them in bulk!), silk fake flowers, or even grocery flowers, be flexible and open to variations of your original vision.
Considering pre-arranged DIY wedding flowers is also a big help!
Sticking to the budget is important, but so is your time. Choosing which part of your wedding to DIY should also be dependent on what your schedule can handle and how many people will assist you.
Speak to a wedding consultant and share your thoughts; they might have other creative approaches to share with you and share some set-up and logistical challenges you might not have realized.
4. YouTube and Pinterest, then practice
Browse what is out there in terms of tutorials and creative ideas that match your theme. Check on YouTube and Pinterest – make sure you bookmark them and save them on a playlist.
Once you found your top tutorials, start checking out the prices of the materials needed, as well as the time it will take for you to complete it.
Always practice first! “It looks easy!” means it only LOOKS easy because the person who you watched doing it has already done it hundreds of times.
But if you have not done it before, well, it won’t be easy. So give yourself time and get that muscle memory going.

5. Choosing vendors
This is important because let’s be honest, not all wedding vendors will be 100% comfortable with a fully DIY-ed wedding.
The best example is that if you are working with the venue coordinator and might need assistance setting up or packing things after the wedding, don’t be surprised if the venue coordinator is not very open to doing all those.
This is not because they are not helpful, but because it is hard to assume responsibility for things you have not built or have no idea how it’s built.
For example, if you DIY-ed some silk arrangements, geometric shapes, and candles as table centerpieces and asked someone to set it up and accidentally drop or break one of them, they won’t know how to fix it because they didn’t make it.
Another tip to consider for a DIY wedding is the stress factor. Compare this if you have hired a vendor who rents candles and geometric shapes; if they accidentally drop or break it, they would know how to fix it, or better yet, they would have extra inventory to replace it.
So you won’t need to “stress” or think about it. Instead, check back and go over your priorities list again and determine what is most important to you and your partner.
If you are to DIY a wedding, ensure that you communicate these to your vendors from the get-go.
If you have some favors or assistance needed that is not usually part of their contract, be prepared to hear some noes. But don’t worry, we got some more tips in this article on navigating around this challenge.

6. Your DIY Projects (heavily consider this as one of the most important tips for your DIY wedding!)
This part is a longer discussion, and we have broken it down based on what is usually DIY-ed at a wedding to address each of them and discuss tips for it.
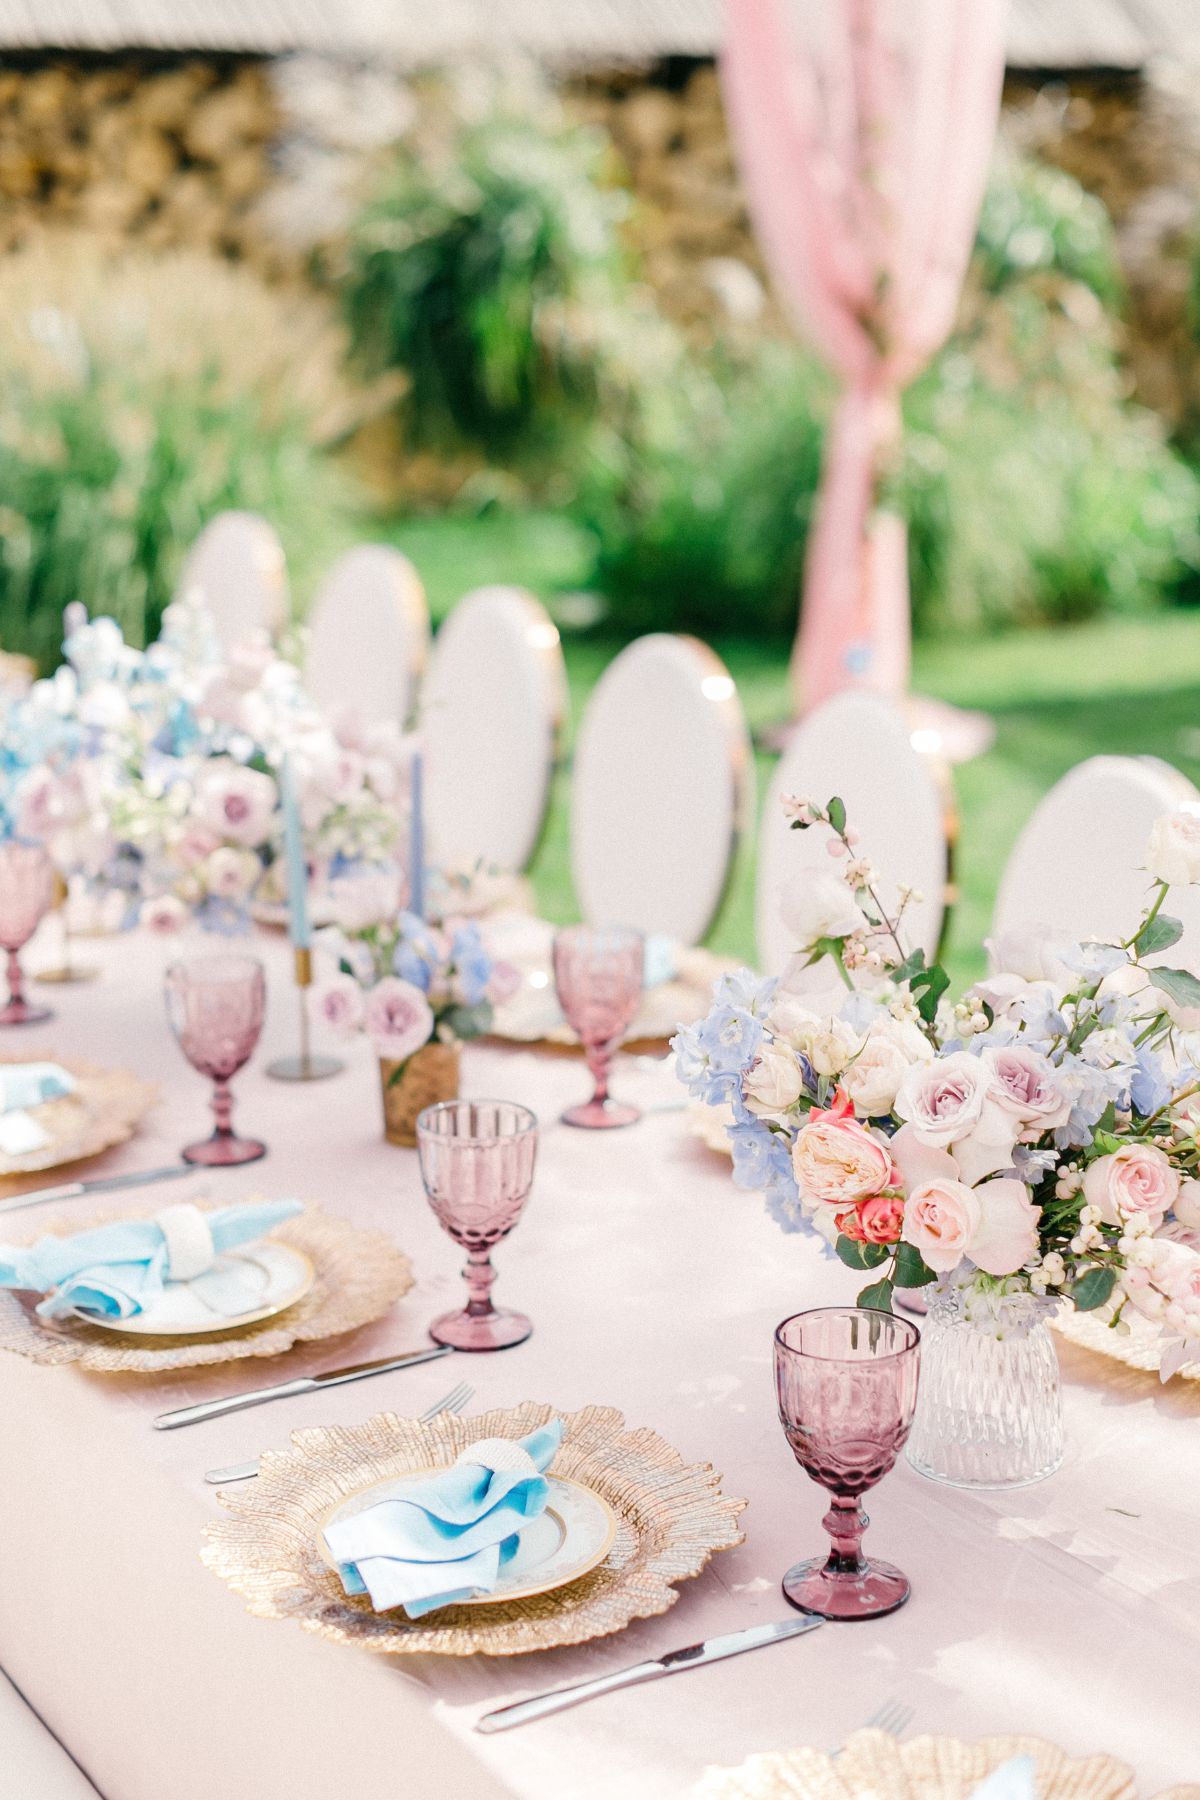
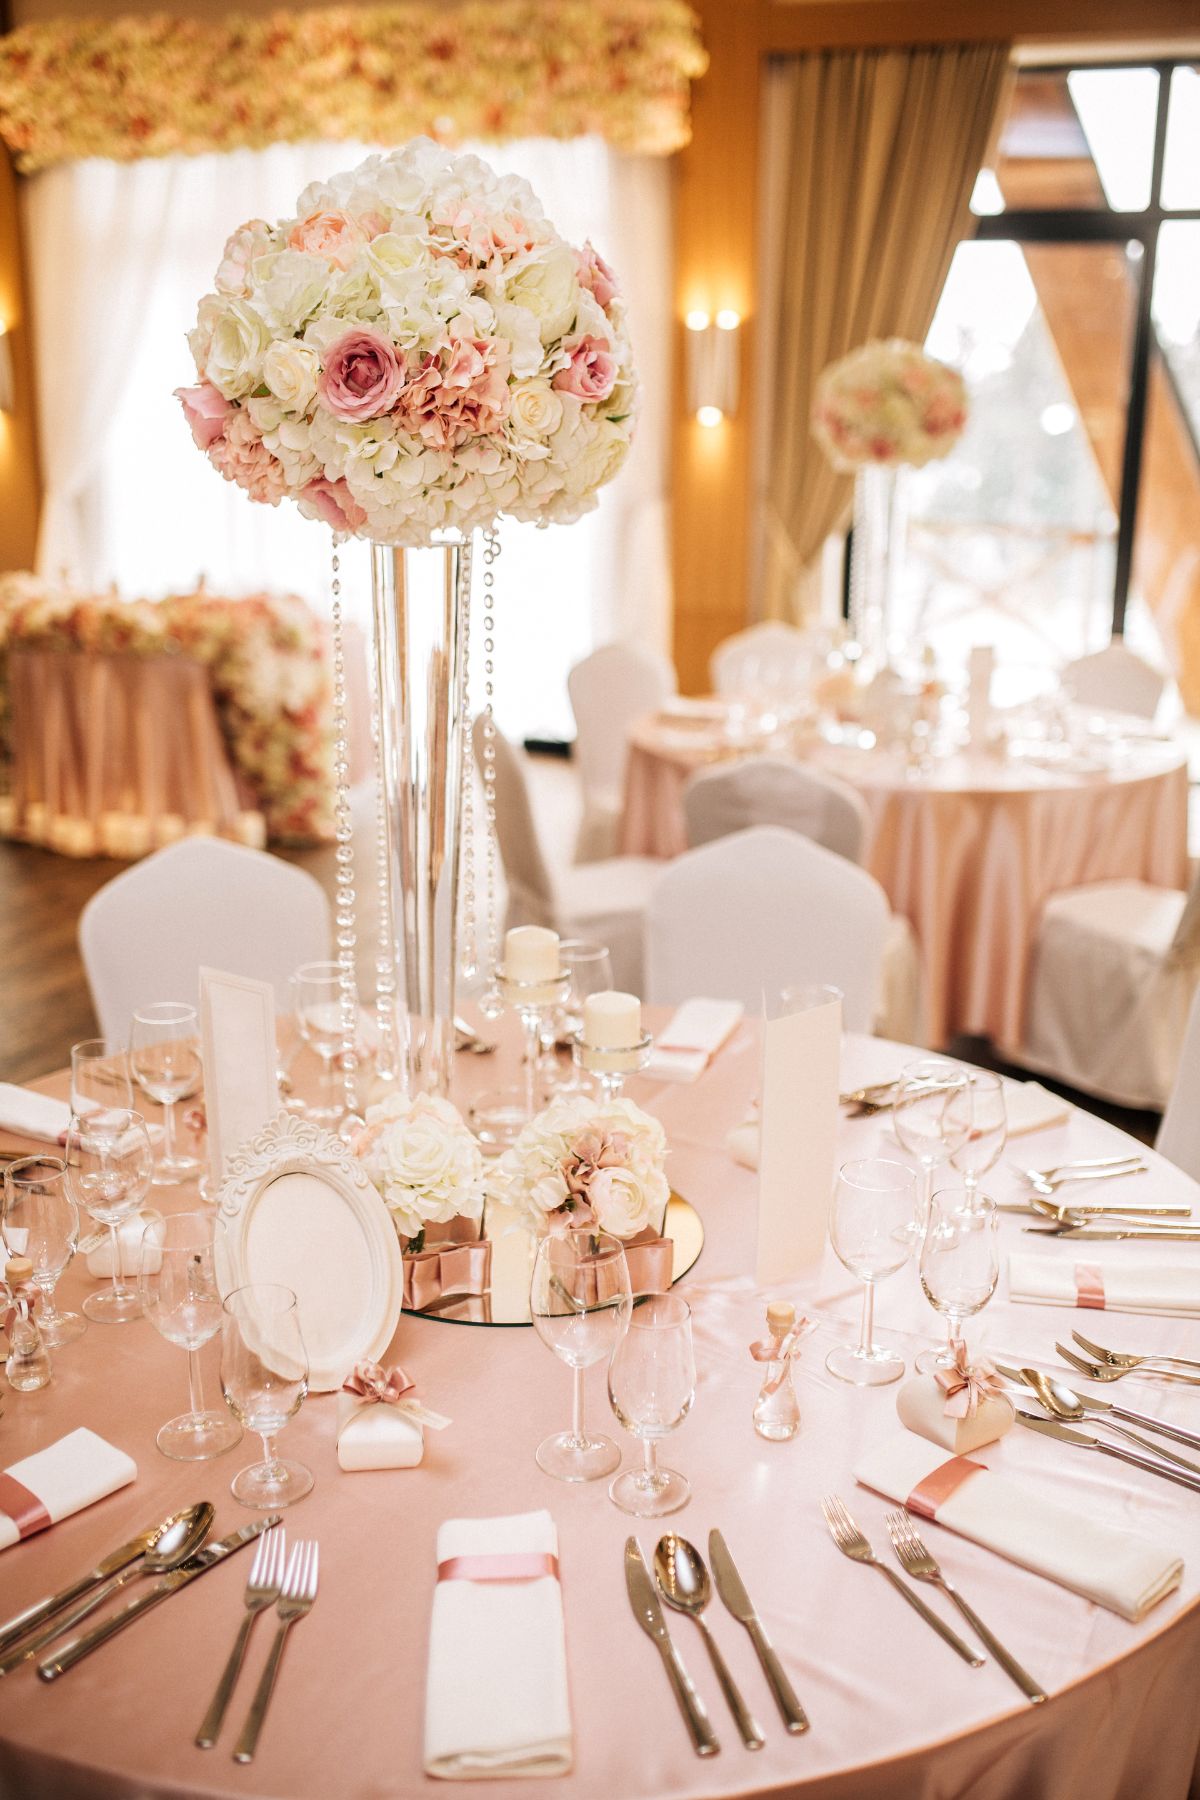
** CENTERPIECES
This is the most common part of the DIY-ed wedding, as flowers can add up pretty quickly and get pricey. When choosing a DIY centerpiece, ensure that it is straightforward to repeat. This means, whoever it is that is helping you set it up will follow the instructions easily.
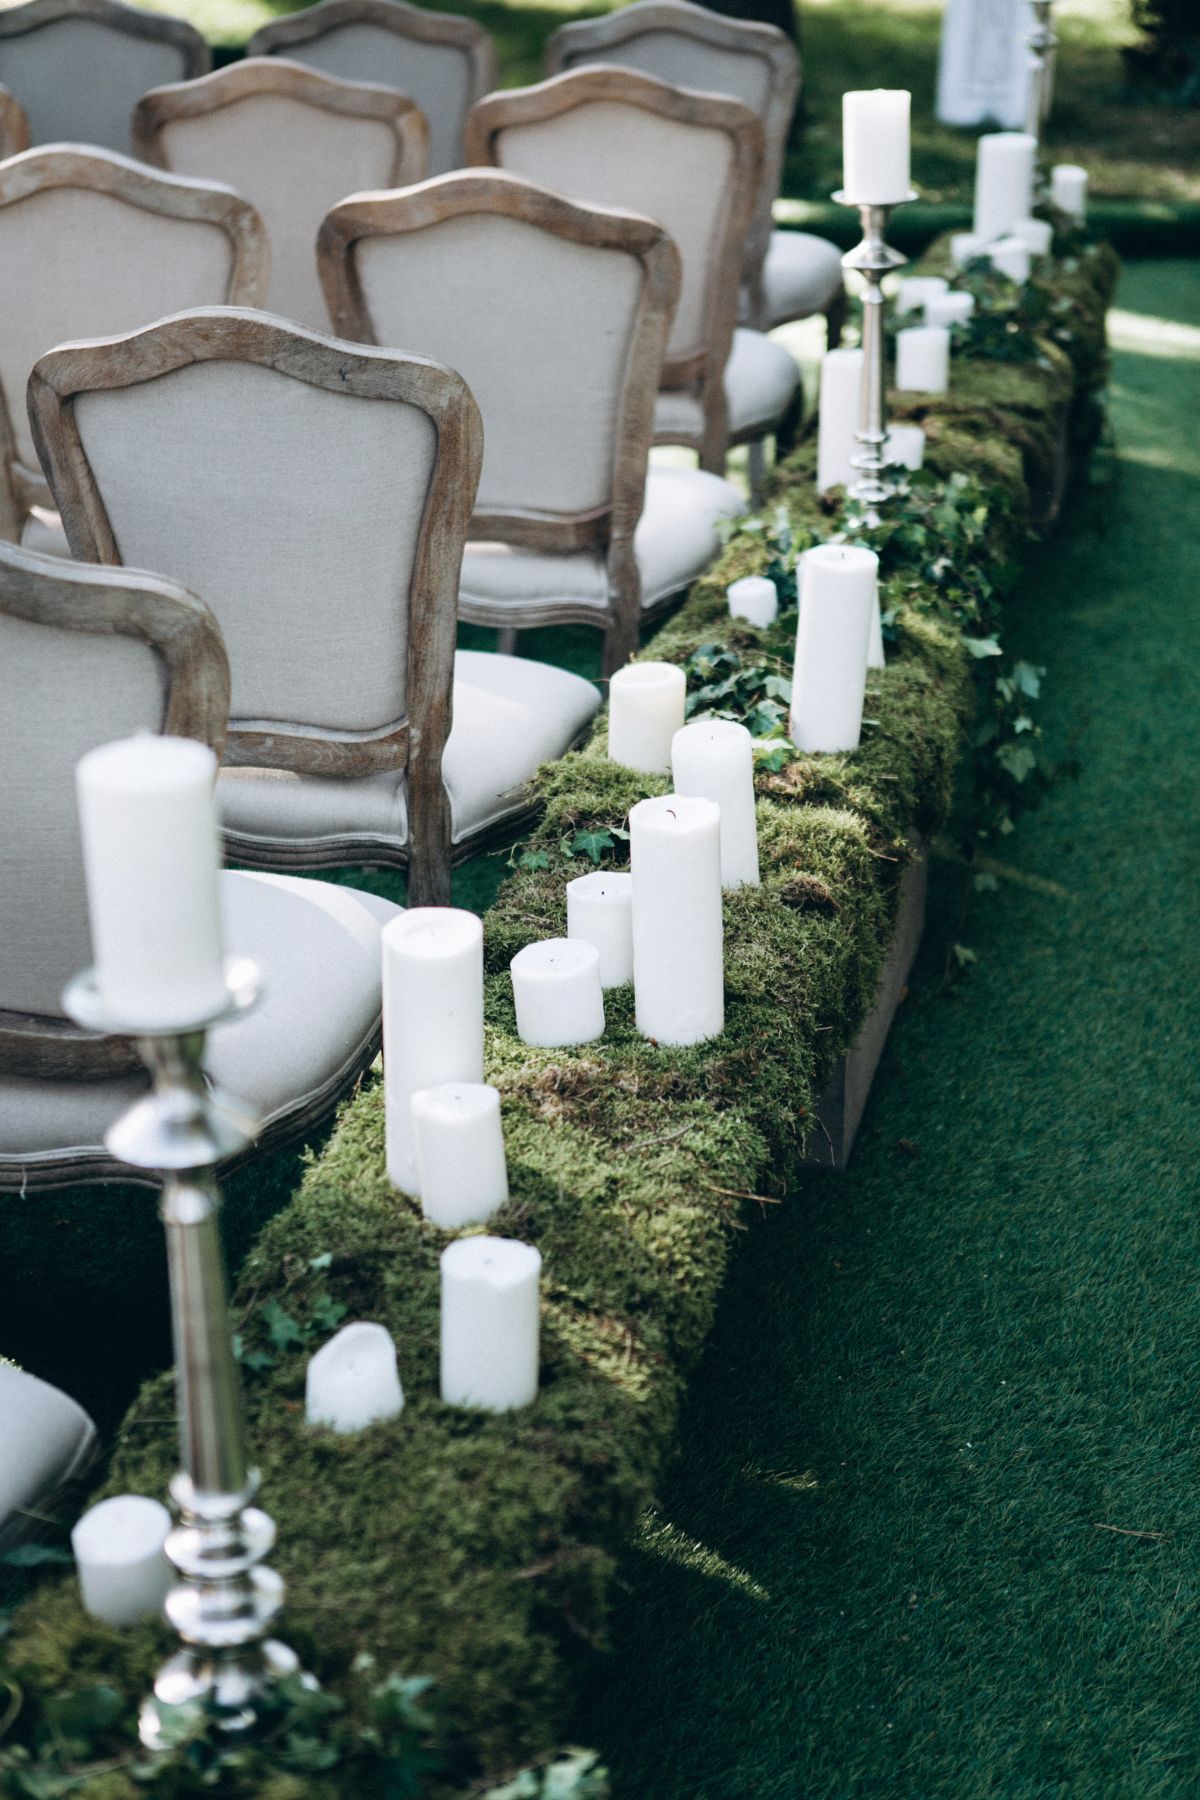
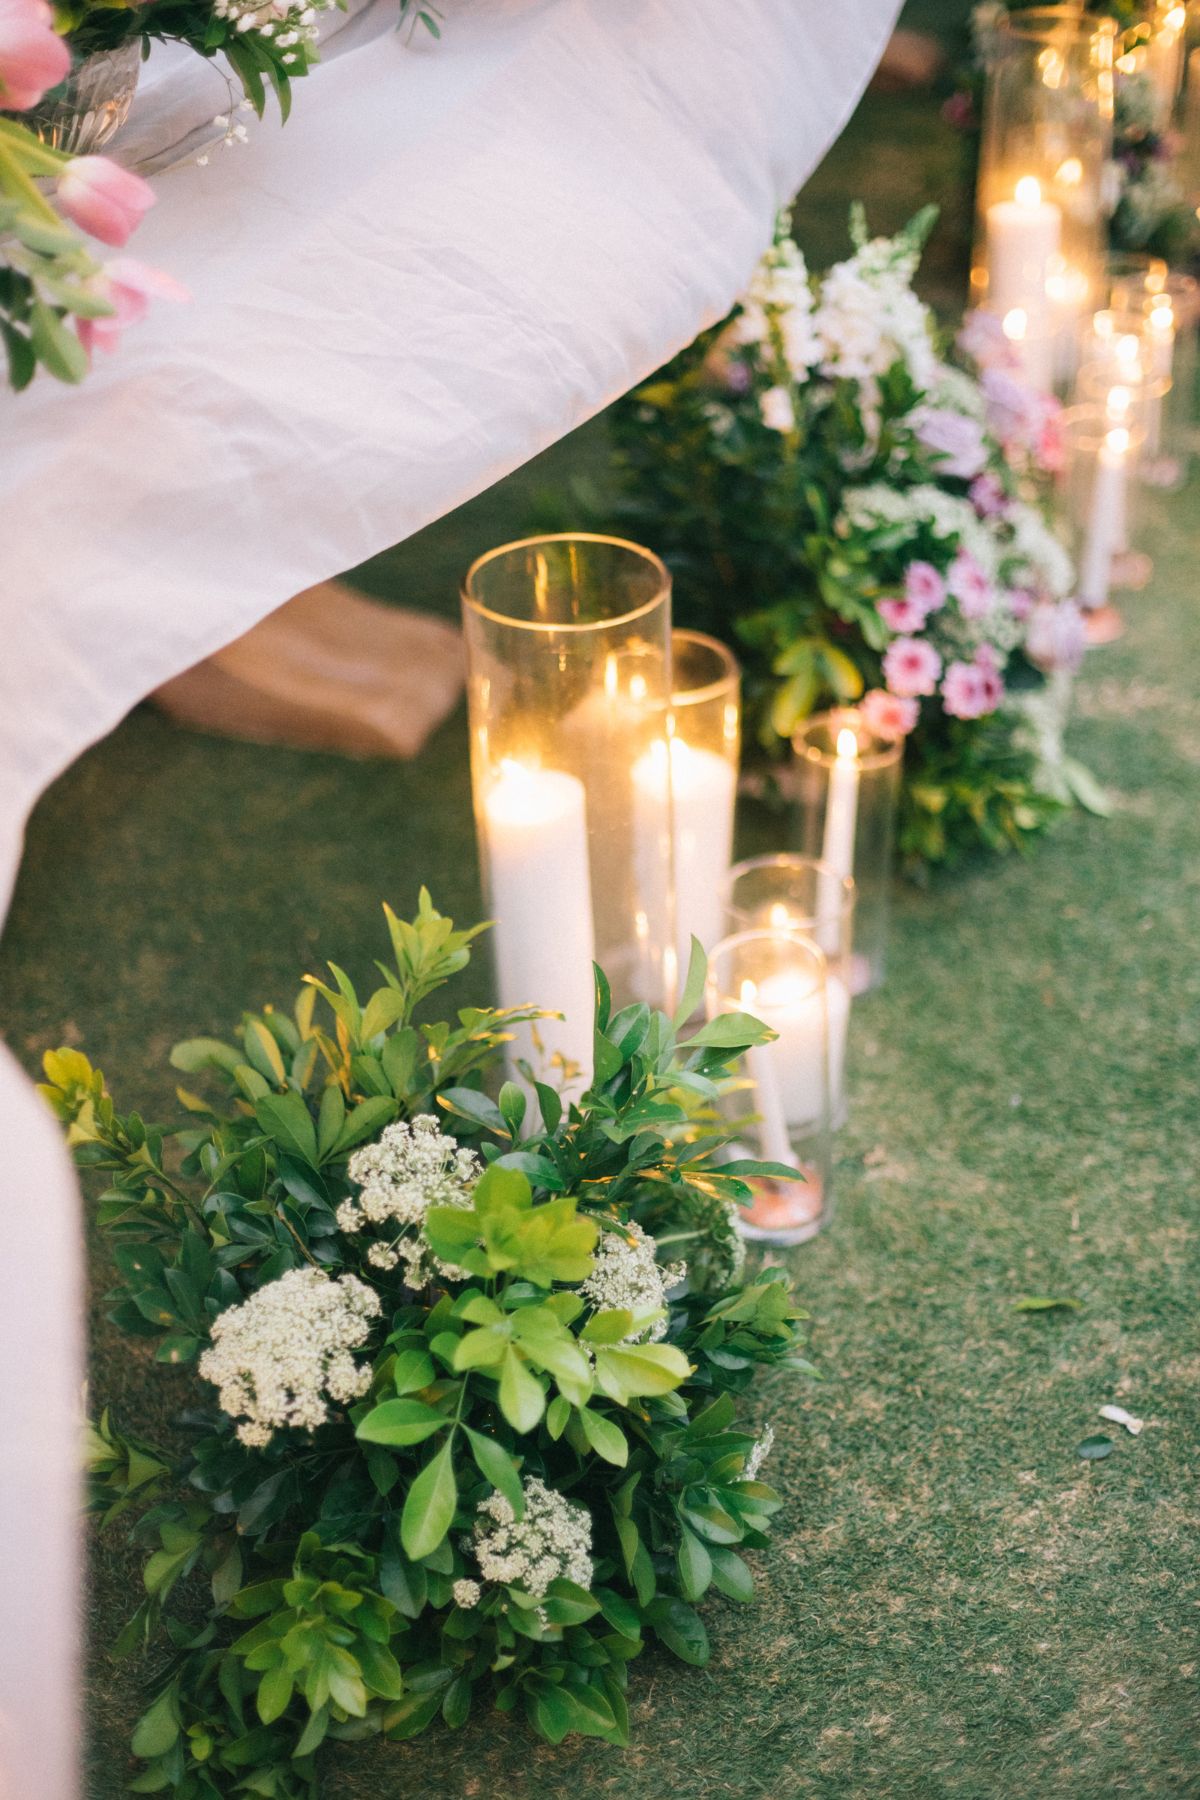
Here are easy DIY wedding centerpiece ideas that you can incorporate. Candles, greenery, cherry blossoms, hydrangeas, potted plants/herbs, and dried flowers are some of the easiest choices to DIY.
Now we didn’t say floating candles; we mean regular candles, preferably votives in different sizes. Don’t underestimate the work needed to execute a vase centerpiece with a floating candle! Fill vases with water and then put the candle on top.
To fill the vases with water, you will need multiple trips to the kitchen/bathroom to fill water, and after, you will have to wipe them individually so there’s no dripping. It can get pretty labor-intensive. Yeah? Lots of work, right?
** PRE-BUNDLE AND PRE-CUT
PRE-BUNDLE AND PRE-CUT your choice of arrangement, whether faux, dried, or fresh flowers, is the key to speeding up and not stressing to pre-bundle and pre-cut them beforehand.
MEANING cut them to the vase’s size that you will put them in, and pre-bundle them using a pipe clear to make it easier to set up on-site. Label the bags with where and how to place them to make it easier for whoever is assisting you.
NO FUSS, NO MESS. Faux and dried flowers, you can pre-arrange months before. Fresh flowers will have to be assembled 1-2 days before.
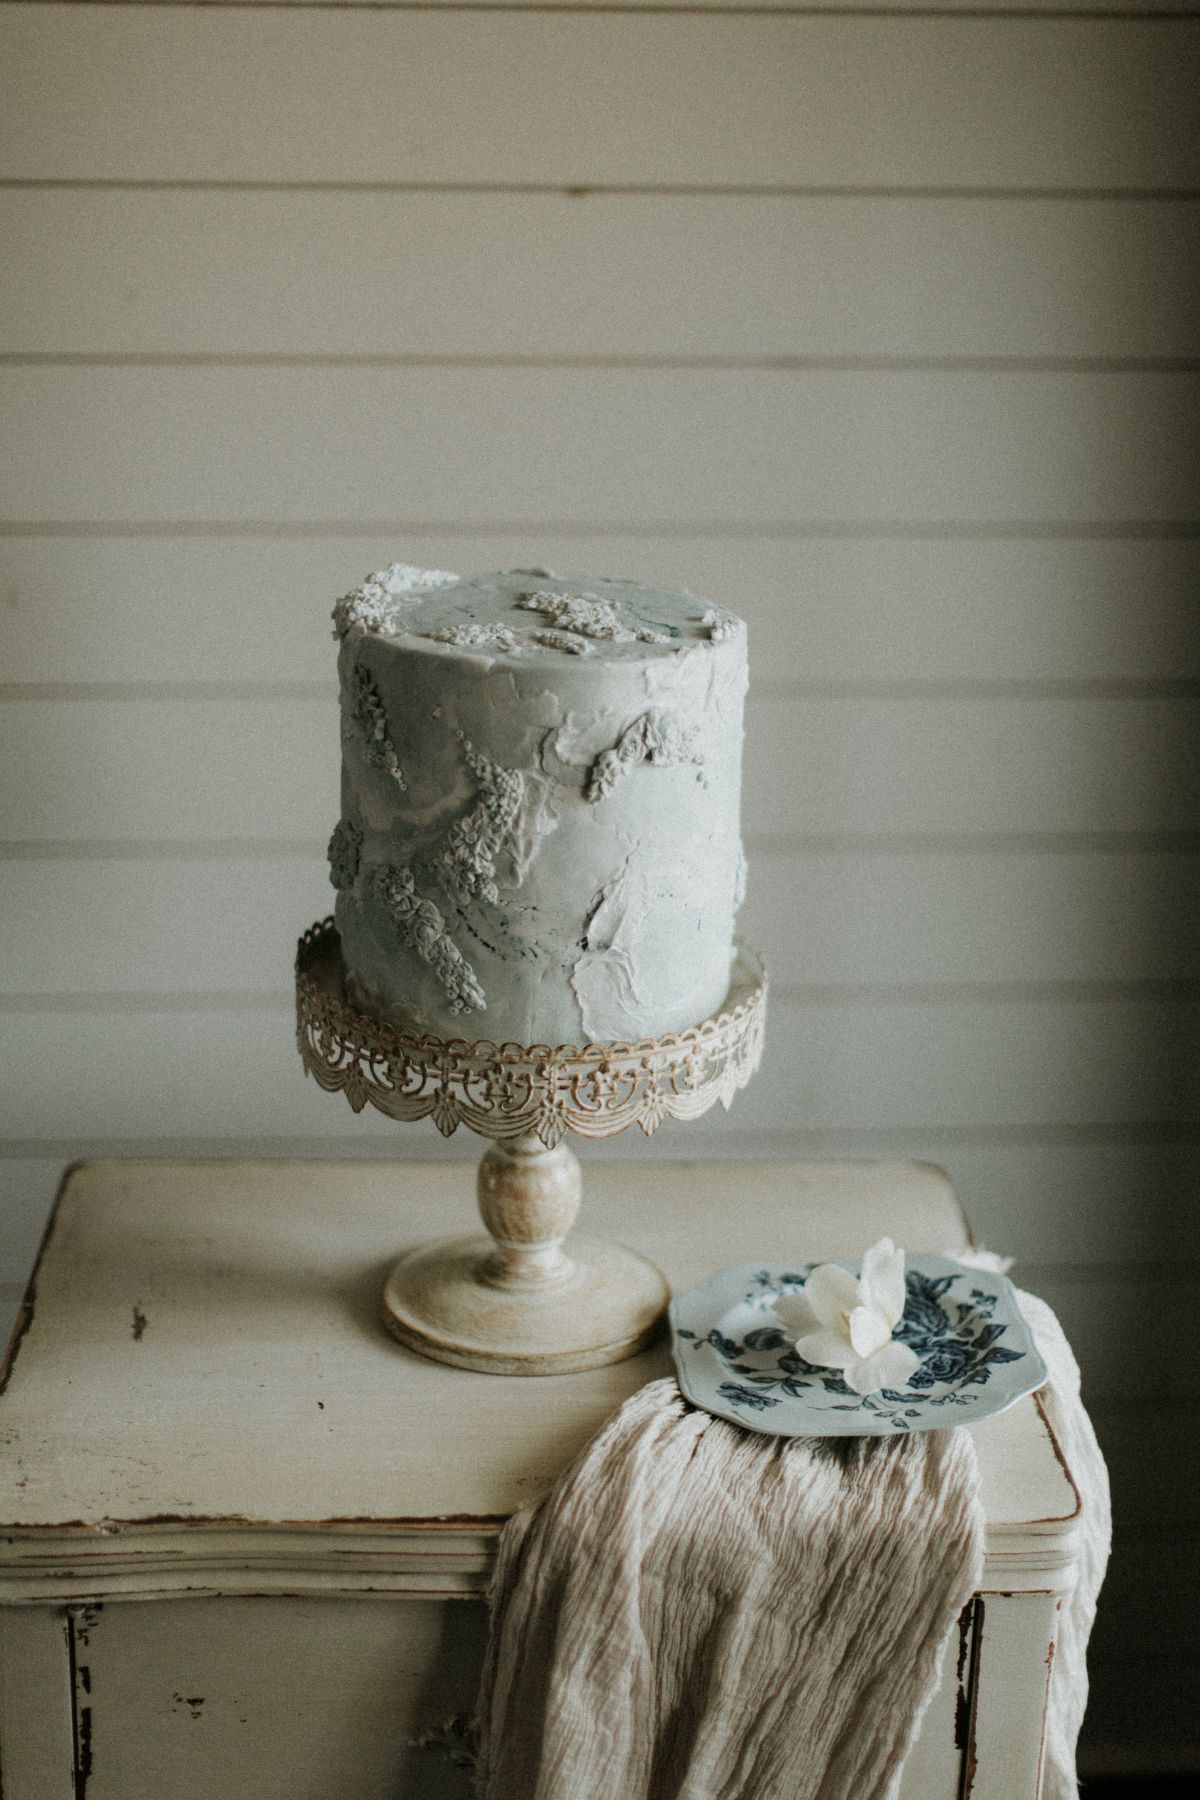
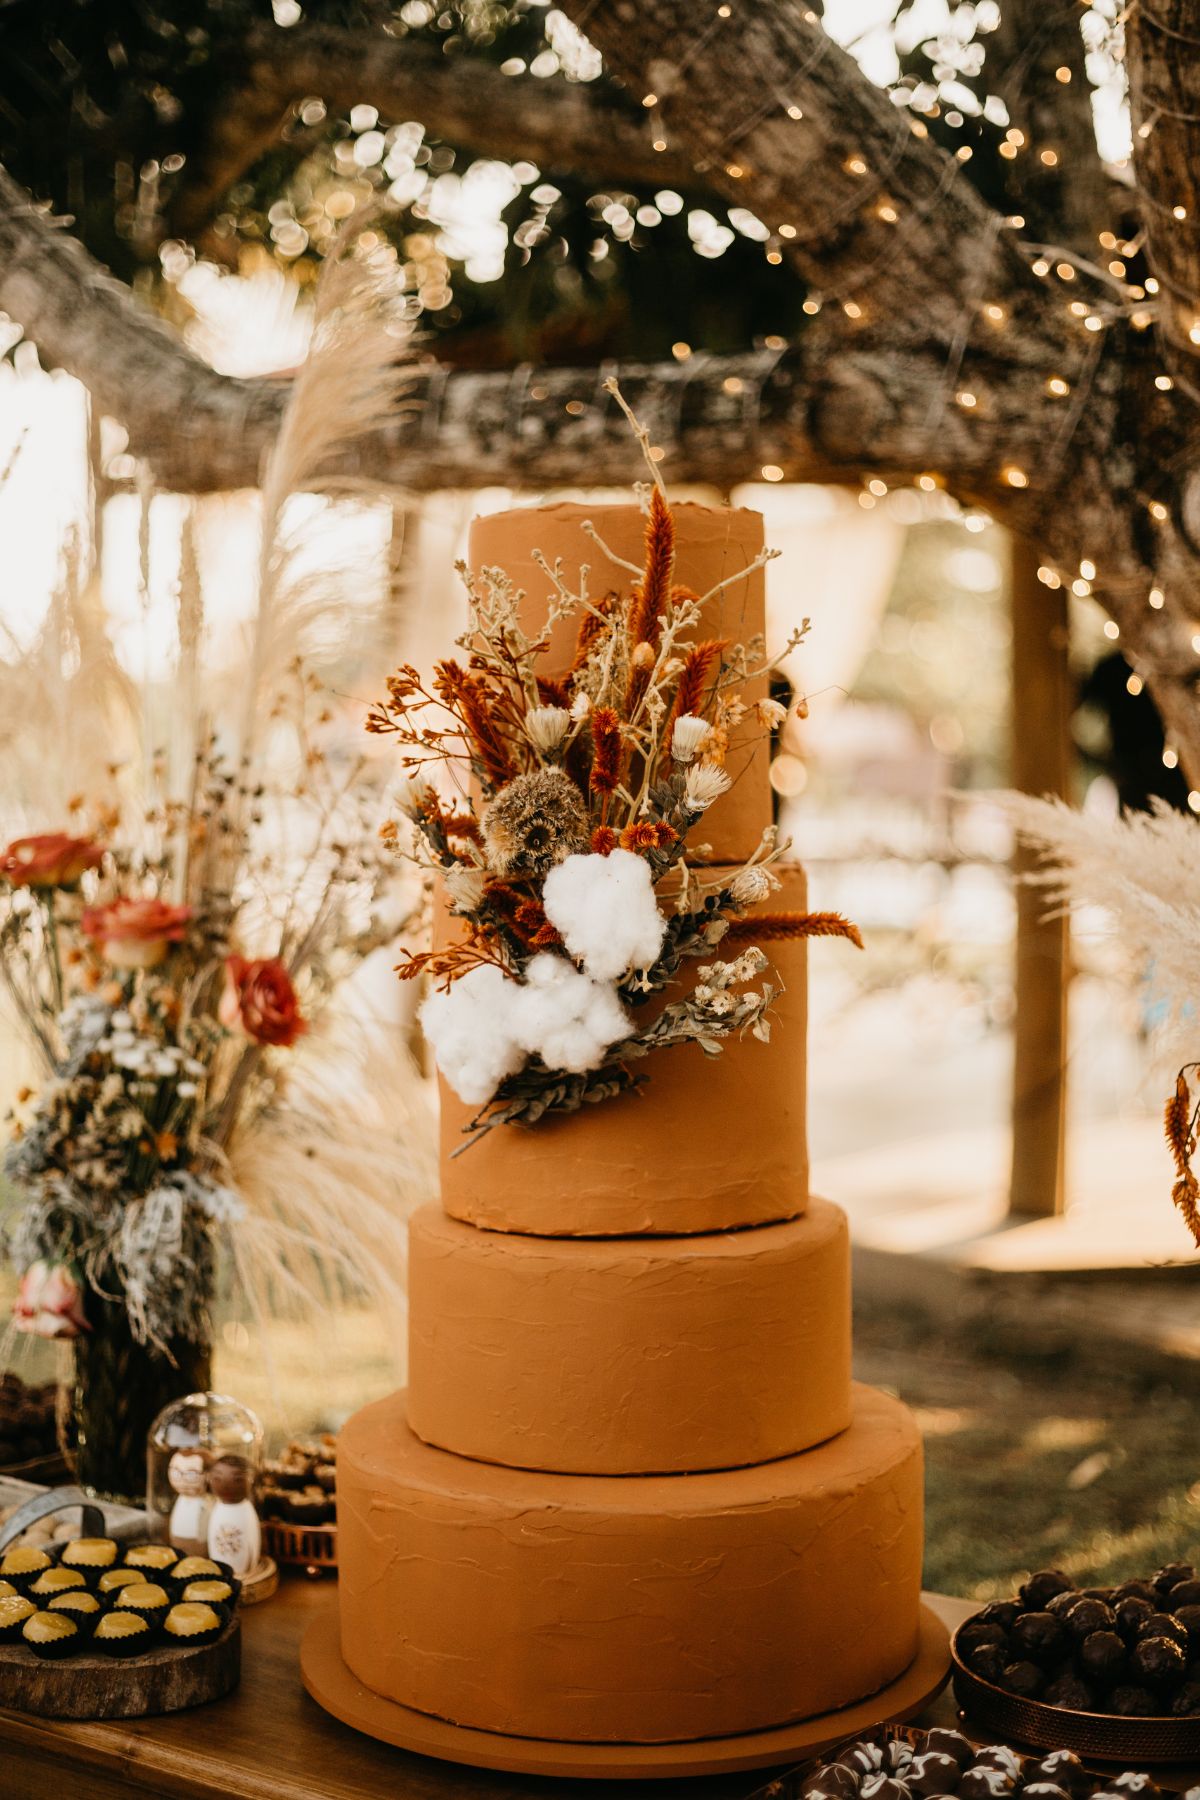
** THE CAKE AND TREATS
Now you might have to bring your cake, whether it’s store-bought or you baked it yourselves, transporting them might be trickier than you think.
A great tip for a DIY wedding cake/treat is to ask your venue if you can leave the cake in their fridge the day before for storage. Transporting these baked goods together with the rest of the DIY-ed things will be a major challenge. (remember we said to choose a venue that can accommodate DIY weddings?)
You can also always choose to create a display cake only, or use wedding cake alternatives altogether.
** PROPS AND OTHER DECOR
Whether you’ve planned a DIY wedding booth, a DIY wedding bar, or something similar, always speak to your wedding venue and see what they can hold or keep for you beforehand.
Choose pretty sturdy props. Even a DIY photo booth will be so much fun!
For example, if you plan to do your own wedding sign or seating chart, make sure to choose thick cardboard so it will hold up on its own when you stand them or place them into an easel.
If this sign is set up beside the door, there might be a lot of breeze and traffic coming through that might knock it over. If it is sturdy, it won’t be blown away easily. Add extra safety measures by taping it (on the back) to the easel.
** ENTERTAINMENT
You might have considered DJ-ing your wedding, which we think is fair; depending on your wedding vibe and the number of people, this is doable. Entertainment and activities in place will also help keep your guests engaged.
** FAVORS AND GIFTS
You can get these pre-packaged gifts before the wedding. It will be much more manageable if you have favors that are non-perishable, so you can check this off your to-do list as soon as possible and store it away.
Another easy and cheaper way to go about this is to consider beautiful cookie wedding favor.
** INVITATIONS AND STATIONERY
Depending on the detail you want on your invitations and stationery, this part might be the easiest to DIY.
You can DIY the design and browse templates from websites like Canva and use pre-designed templates. Cutting and trimming stationery is much more labor-intensive than we assume it will be! But if you are interested in some templates, you can download them free here.
To make this extra extra easy, digital email invitations will save you a ton of time and money. Not to mention how easy it will be for your guests to RSVP, and for you to track them.
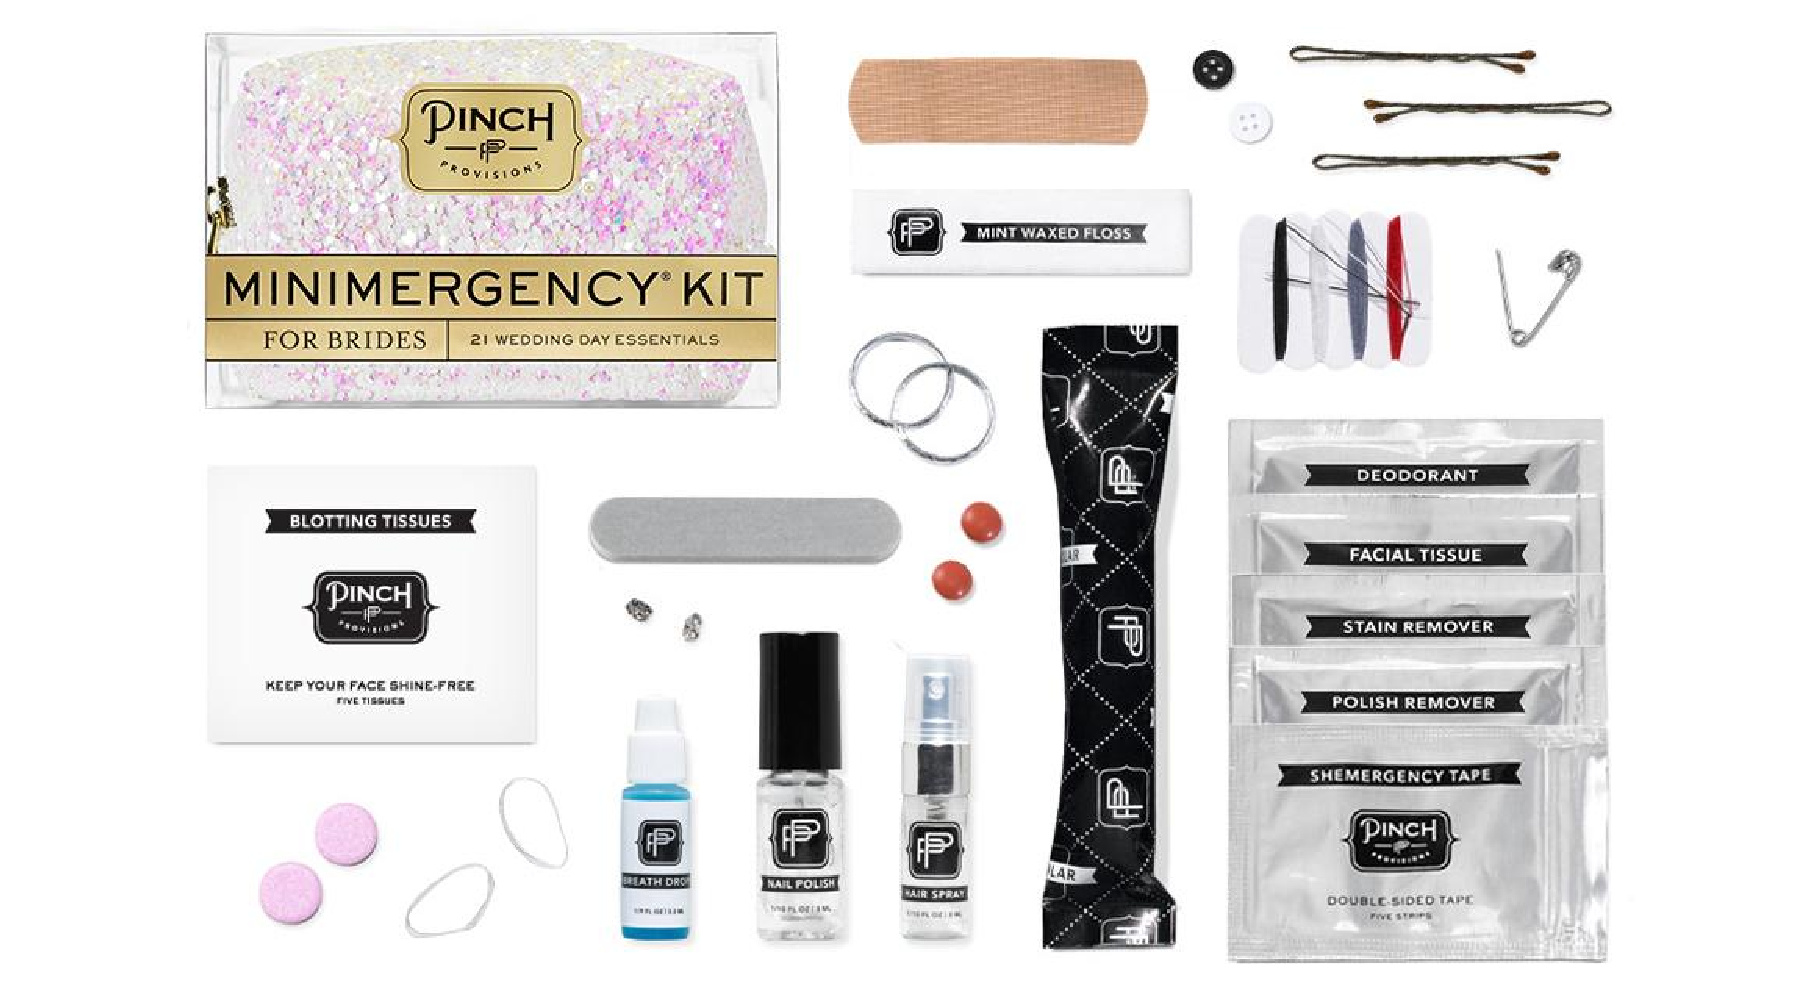
7. Supplies and emergency kits
This is probably the last thing you would like to worry about at your wedding, but a tip for a DIY wedding that you don’t want to ignore has the necessary kits.
If you are DIY-ing your wedding, it means there won’t be a lot of wedding pros hanging around to check on things and fix them. Having a craft and emergency kit will help you assign fixing to someone and have them use your kit.
The supplies kit can include a glue gun, masking tape, green tape (this is important if you are taping something to the wall!), scissors, a mini sewing kit, safety pins, etc. It will be best to include some supplies you used in your DIY projects; it can be pipe cleaners, pliers, wires, etc.
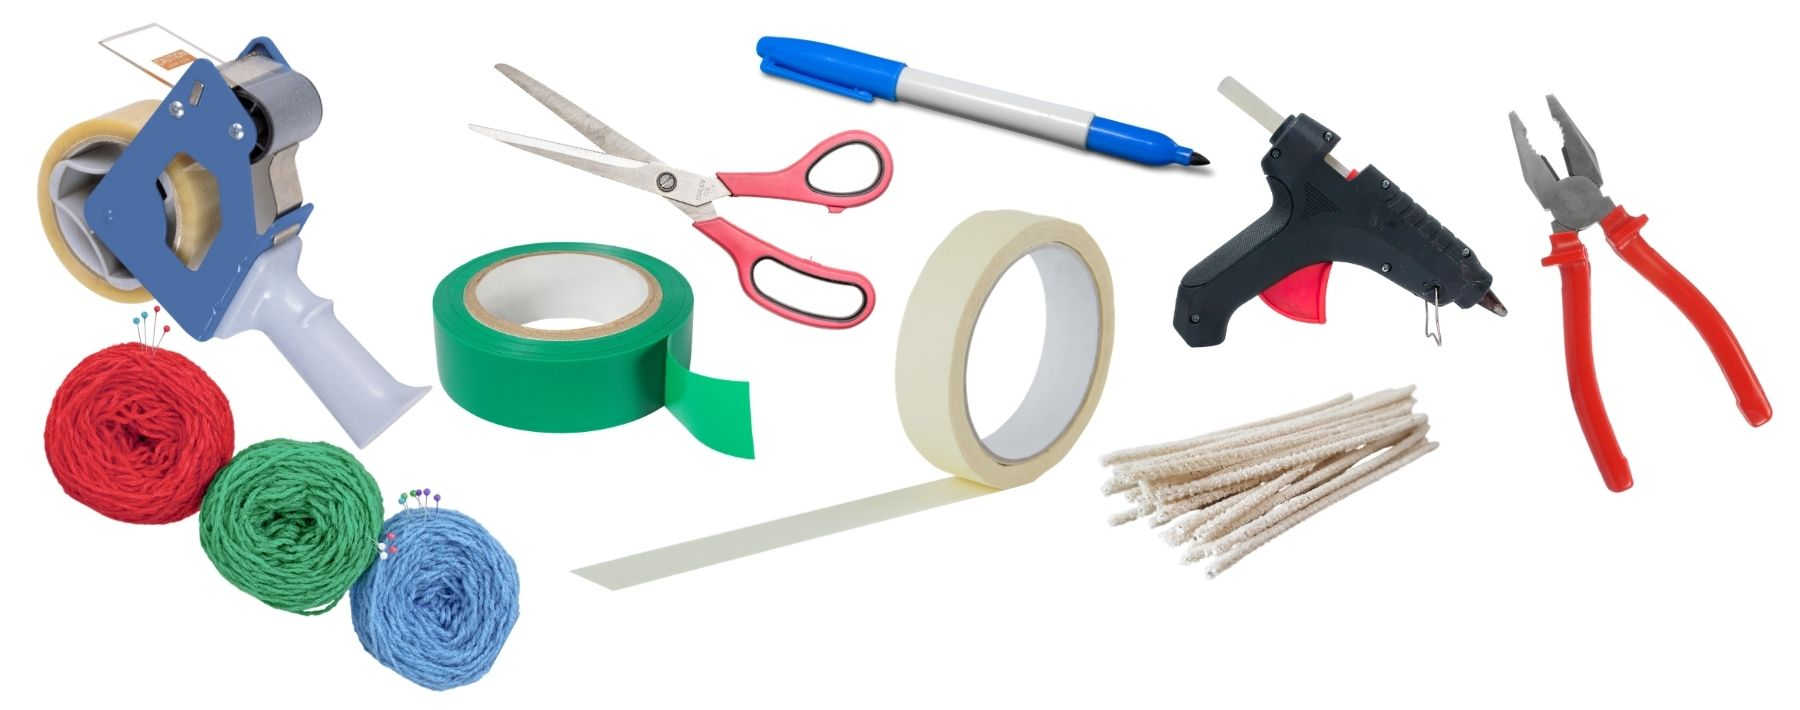
An emergency kit can include bandaids, alcohol, sanitizers, etc. Especially when you are fixing your DIY things, anything can happen.
Now for the box of extras, we don’t always suggest this but have an extras box. DIY-ing requires more back-ups than usual. Extra dress, shoes, nail kit, hairpiece earrings, rings, anything you can get extra but at a much lower cost (craft store).
The extra dress can be a regular white dress you found that’s under $50, just something to have just in case.
Another good tip for a DIY wedding is to have an “Extras Box.” For example, if you have DIY-ed your bar (maybe a sangria bar?), you might want some extras or a few things. The same with treats will help to have some of those lying around.
Towards the end of the wedding, when you think you are good with everything, you can either serve them as well or keep them for yourself or your family!
8. Detailed timeline and lists (one of the most important tips for a DIY wedding)
Creating a timeline (together with your wedding timeline!) for each DIY task will help you get organized and make the wedding planning process easier.
Add all details in your timeline enlisting all the things you need to bring/do/finish – a very important thing to remember from these tips for a DIY wedding. Ensure that your timeline shows what is being worked on at a specific time. This way, they know that they have to wait for linens or runners, before putting the centerpiece on the table for example.
Yes, a DIY wedding planning checklist will be helpful. This is separate from your actual wedding planning checklist.
If you have people helping you, you can assign their tasks on the timeline to know when they should be arriving and what they will be doing.
Share this timeline with your venue coordinator and other vendors. This way, they know how to work around the setup.
For example, if the venue loading is through the back of the kitchen, schedule enough time to load everything in before you schedule the next vendor to load in to avoid crowding at the loading area.

It will make your life 10 times easier if you have these guides to make people you are working with and help you independent enough to set up and help themselves so you won’t have to babysit.
If you have the same DIY items that you would like to take home after the wedding, be sure to include this on your timeline and detailed lists. So nothing valuable gets left behind.
Specific plans or other details per table are also helpful with the help of a seating chart.
9. Make it stackable
When packing your finished DIY projects, it will be easier if they are stackable. Even if they are not, put them in a box where it will be easier to stack them. When loading and unloading, stacked boxes are much easier to navigate around.
Renting or using a van with a flat floor area will make your life and the people helping you out much easier. Of course, you have to label the fragile items accordingly and even make another trip for them if needed.
10. Label, instruct, and create visuals
You will most likely have people helping you, and to avoid chaos and tons of questions, having a detailed label with instructions and visuals, will make it easier to “get” what their task is.
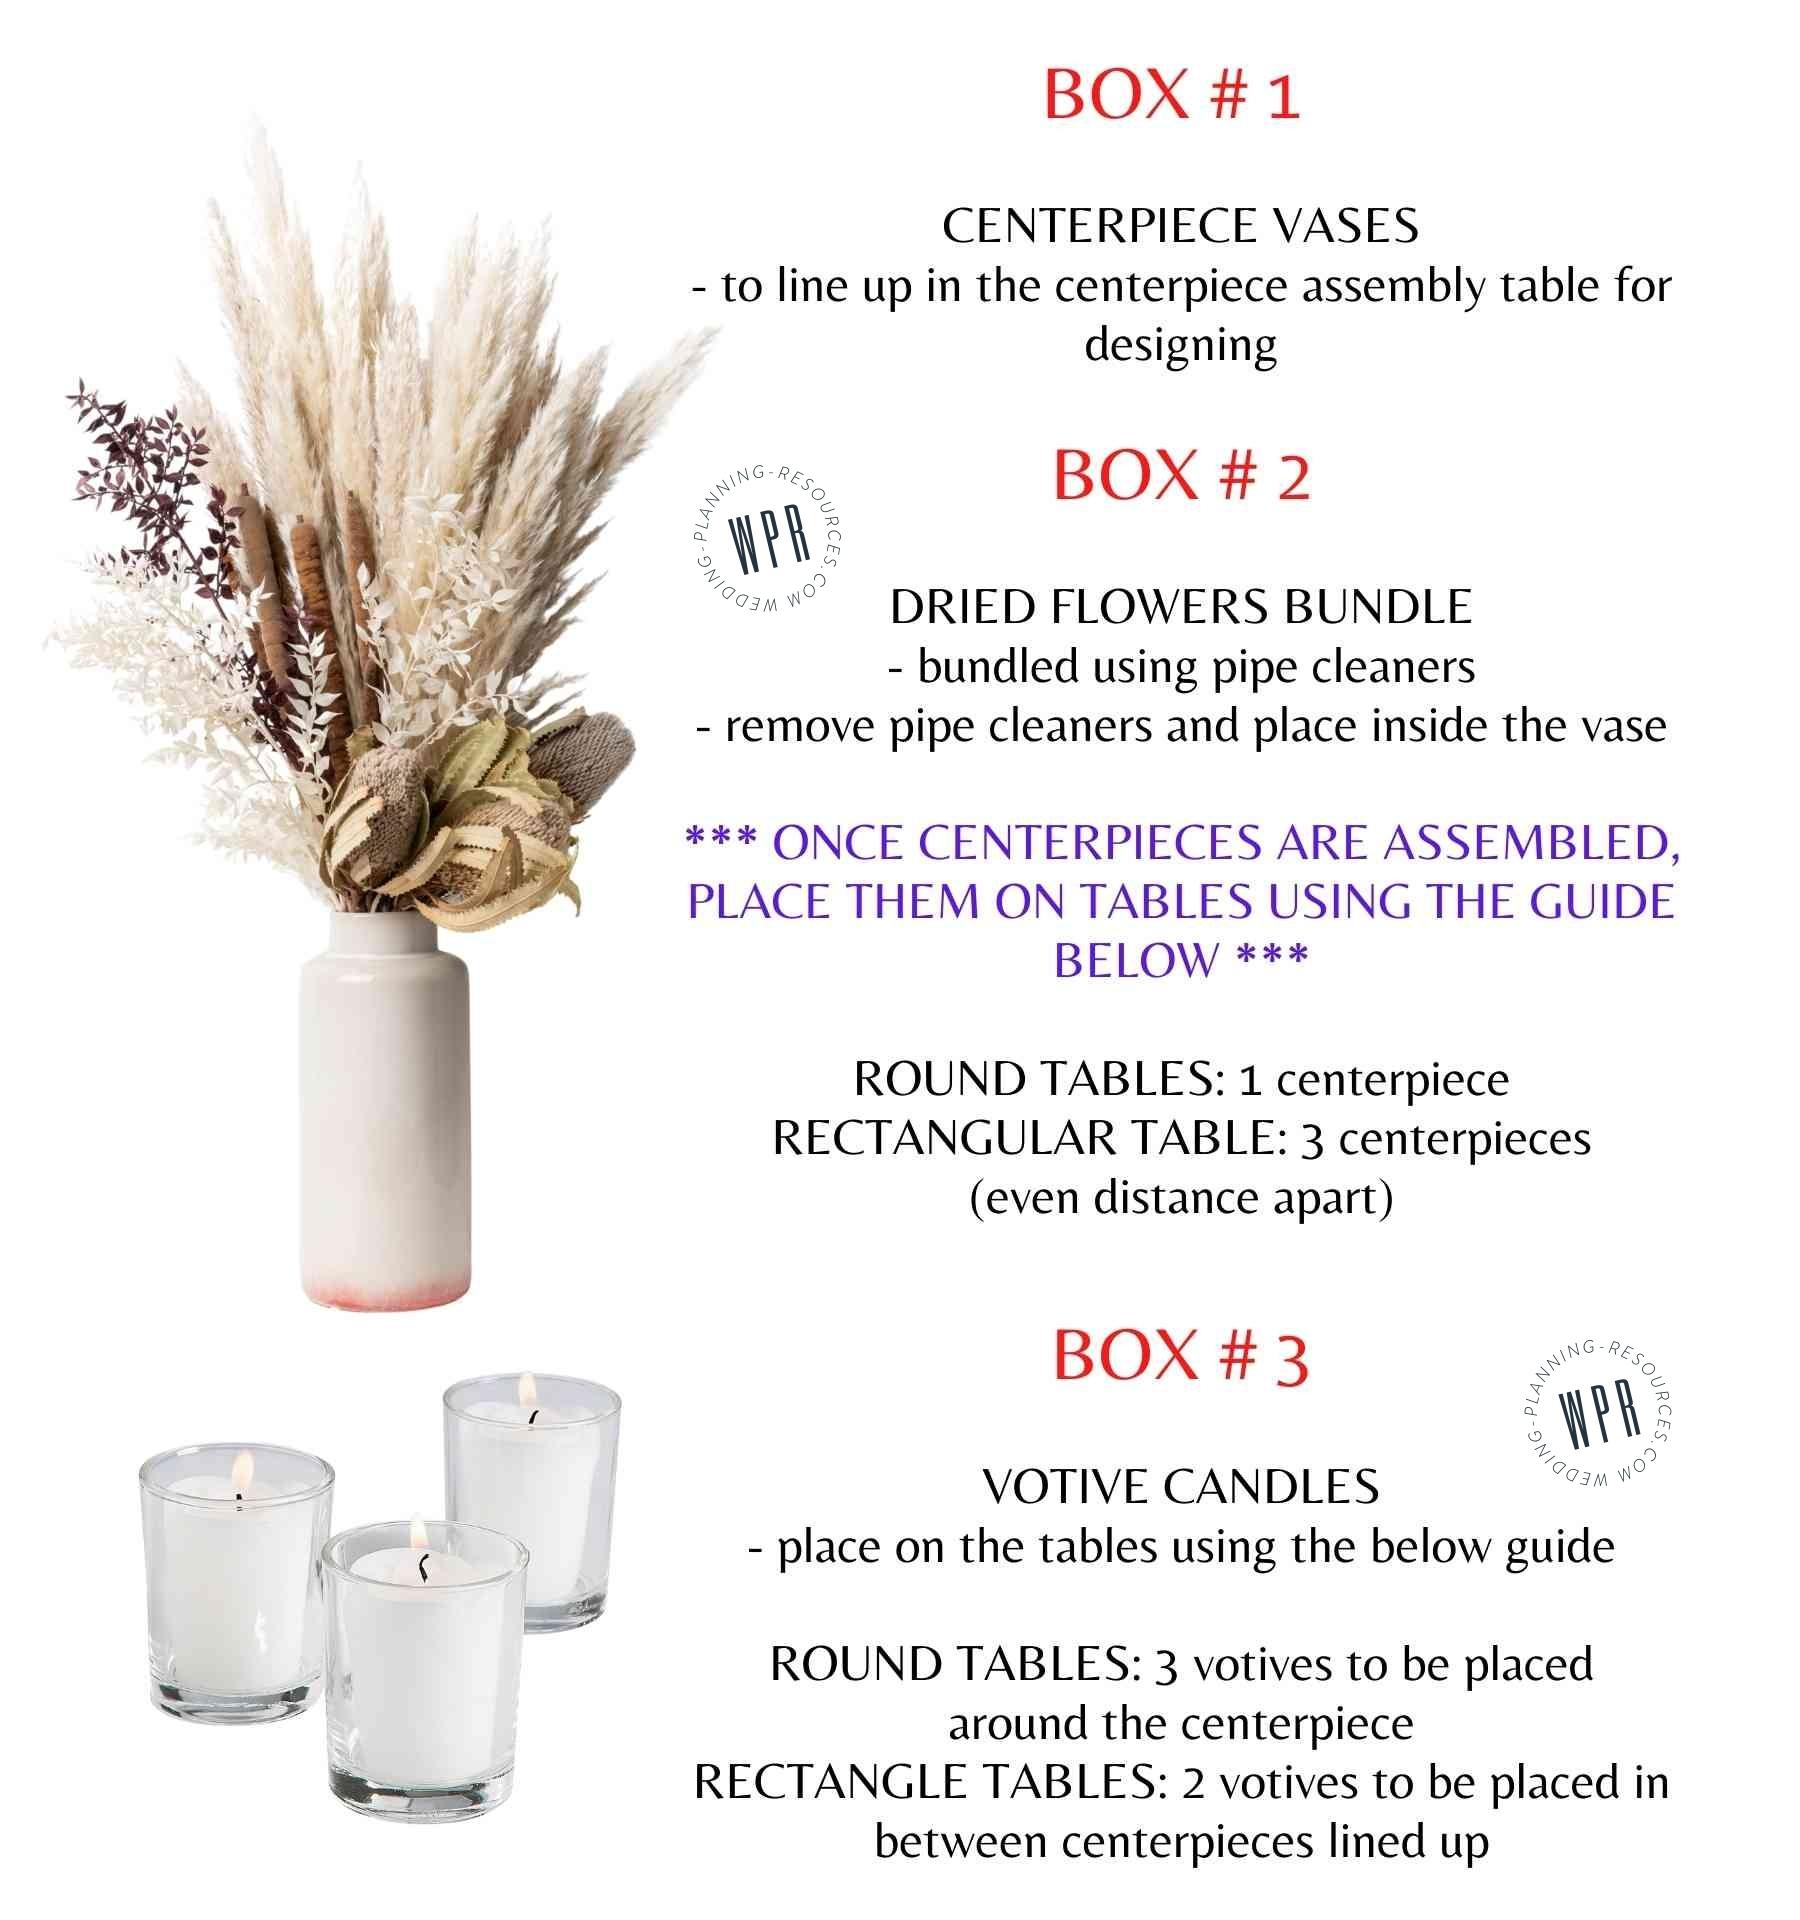
Your label should look like this. It should have a visual of what’s inside the boxes, as well as the final product.
Note that we also mentioned exactly how many centerpieces per table and how they are placed. Make your instructions as easy and as clear as possible.
Now to light up those candles, you can assign a specific person to light them up. Don’t forget to add this detail to your timeline.
This is probably a very important point to be taking from these tips for a DIY wedding. If you are, or whoever is helping you understand the steps clearly, they can execute them easily and quickly.
** PRO TIP:
If someone else will be lighting up the candles, add it to the guide and add a time when it is best to do so. Also, add where they can find the lighter, so they know exactly what to do.
11. Speak to a pro (tips for a DIY wedding)
Yay! You got everything done, and all details, timelines, and instructions are planned! Woot! Cheers to you!
As your wedding day is almost here, it will be great to have a wedding pro have a look at your current plan. They can provide you with insights into what process can be made better or more efficient and even give you ideas on possible challenges and how to tackle them.
PRO TIP:
Create your own wedding email. Create an email account specifically for your wedding – “the.wedding.joe.and.jane@gmail.com” (this is just an example). This will help you put everything together in one place.
Also, manage the calendar for bookings and deadlines. When you book appointments on your wedding email calendar, invite your personal email so you can also see them on your personal calendar! Having a separate personal/work and wedding email will make you more focused and organized!

12. Hire help
Of course, loved ones, friends, and family members helping with your special day are great! Especially on DIY projects before the wedding. But on the day of the wedding, it gets trickier.
Another fave one from tips for a DIY wedding is to hire help – especially on your wedding day. There are staffing companies that will enable you to hire day-of set-up help, a bartender, or even a server only (usually a minimum of 4 hours) specifically for your wedding, to also lift off some load from your friends.
You don’t want them and also yourself to be exhausted on your wedding day! You want them to have high energy and be ready to party!
If you have a more detailed day, a day-of coordinator will be able to get your day organized. Your day-of coordinator can lead and ensure that everyone tasked to do something (based on your timeline) is done as you expected it to be.
Even if you are DIY-ing lots of projects, you might still need a wedding planner, or maybe a wedding coordinator.
PRO TIP:
Choose a day-of coordinator who works with DIY weddings. Let your potential day-of coordinator know your plans and expectations for what you want to DIY and execute from the get-go.

As a reminder (we’ve already mentioned this earlier!), before committing to a DIY project, it’s important that you evaluate what’s on your plate and estimate how much time it will take you to complete a task.
By the same token, also consider “phantom costs” associated with DIY projects like supplies. packaging, storing, transportation, and most importantly, being open to mistakes and re-doing things, which means you might need to re-purchase things to start over.