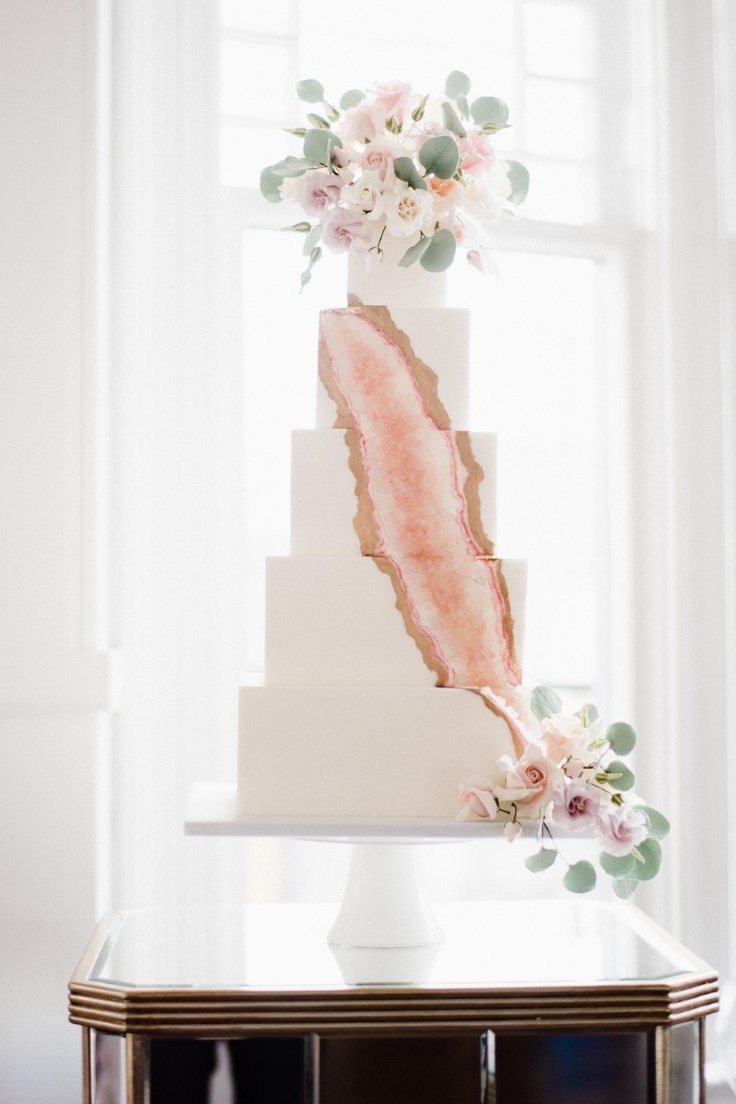
DIY Pastel Wedding Guide. Dreamy and luxurious! Pastel Wedding Design Cocktail Event Guide. Pastels are a favorite for weddings as soft tones bring a romantic and elegant vibe. Perfect for those pretty soft pastel colors and design inspirations!
How lovely are pastel wedding colors and themes? In this guide, we’ve rounded up wedding reception ideas that incorporate beautiful pastel wedding designs! Wedding ideas and wedding themes you can easily execute and pull off using this guide!
This site contains affiliate links. For more info, please see our full disclosure. This post has Amazon links and as an Amazon Associate, Wedding Planning Resources earns from qualifying purchases.
If you’re planning/organizing an intimate or small wedding (backyard!) – or even a big wedding but you want to DIY your designs, then let us help you create a dreamy pastel wedding design + cocktail event guide!
Most products/inspirations shown here are available online! This means you might not even need to head out to put these designs together!
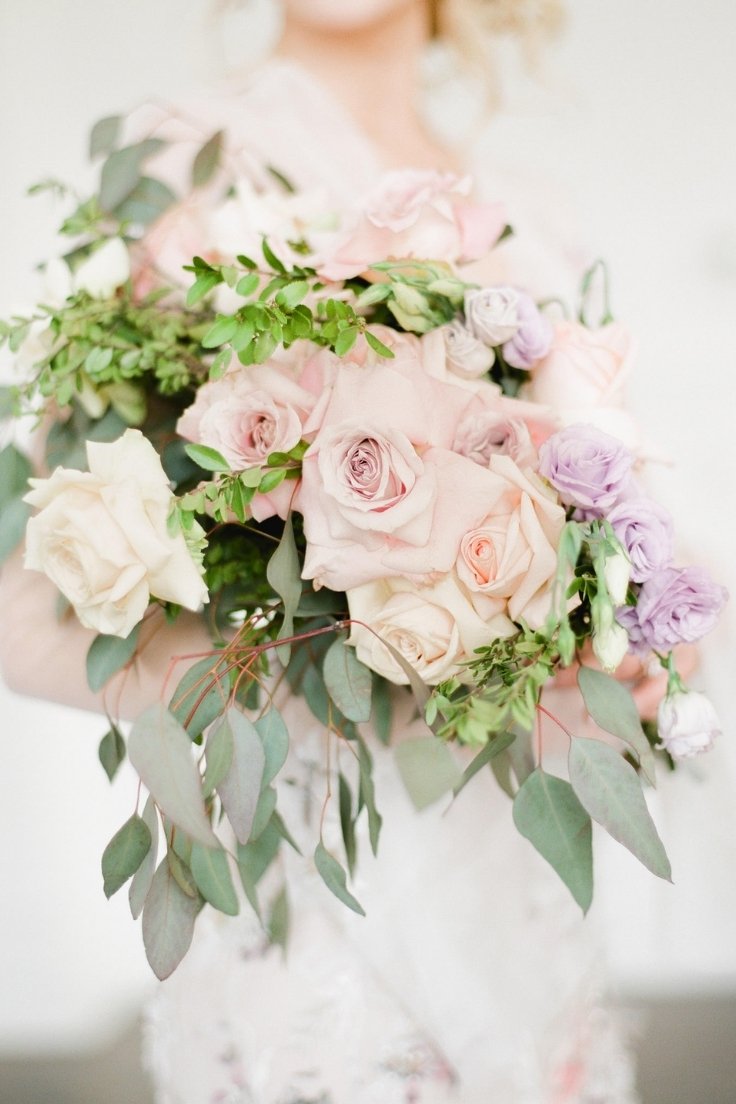
Pastel colors and the color palette that we have here are more on the muted blush pink, purple, peach, and minty green! You can easily DIY this, or you can also share these ideas with your wedding vendors!
Let’s get started planning your perfect pretty pastel wedding design with this inspiration!

DIY Pastel Wedding Guide: Here’s how you can do it:
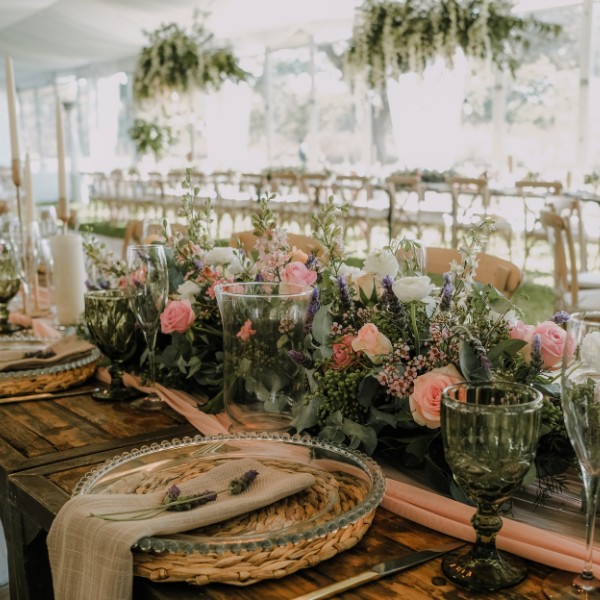
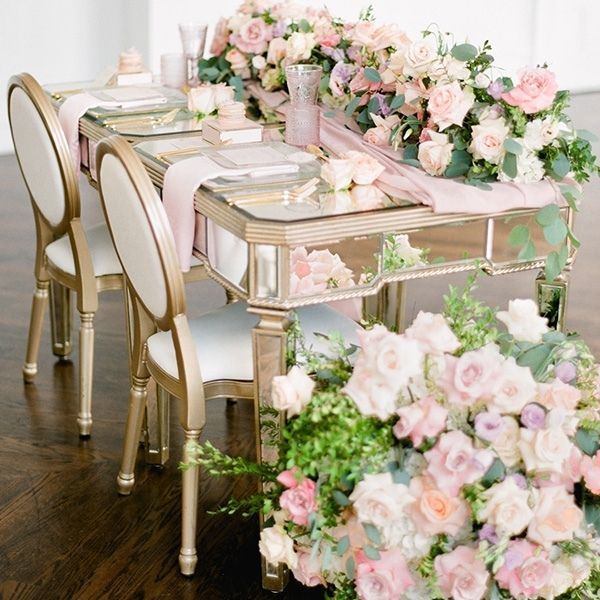
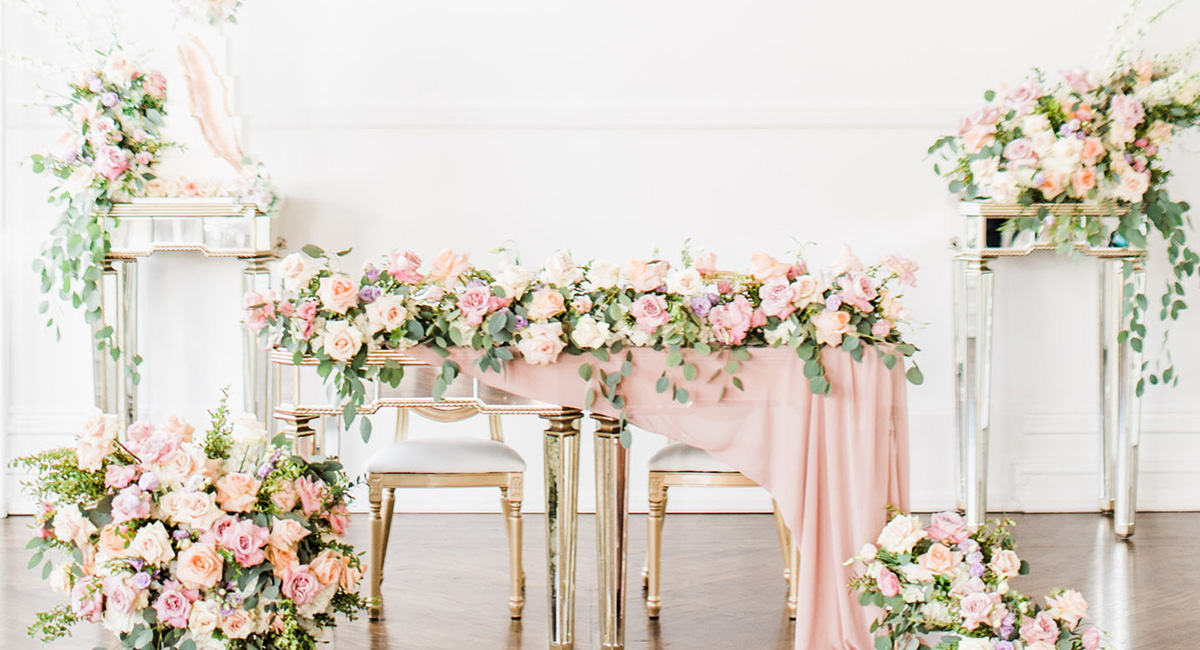
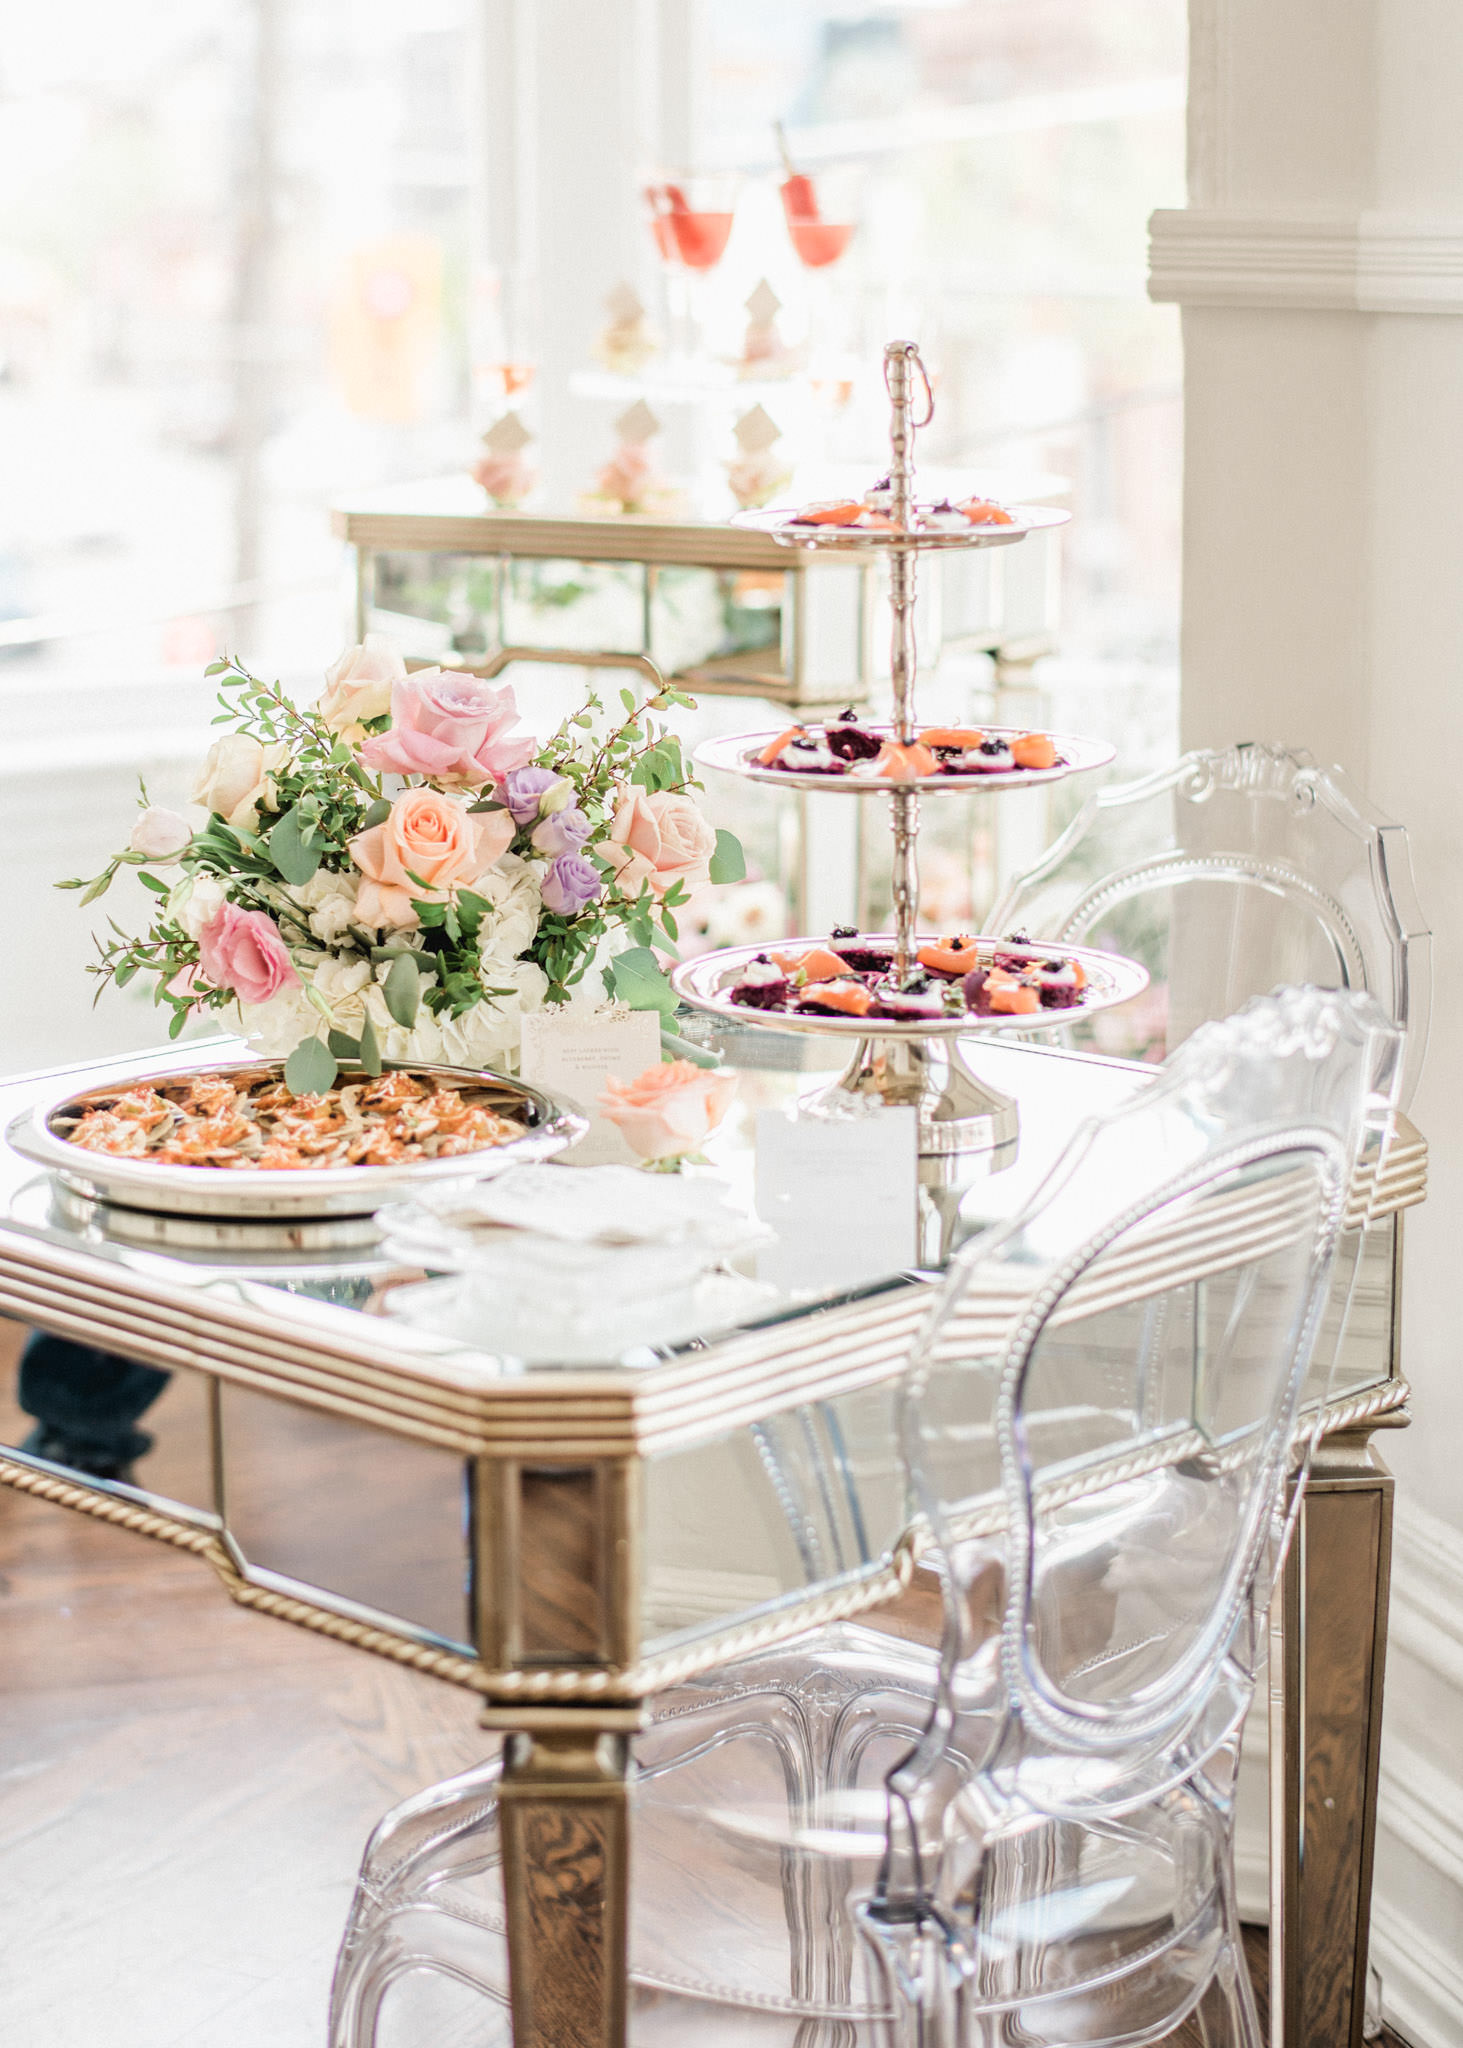
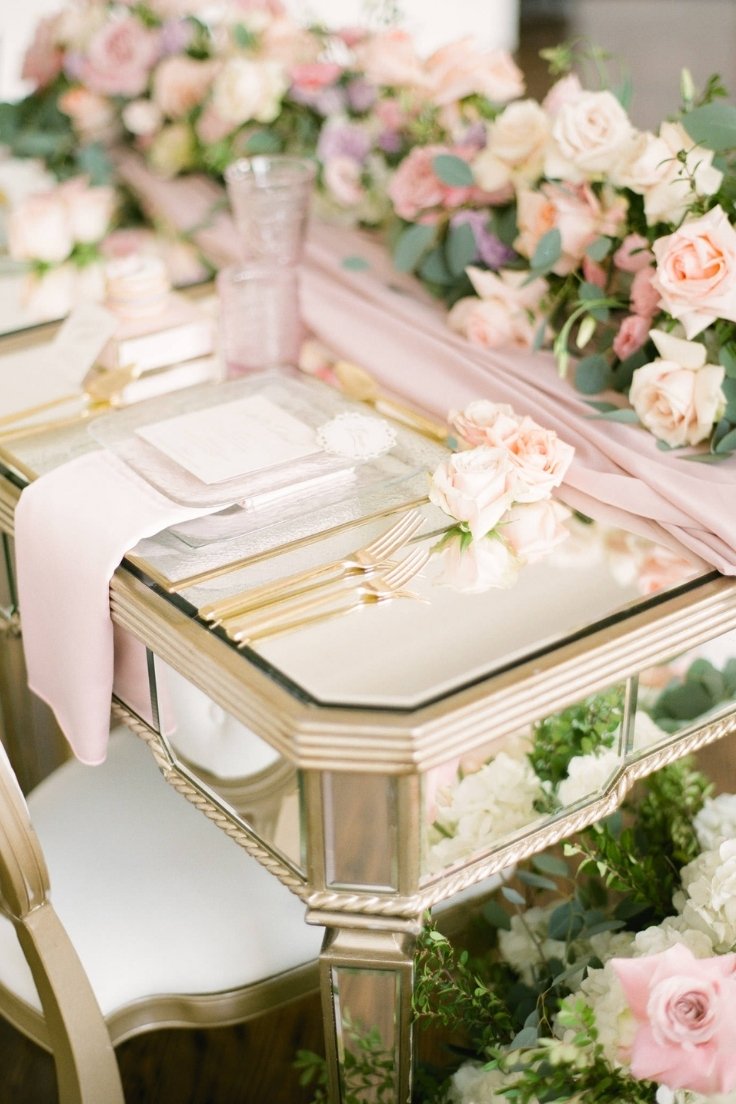
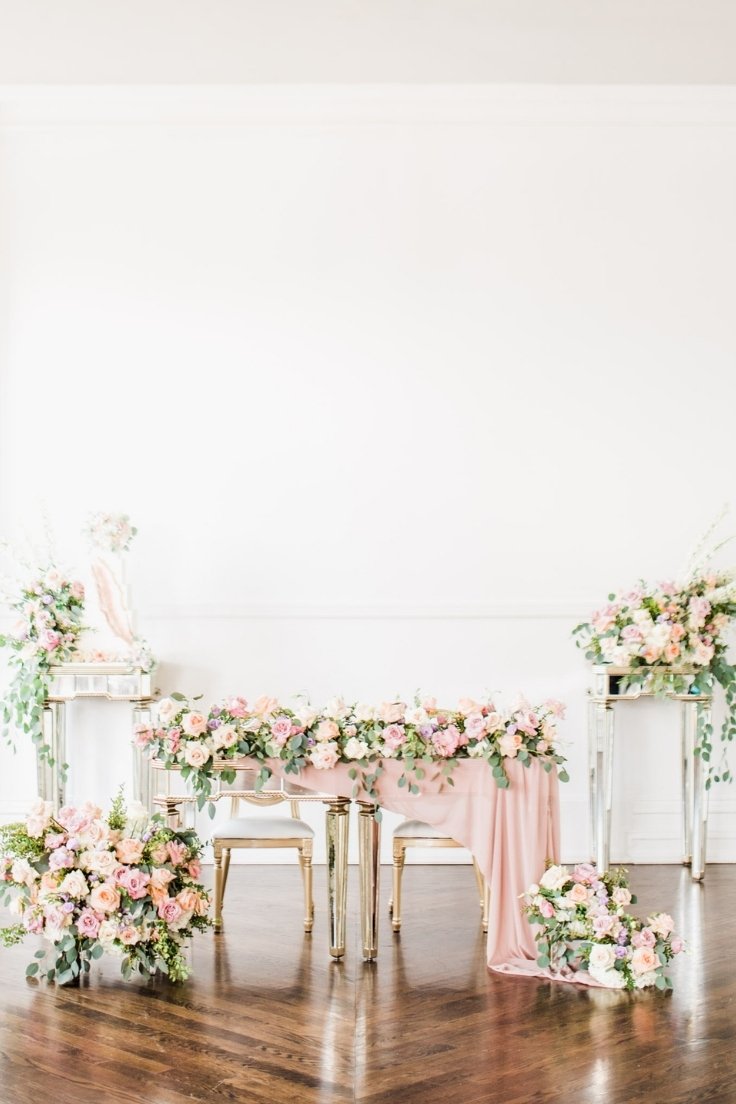
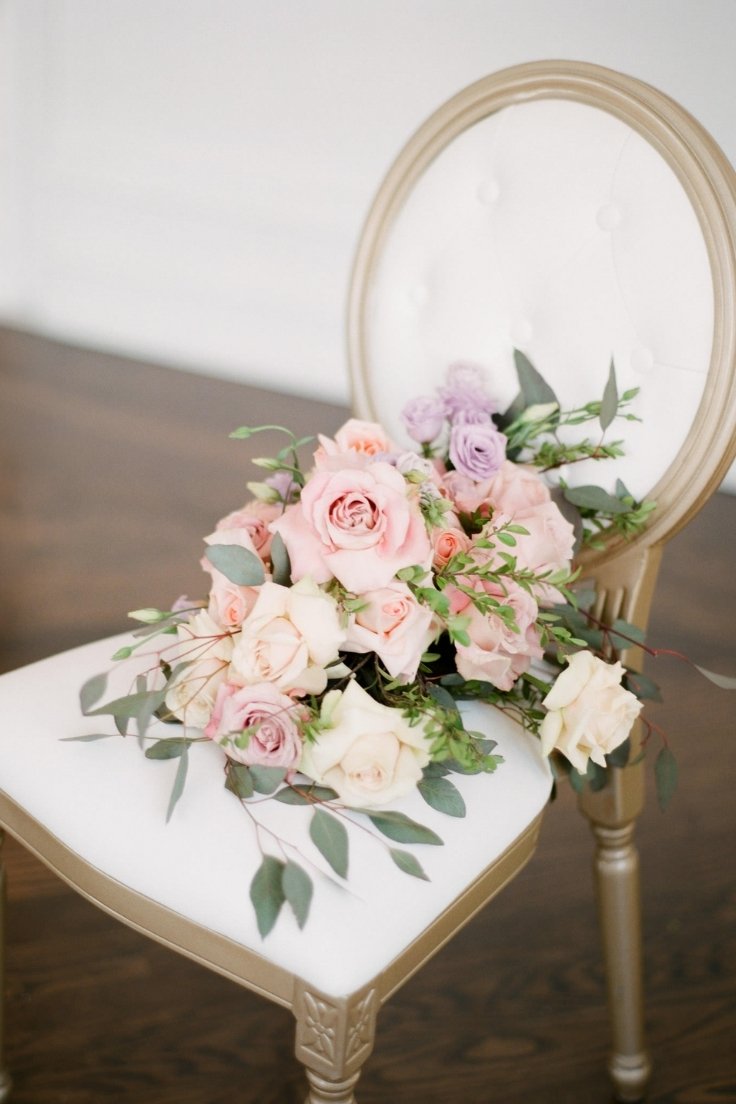
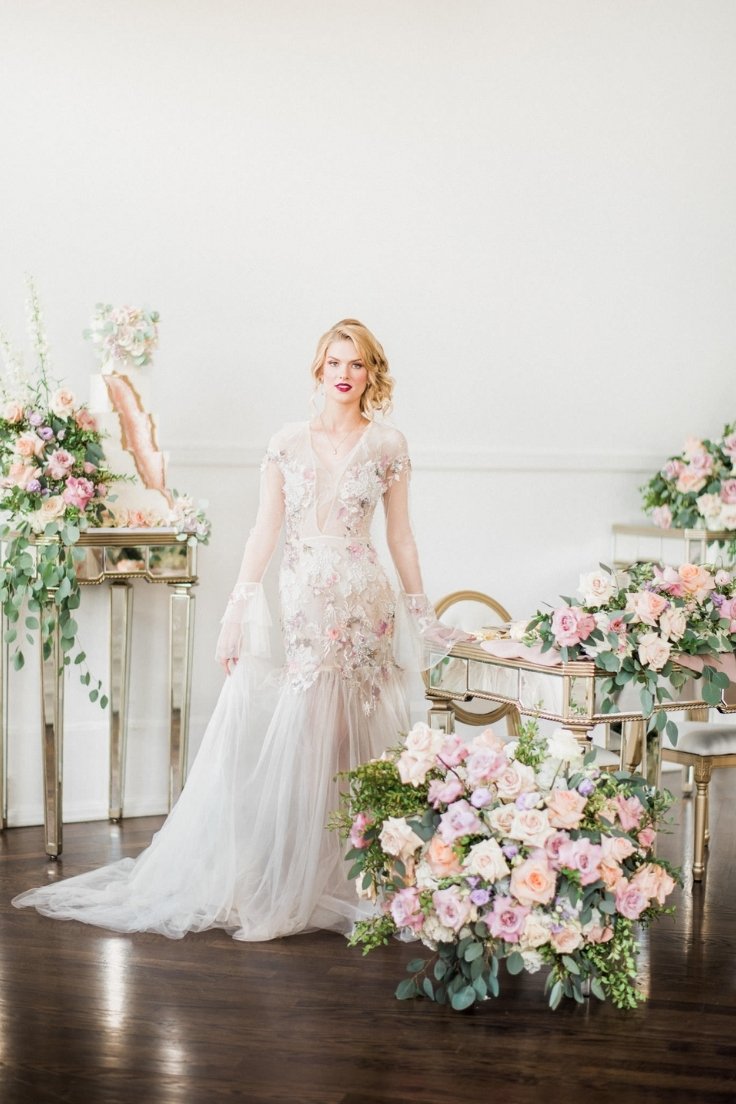
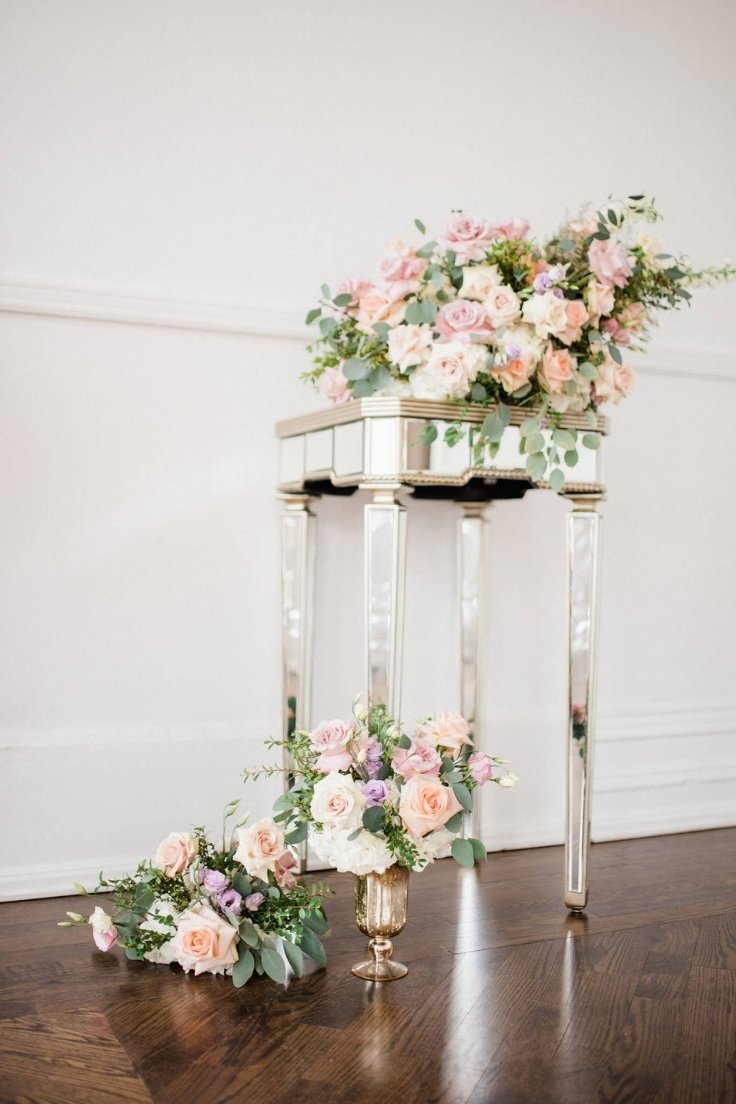
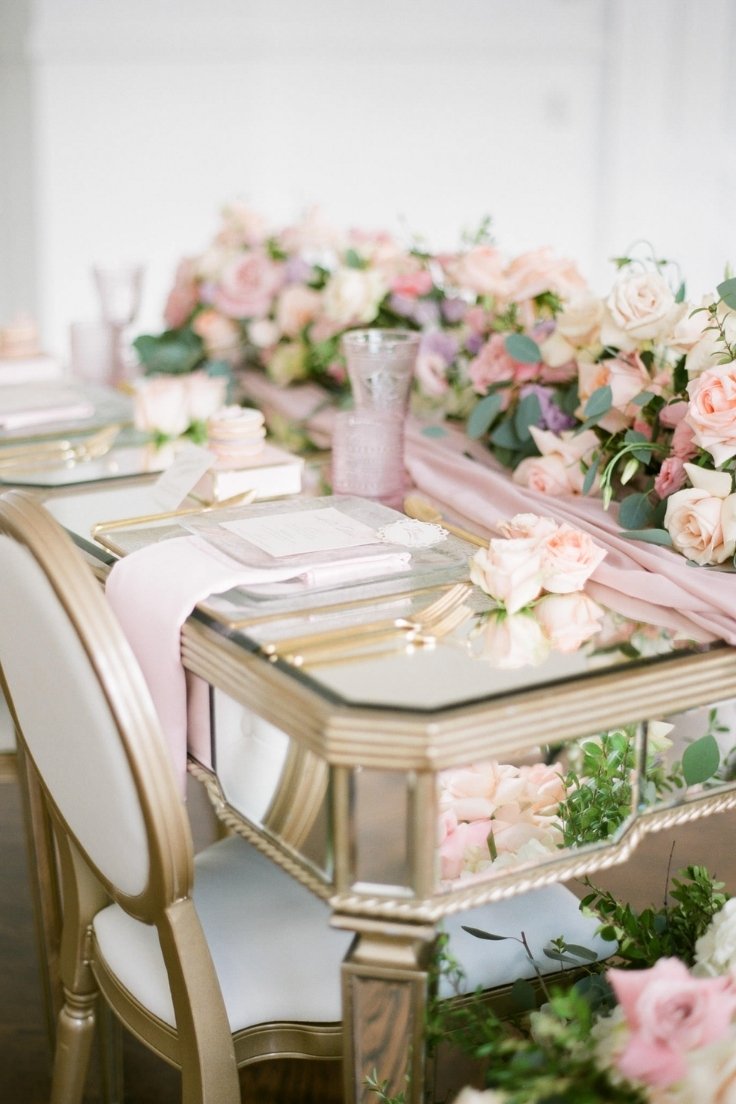
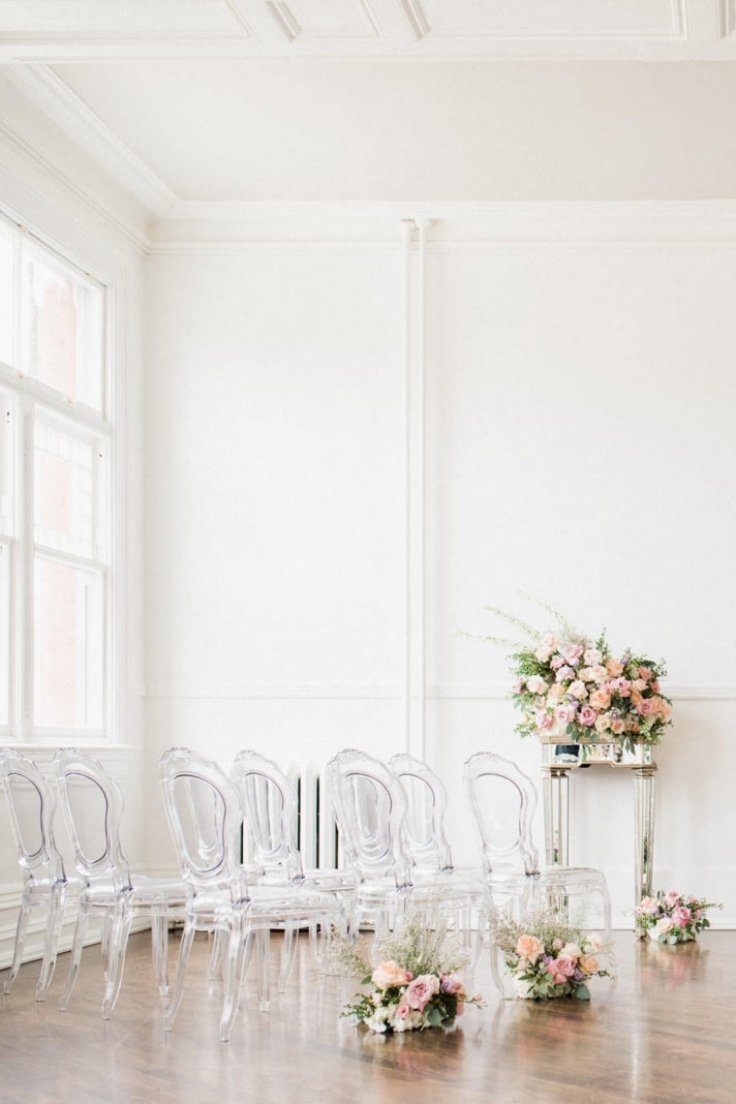
To start, we used a mirror-top table and draped it with an old rose chiffon runner. Over the runner and on the accent tables, we placed romantic arrangements of full-bloom roses with roses, lisianthus, and greeneries.
PRO TIP: You can also use a regular table and rent or buy gold linen and line the top with mirror squares! Your local craft or dollar store should have mirror squares. Measure your table and count how many squares you’ll need!
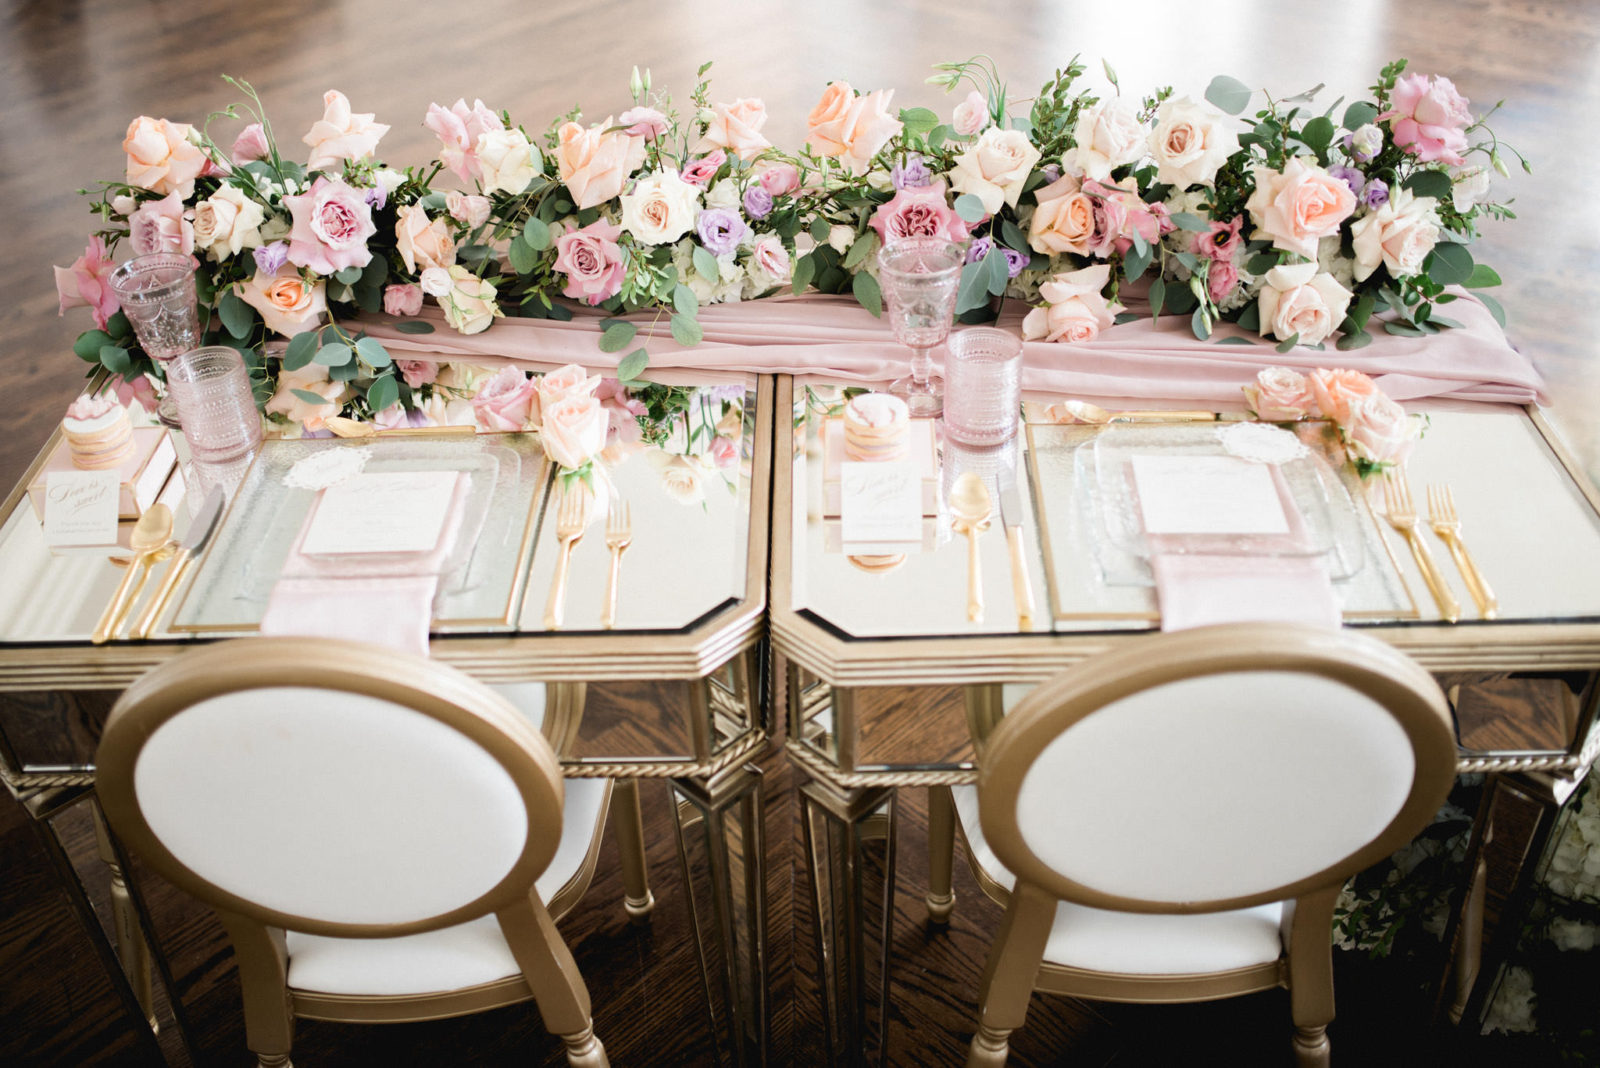
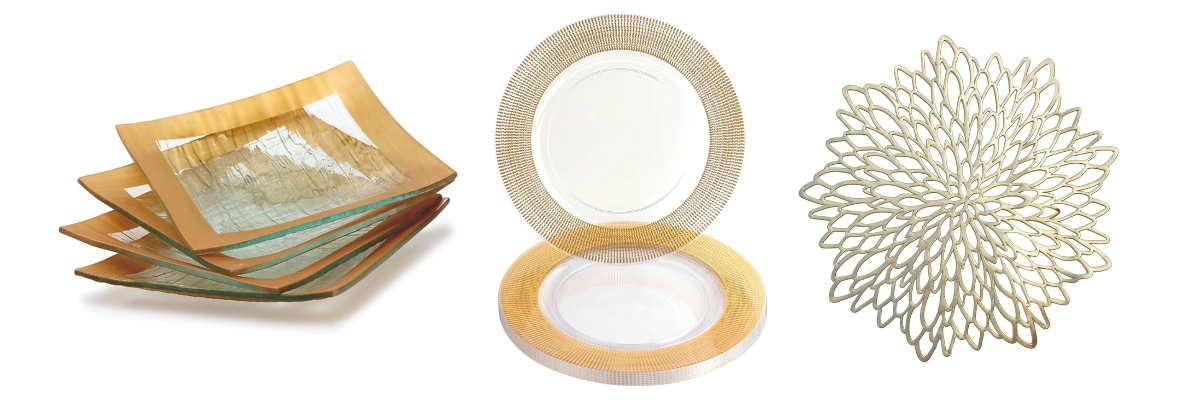
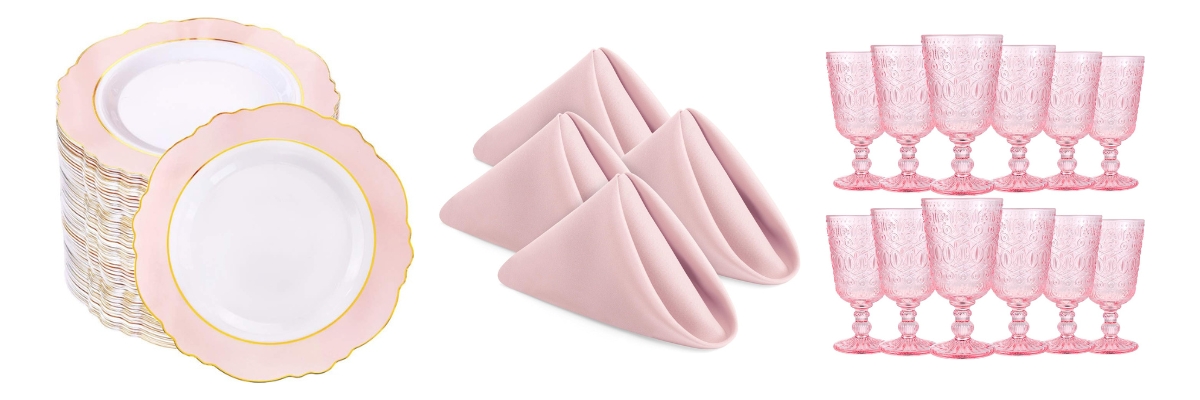
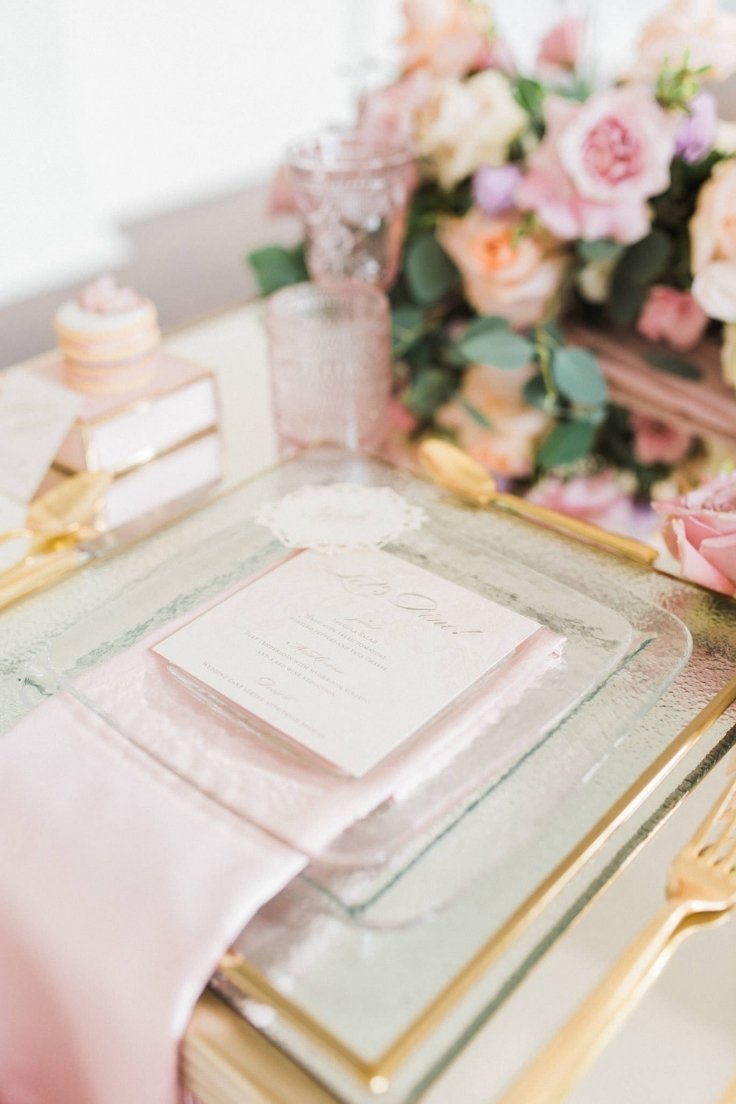
We placed square gold-gilded chargers as the base and partnered it with gold flatware and pretty blush-colored textured glassware for the tableware, keeping it true to the wedding pastel design.
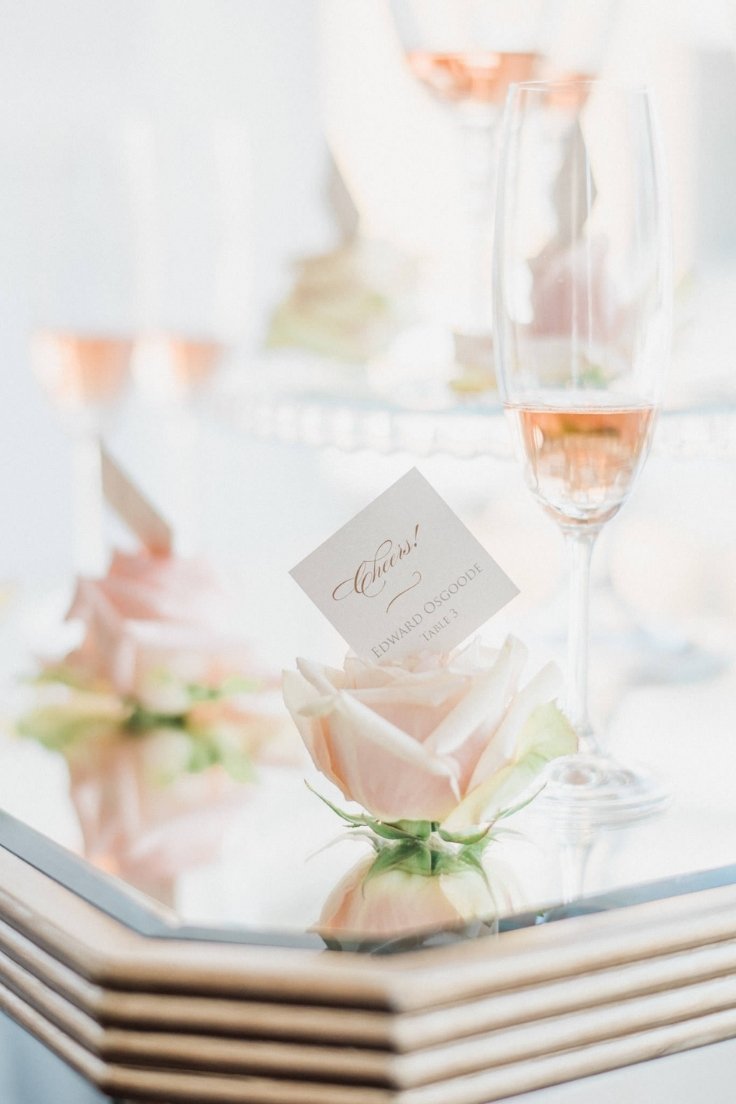
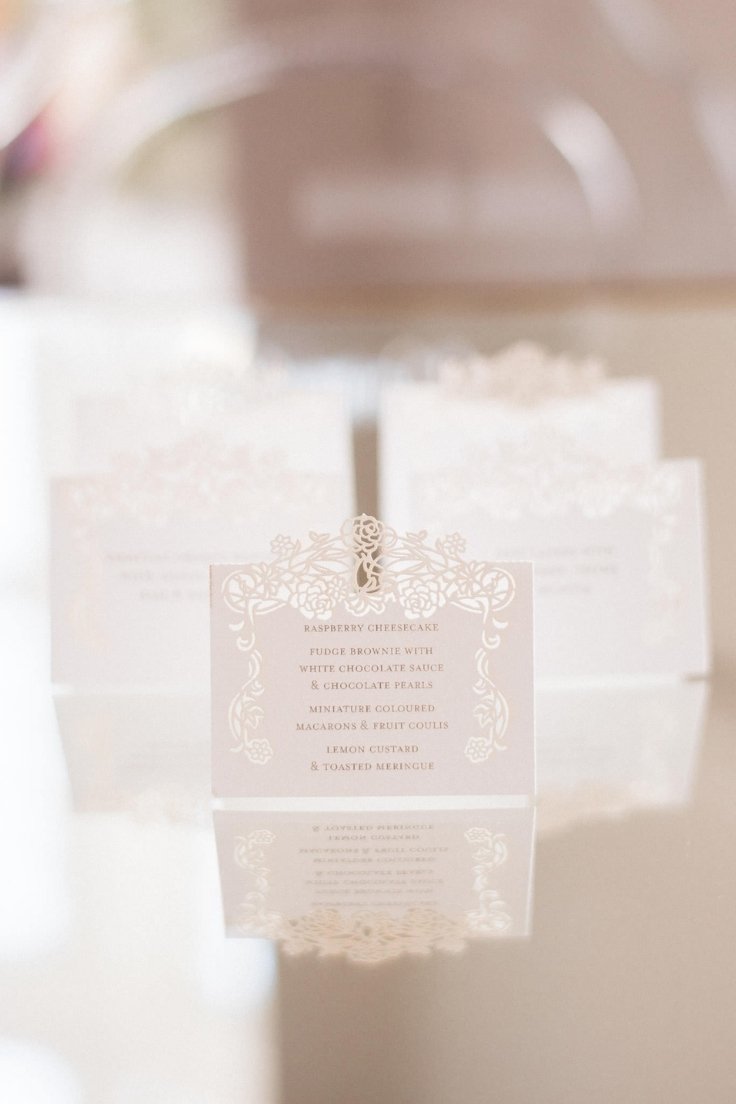
We used pink napkins and a dainty square menu in blush color to stay true to the pastel wedding design theme.
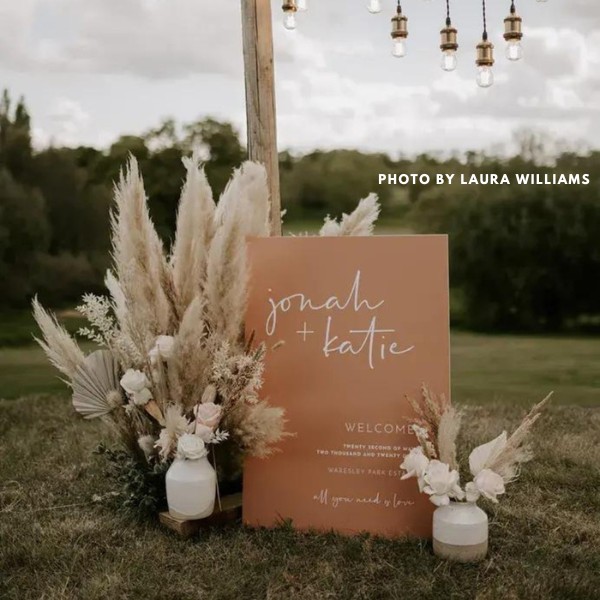
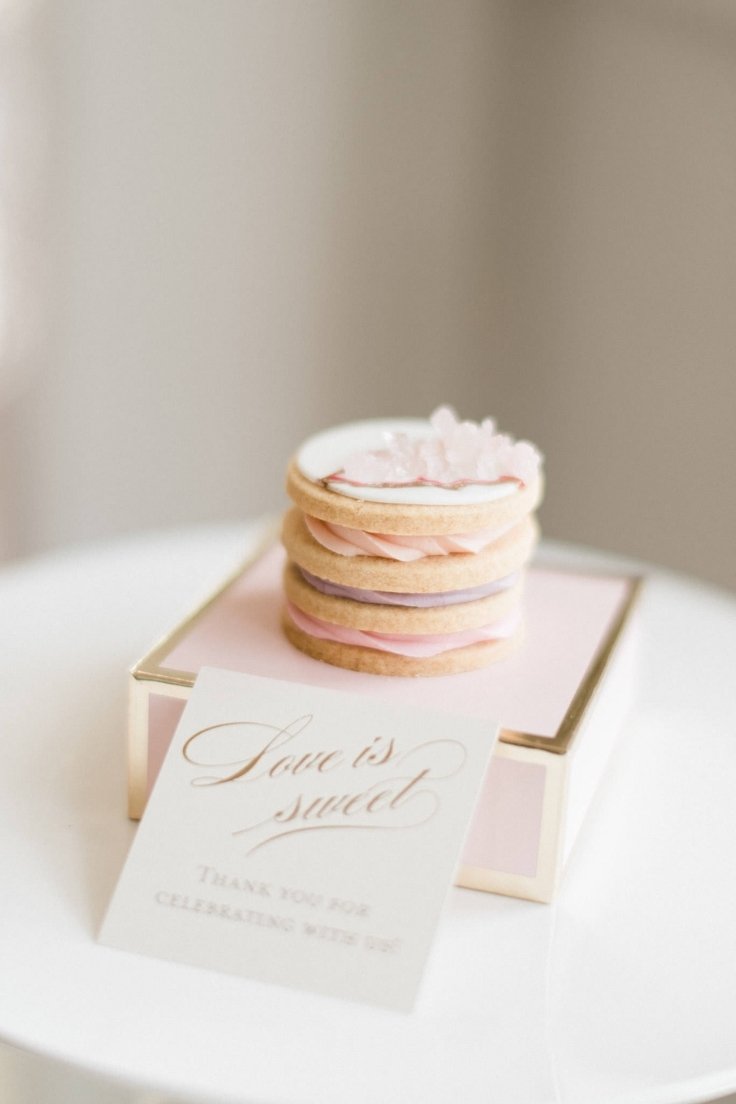
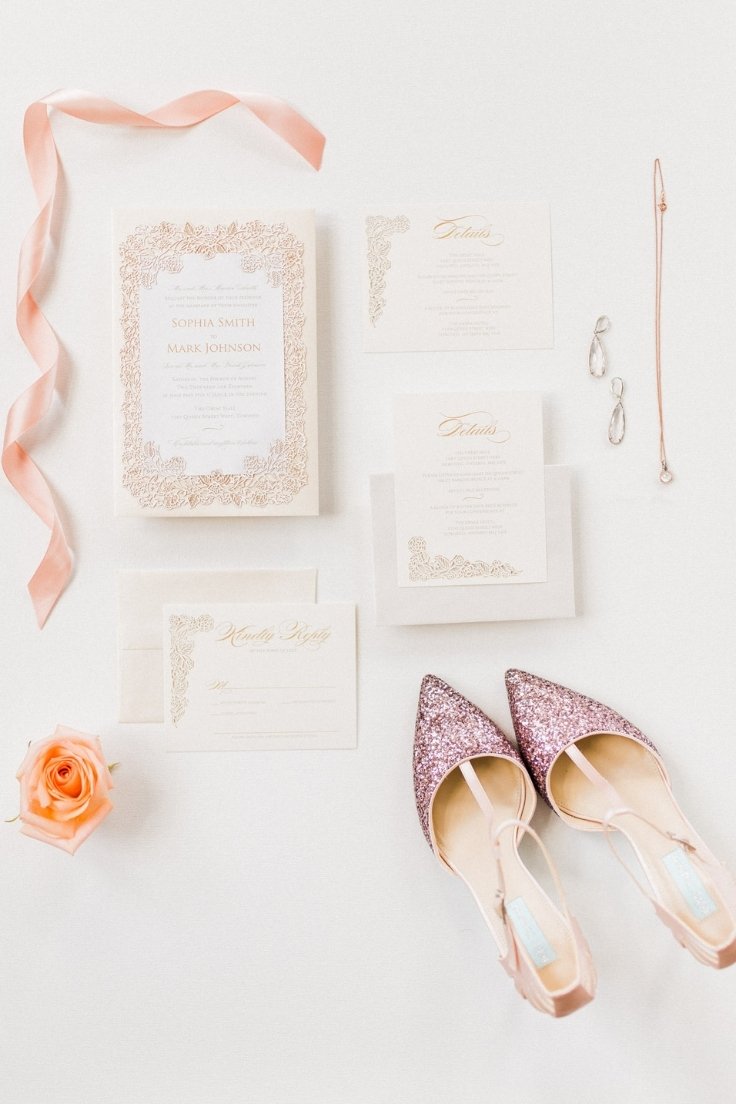
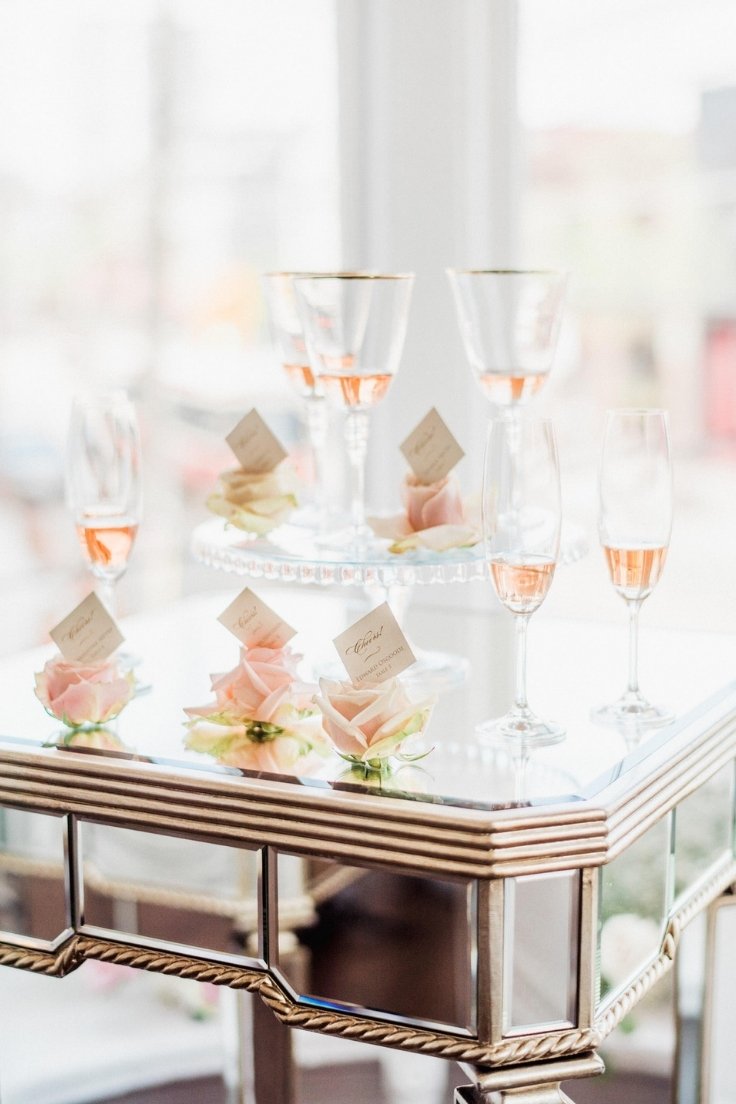
Place cards were inserted in rosebuds to keep with the lush garden theme, while decadent layered pastries were given delectable party favors. We love printing services from Canva – great designs, easy to use, and affordable!
Or you can also download our free wedding planning kit with the stationery set, customize them, and then have them printed at your local Staples or printing shop.
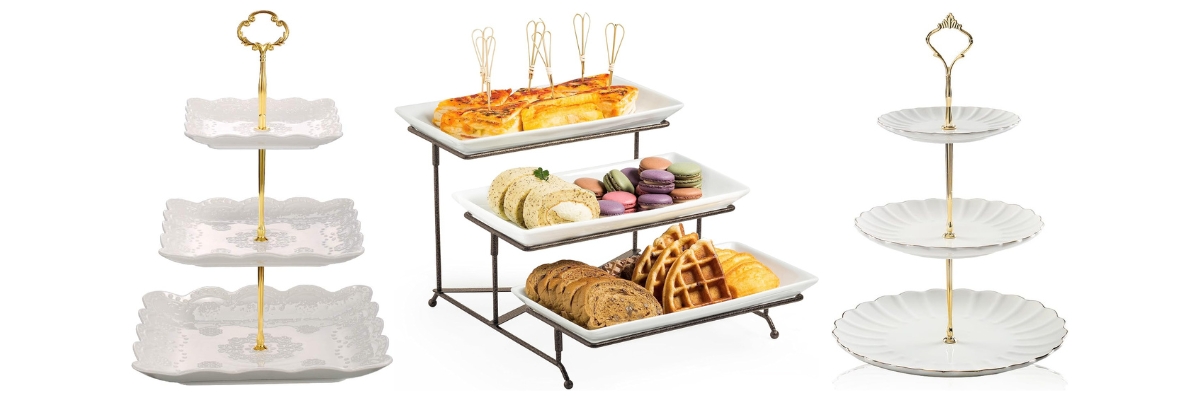
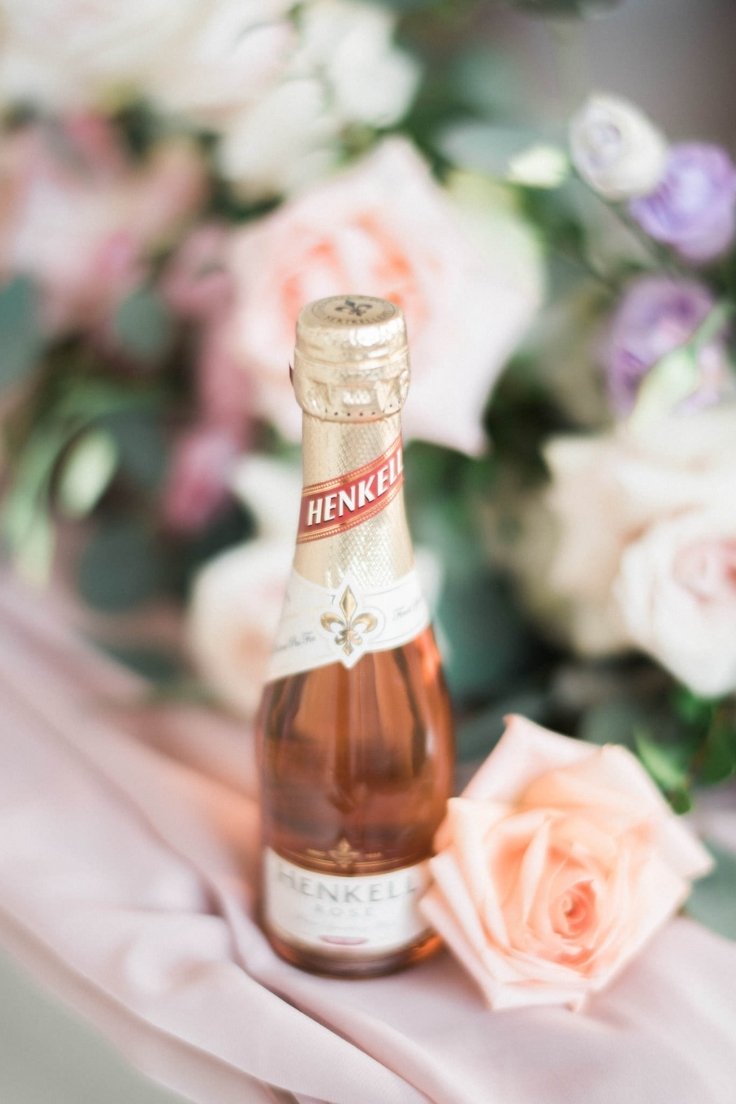
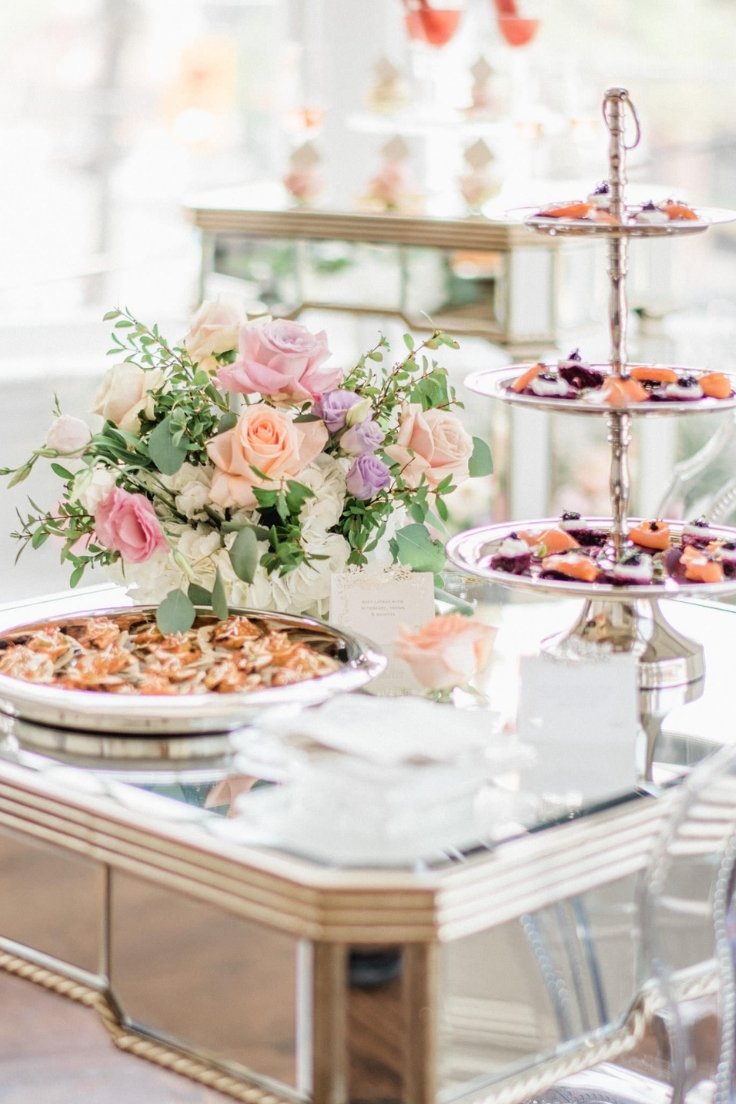
For the cocktail table, we used silver serving trays of varying heights for the hors d’oeuvres. Cocktails included popsicles dipped in rosé for some added fun.
The 3-tiered serving tray is a space saver and adds height to create the perfect space for serving appetizers.
Creative Tips
If you’re looking to re-create this wonderful theme for your next celebration, we have rounded, easy creative tips that you can use to execute this seamlessly!
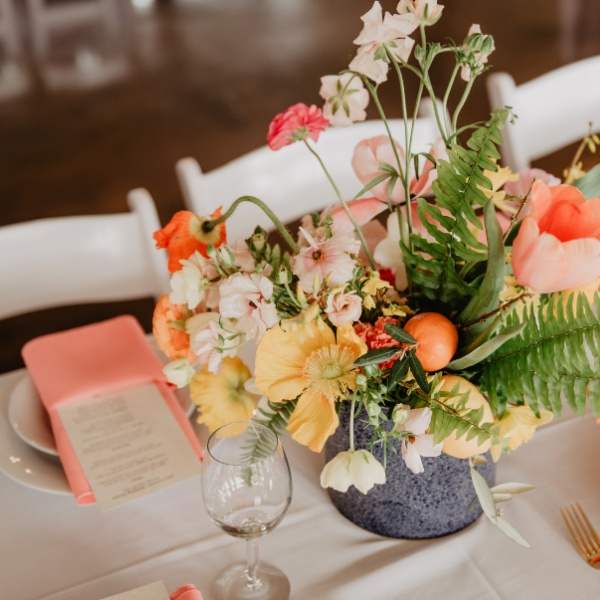
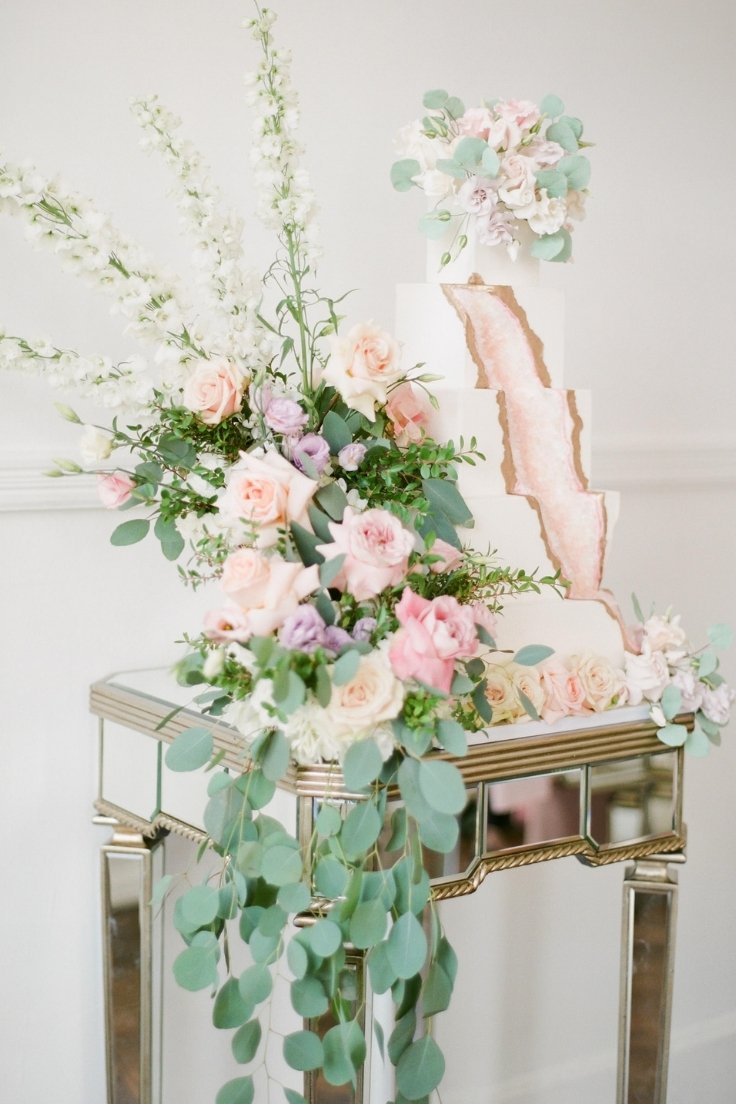
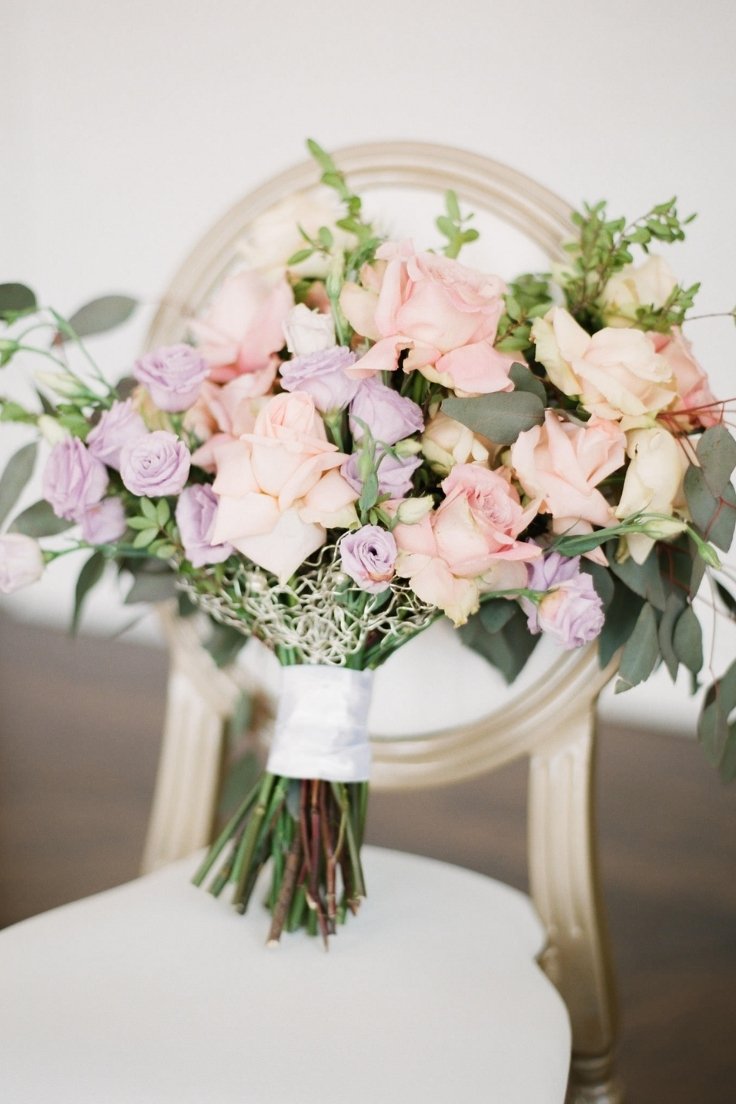
CENTERPIECES: The flowers here are hard to recreate on your own. But fear not, we have ideas that will help you DIY it with faux/silk arrangements.
The best way to use silk arrangements is by grouping the same type of varieties with fewer greeneries. Greeneries are a tell-tale sign that an arrangement is faux, so avoid it as much as you can!
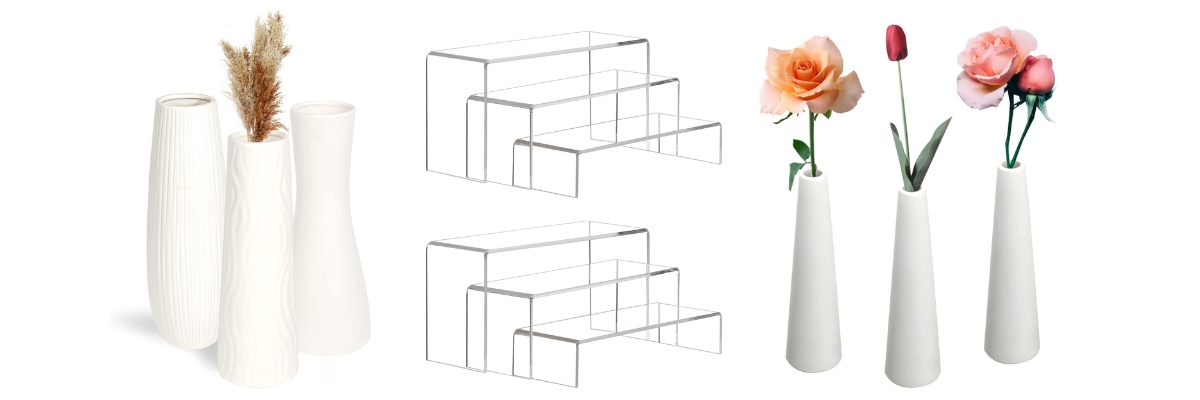
Another thing to consider is using a colored vase; this will hide the wired green stems, only leaving the best part: the bloom itself! Pastel wedding design at its best!
IMPORTANT TIP: Always order one or two of each product first to see how they will work for you. Then from there, you can order in bulk.

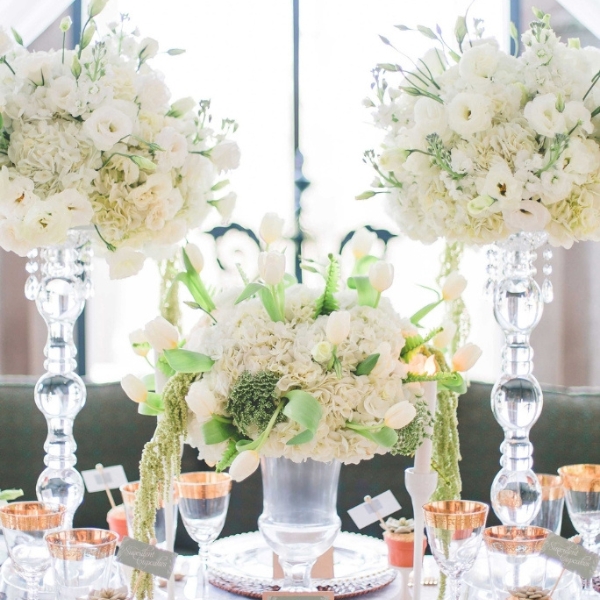
Make sure you check out our tips here to make your faux/silk flower arrangement look more realistic. Using a white vase will also hide the stems which are very important to make the flower arrangement look realistic!
You can also use white boxes as platforms/risers to add height. Ensure to fill the boxes with paper so they will not be hollow (no one will know!)
PRO TIP: You can also use acrylic risers! They are great for centerpieces and for reuse at home!
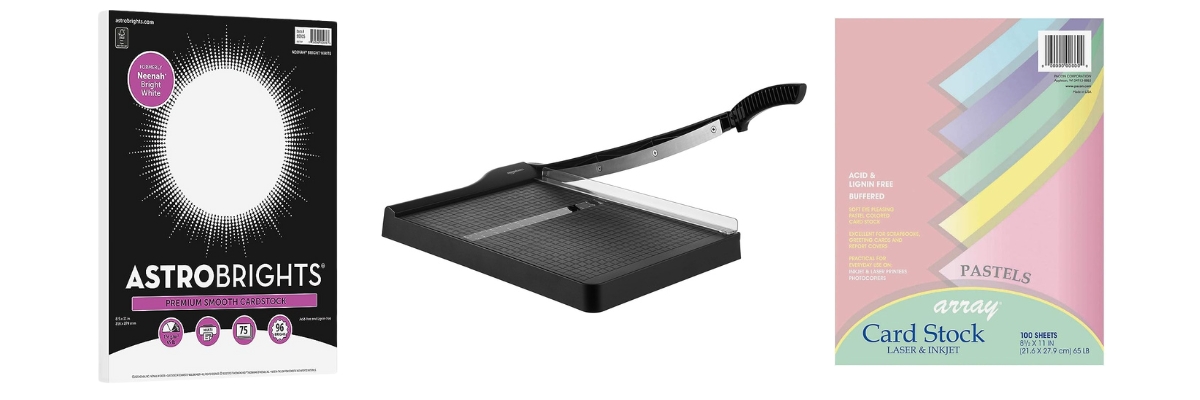
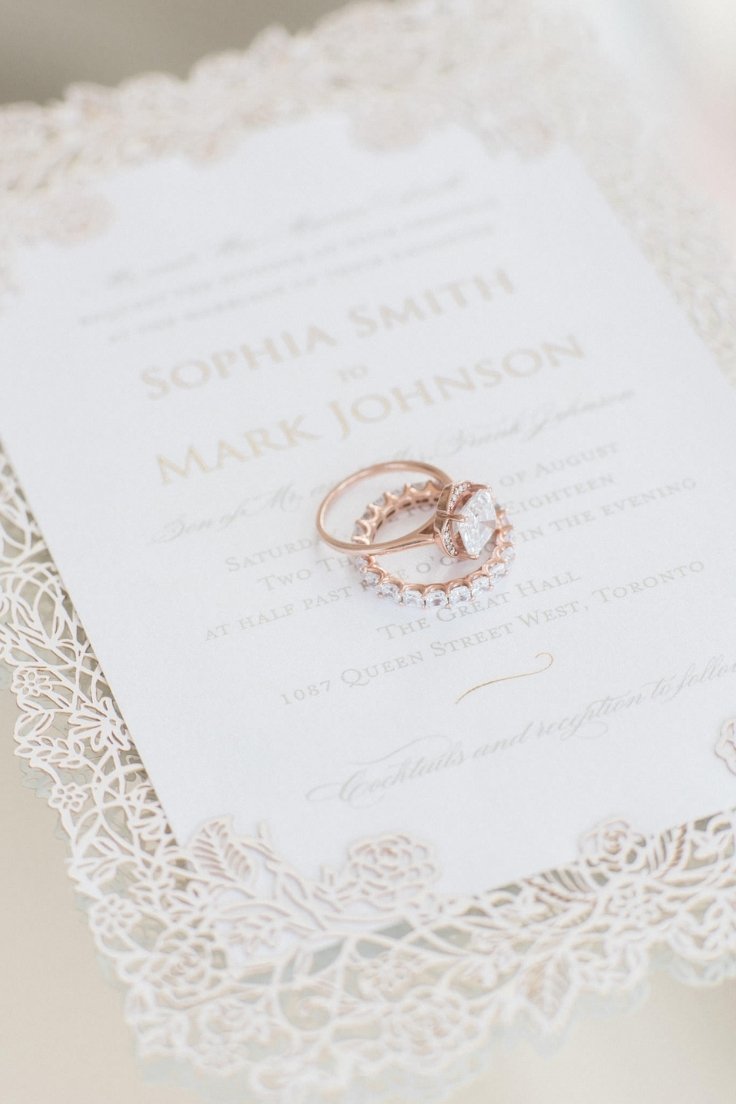
MENU and PLACE CARDS: This is a quick DIY. The key is that you choose a paper with high GSM (the higher the GSM, the heavier and thicker the paper is), and you can use this to print out your menu and place cards.
You can easily purchase online punchers with intricate patterns to add flair to the design of your cards. Great idea to match this design to your wedding invitations!
Download the free wedding planning kit below to get your DIY place cards! Here are some printing paper options you can easily use!
RE-PURPOSING: The majority of the items we used for this set-up can be re-purposed after the event. The mirror top table, for example, could be a piece of accent furniture in your home—the serving trays you can easily store and bring out to your next event.
Or you can place it on top of your coffee table so you can place items on it such as candles or plants. The gorgeous glassware you can bring out for date nights or when you feel like using something fancy.
Also, you can use the short glasses as candle holders and put tealight candles to set a romantic mood in your home.
APPETIZERS: If you’re planning a micro/intimate wedding (say 15-25 people), purchasing appetizers yourself and having someone prepare them in the trays the day is definitely doable.
Choose appetizers that you can pop in the oven (in and out!). Or, if you want something that will fill up your guests more, try this sandwich option.
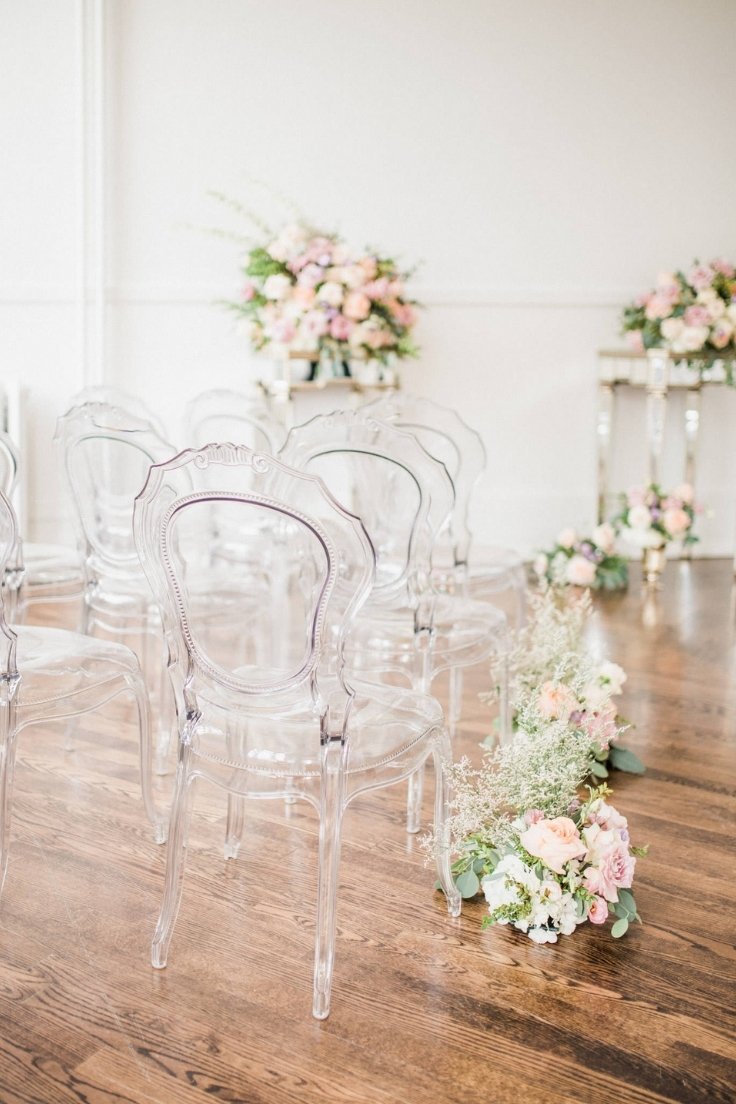
DRINKS: (see cocktail table photo, drinks in the background): Pre-pour wine in wine glasses (have half wine and half red); there are many affordable wine glasses that you can easily store.
FUN OPTION, add a popsicle to make it extra special and add to a beautiful presentation; serve this with dry ice for extra theatrics! You can also do a sangria bar to make it “fruity” and something faster to serve/pass around!
DESSERTS: Since you are doing a cocktail event, desserts need not be heavy or big. You can do a cookie bar or even a donut station.
[Full event post here.]
How easy is it to execute this pastel wedding design + cocktail event guide? All the best, lovelies! xo

For DIY centerpieces, you can store the finished products in boxes from your local hardware store with rubber non-slip liners for dry centerpieces.
If you are filling up the vase with water, only fill it out halfway through so the water won’t spill while in transit.
Looking for boxes that you can stack will make it easier for you to transport them. Non-slip rubber liners in between boxes will be your best friend to avoid any slipping while in transport.
If you are not able to stack, you can pre-bundle the flowers using pipe cleaners and stack them gently in a box. This way, when you get to the venue, you can assemble, fluff, and set them up easier and faster.
Don’t forget to label boxes and have a “visual” sample of how things are supposed to be set up as a reference.
Before committing to a DIY project, it’s important that you evaluate what’s on your plate and estimate how much time it will take you to complete a task.
By the same token, also consider “phantom costs” associated with DIY projects like supplies. packaging, storing, transportation, and most importantly, being open to mistakes and re-doing things, which means you might need to re-purchase things to start over.
There you are lovelies! DIY Pastel Wedding Guide!
**This post has Amazon links and as an Amazon Associate, Wedding Planning Resources earns from qualifying purchases.