How to Make a Beautiful DIY Wedding Bouquet on a Budget. Tutorial. Step-by-Step. Save Money. Affordable. How to Make a Beautiful DIY Wedding Bouquet on a Budget. Easy DIY Wedding Bouquet Tutorial for Beginners. Create Your Own Wedding Bouquet Cheap and Easy.
This site contains affiliate links. For more info, please see our full disclosure. This post has Amazon links, and as an Amazon Associate, Peppermint & Co. Ltd. earns from qualifying purchases.
- Supplies
- Flowers
- Prep
- Remove leaves
- Line-up
- Start Arranging the Flowers
- Bundle Together
- Cut the stems
- Storing
- Practice
Ready to make a DIY wedding bouquet that looks like it came straight from a florist shop, feels personal, and makes your big day even more special, while keeping it fun, easy, and totally doable even if you have never made flowers before. This guide covers the basics like choosing fresh flowers that stay vibrant longer, picking bouquet flowers that match your wedding colors and vibe, and learning simple steps to cut stems, arrange blooms, and wrap everything so it stays secure and pretty.
We will talk about common flower arranging tips, choosing the right greenery and filler flowers, and how to mix textures for a bouquet that feels lush and balanced. There are easy tricks for prepping your flowers so they stay hydrated, look full, and last through photos and dancing.
From rose stems to peonies, eucalyptus, baby’s breath, and other popular wedding picks, this guide helps you put together a bridal bouquet that feels custom and chic. Advice on tools like floral tape, ribbon, and stem cutters makes the whole process smooth and less stressful. We will show simple ways to build a sturdy base, spiral stems for a classic shape, and wrap everything so your hands stay comfortable and your bouquet stays secure.
These tips are beginner-friendly, so anyone can follow along without feeling overwhelmed. Helpful planning ideas like prepping flowers ahead of time, keeping them cool, and practicing the first set you up for success. Understanding how to balance colors, sizes, and shapes makes your bouquet pop in photos and tie into your wedding theme.
Making your own bouquet can also save money compared to buying from a florist, while giving you total creative control and a story to tell. When everything is done right, your DIY bouquet becomes a highlight of your day, something that feels personal, meaningful, and beautiful. This easy-to-follow guide makes flower arranging feel fun and totally achievable, even if it is your first time working with blooms.
Now, before we begin sharing the “how-to,” it is always good to set your expectations.
- What type/style of bouquet are you looking to make?
- Do you have specific flowers you want to have in your bouquet?
- Where can you get these flower varieties, and can you get them in bulk in time for your wedding?
- Are you able to create a “space” where you can process, prep, and design the flowers?
- Will you have a chance to “practice” making your bouquet?
- Is this DIY project saving you money, and are you using your time effectively?
You would want to consider these questions and prepare to help you manage this DIY project. Of course, we know that wedding flowers can add up and get expensive, so this DIY concept might be a good idea to consider if you are okay with a more “unstructured” design.
From selecting the perfect fresh blooms and greenery or chic preserved flowers to arranging them in a way that reflects your love story, we’ll provide you with step-by-step instructions and helpful tips to bring your vision to life.
Whether you’re a seasoned crafter or a beginner, our DIY wedding bouquet guide will equip you with the knowledge and confidence to create a stunning bouquet
** SIDE NOTE: Before committing to a DIY project, you must evaluate what’s on your plate and estimate how much time it will take you to complete a task.
By the same token, also consider “phantom costs” associated with DIY projects, like supplies. packaging, storing, transportation, and most importantly, being open to mistakes and redoing things, which means you might need to re-purchase things to start over.
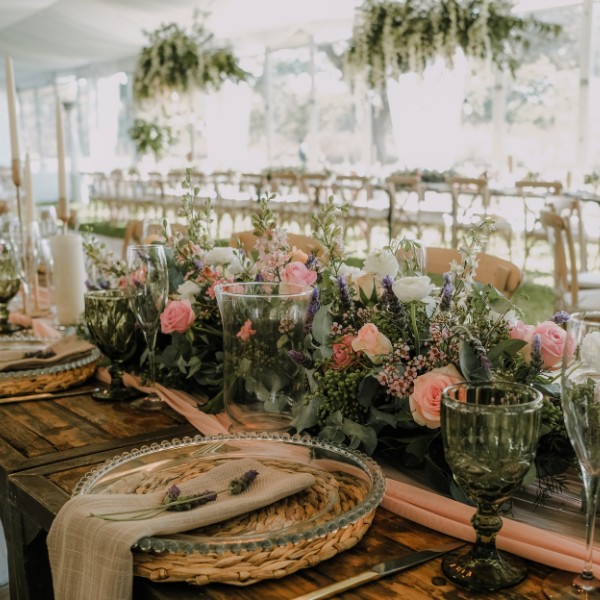
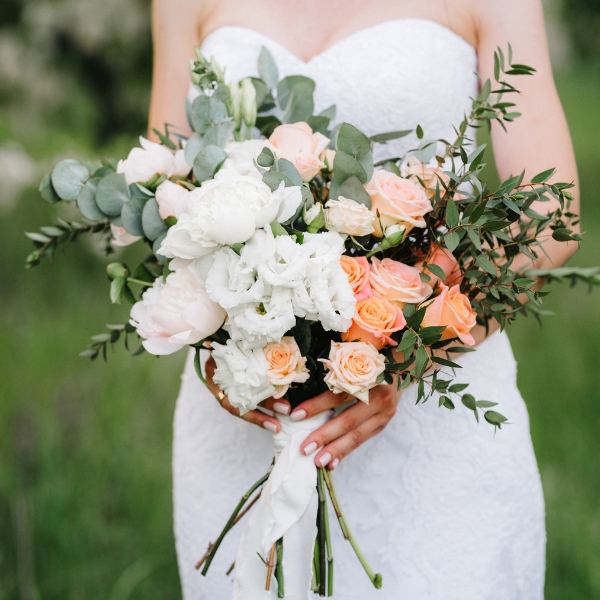
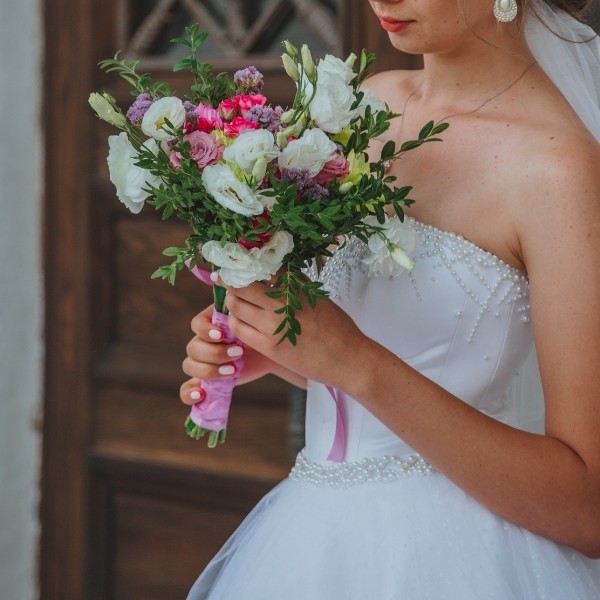
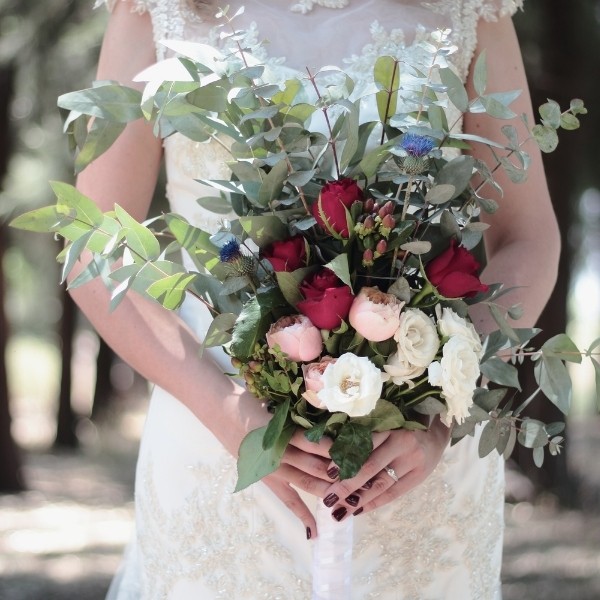
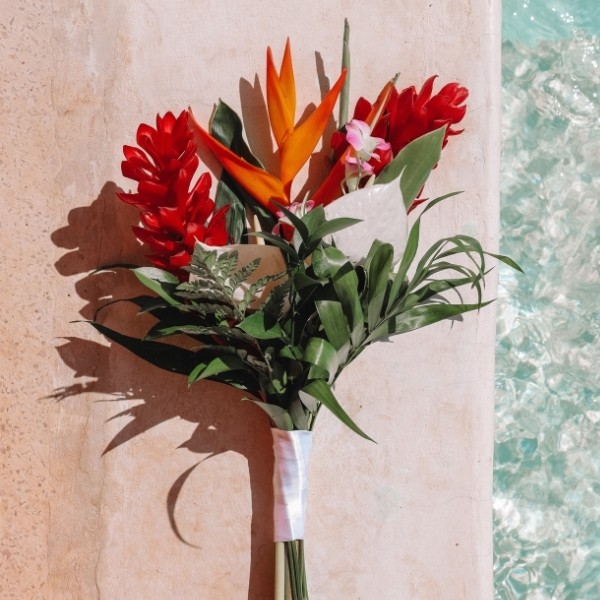
Let’s go over the easiest and probably the most manageable bouquet styles that are best suited for a DIY-er! You will notice that most of these bouquets are organic, garden, and almost loosely, freely styled hand-tied designs.
Here are some bouquet floral designs that are easy to DIY:


Have you figured out which one is for you? No rush. You have time!
While you’re still deciding, let’s go over the steps on how to make your DIY Wedding Bouquet!
1. Supplies
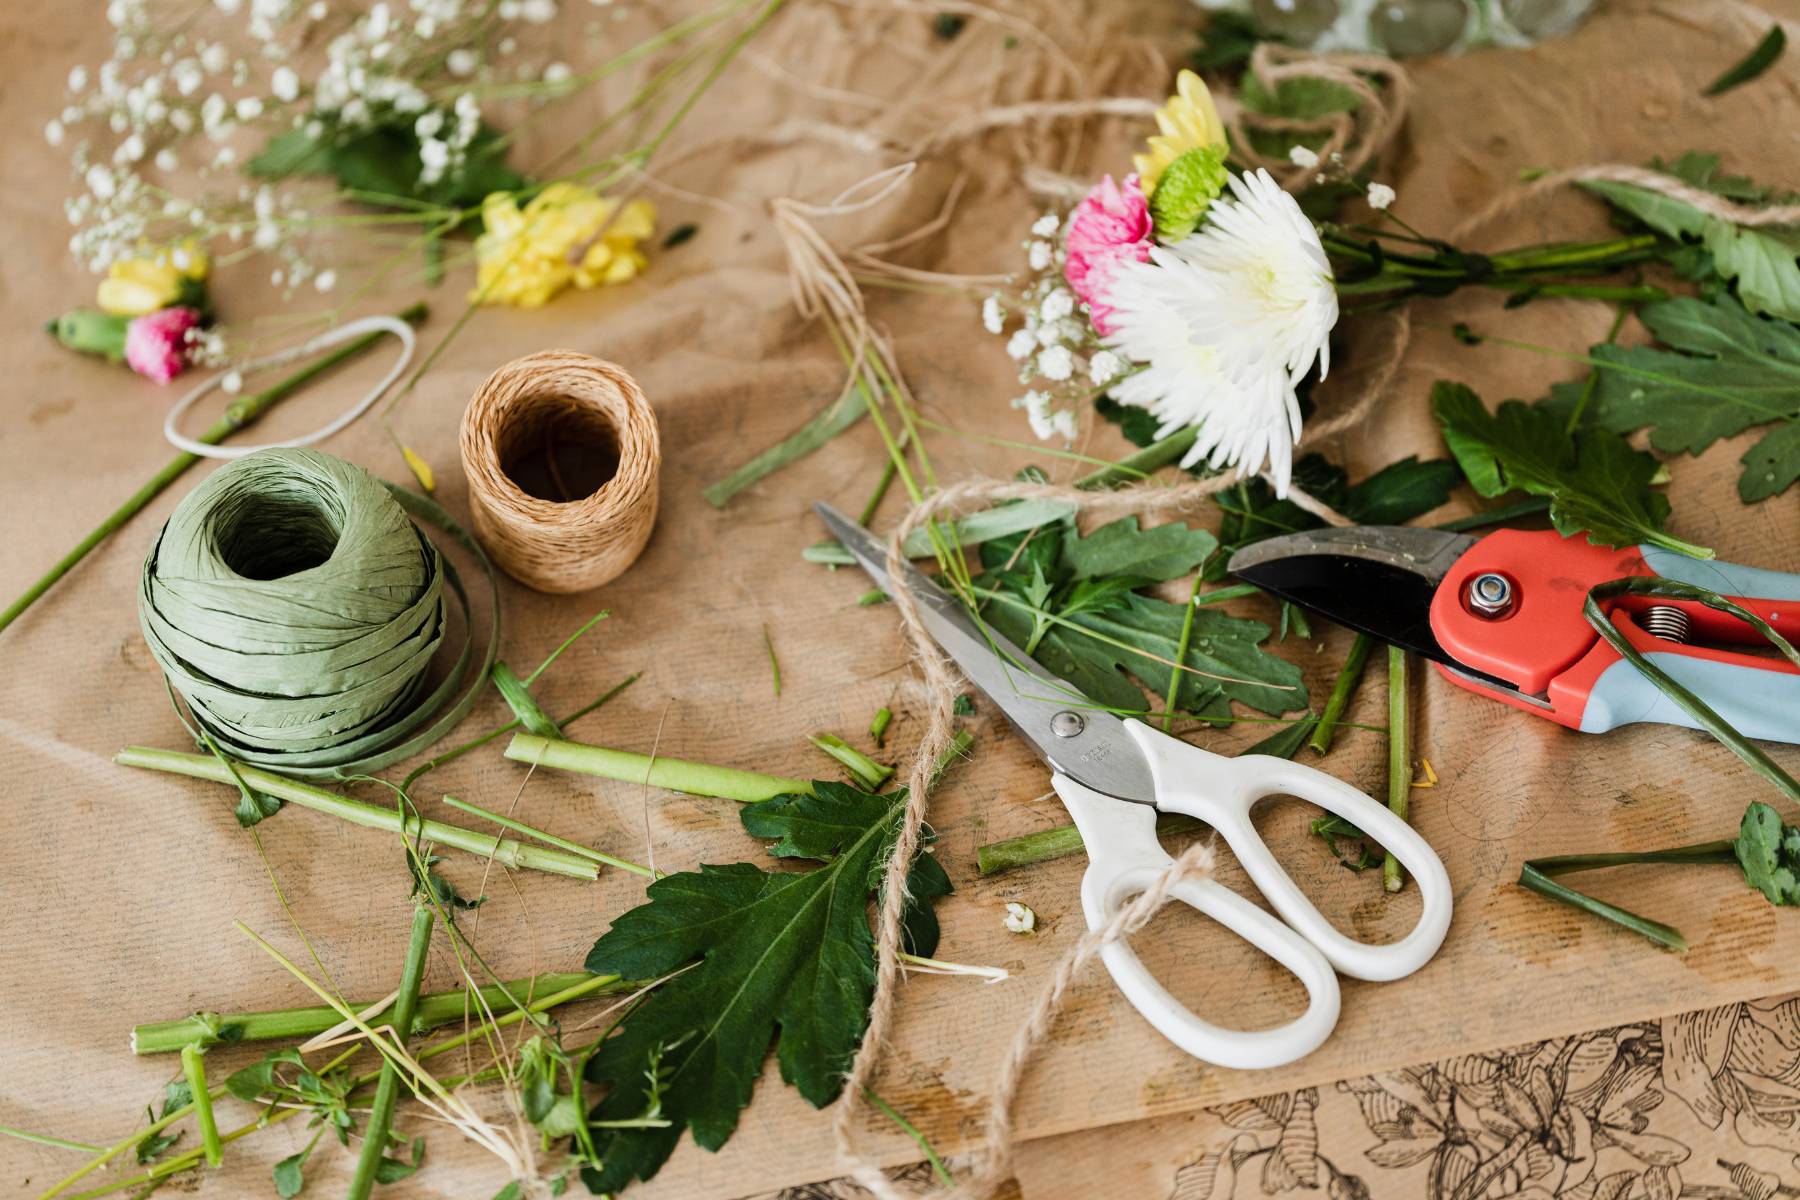
Scissors (pruners), floral tape, and silk ribbon/s are usually the top 3 things that you need.
However, note that you will most likely need pruners that you can get from your local hardware or even craft store if you are using fresh or preserved flowers with thicker stems like roses, salal greenery, tropical flowers, and woody varieties.
To also keep your hands safe, consider using garden gloves!
2. Flowers

Depending on the amount you need, you can most likely pre-order them from your local flower shop.
For more specific flower varieties, JR Roses carries almost all varieties that you can think of!
There are also online shops like The Bouqs, where you can purchase flowers and assemble them for your DIY wedding bridal bouquet.

3. Prep
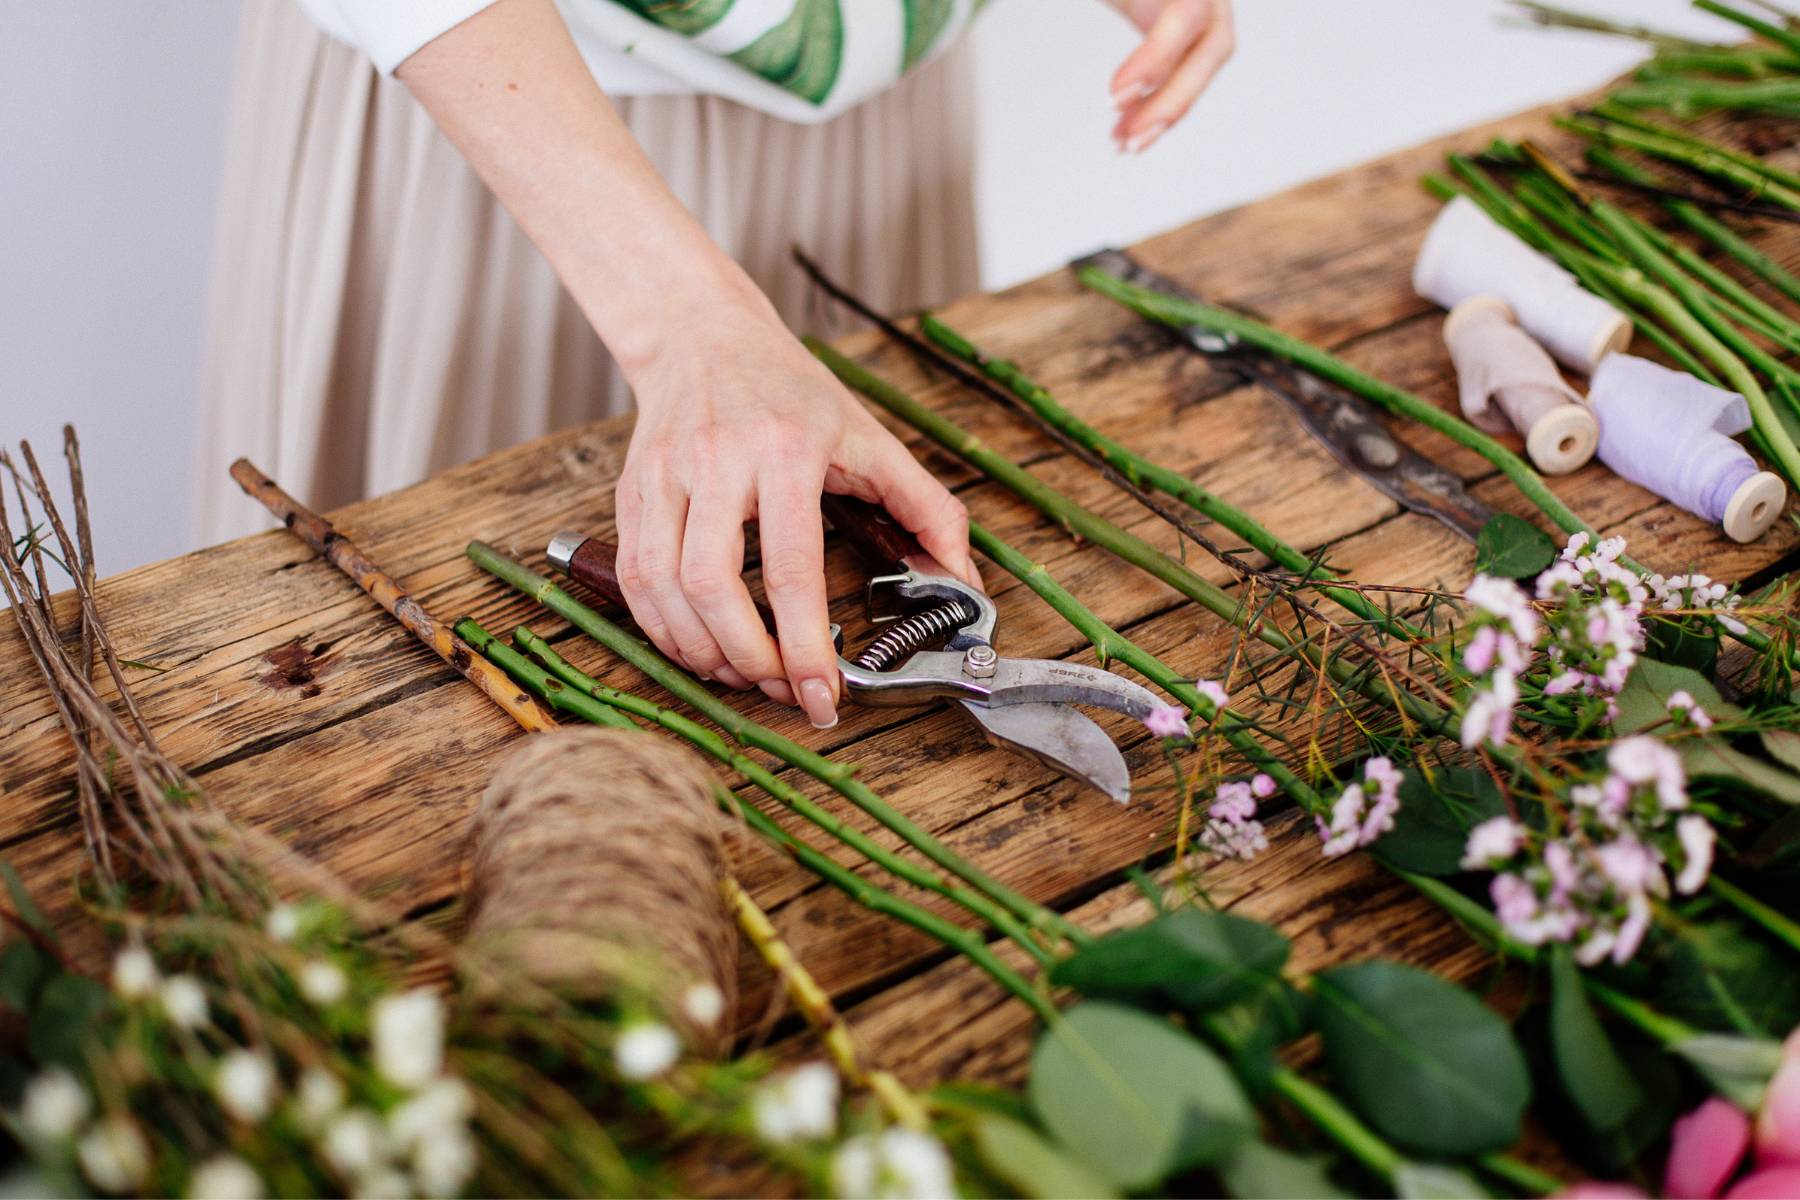
When you receive your flowers, they will come in tightly packed bundles, especially from wholesalers.
To ensure your flowers are healthy and ready for processing, you will need to fill up buckets with water (preferably with flower food), give the stems a fresh cut, and let them drink the water.
For best results, order your flowers to arrive 3-5 days before your wedding and let them sit in the water buckets. Ensure you are changing the waters every day and cutting off the ends of the stems to enable the flowers to drink more water, making them healthier!
You will start to assemble them 1-2 days before the wedding to ensure you have enough time and not stress last minute.
** PRO TIP: Ensure that there are no greeneries dipped in the water! Remove all greeneries to ensure they don’t touch the water! Leaves in water will promote bacteria growth which will hurt the health of the flowers!
** PRO TIP #2: When working with roses, ensure to cut the thorns as well before putting them back in the water. Thorns get to hurt and poke the other flowers in the bucket as you move them around.
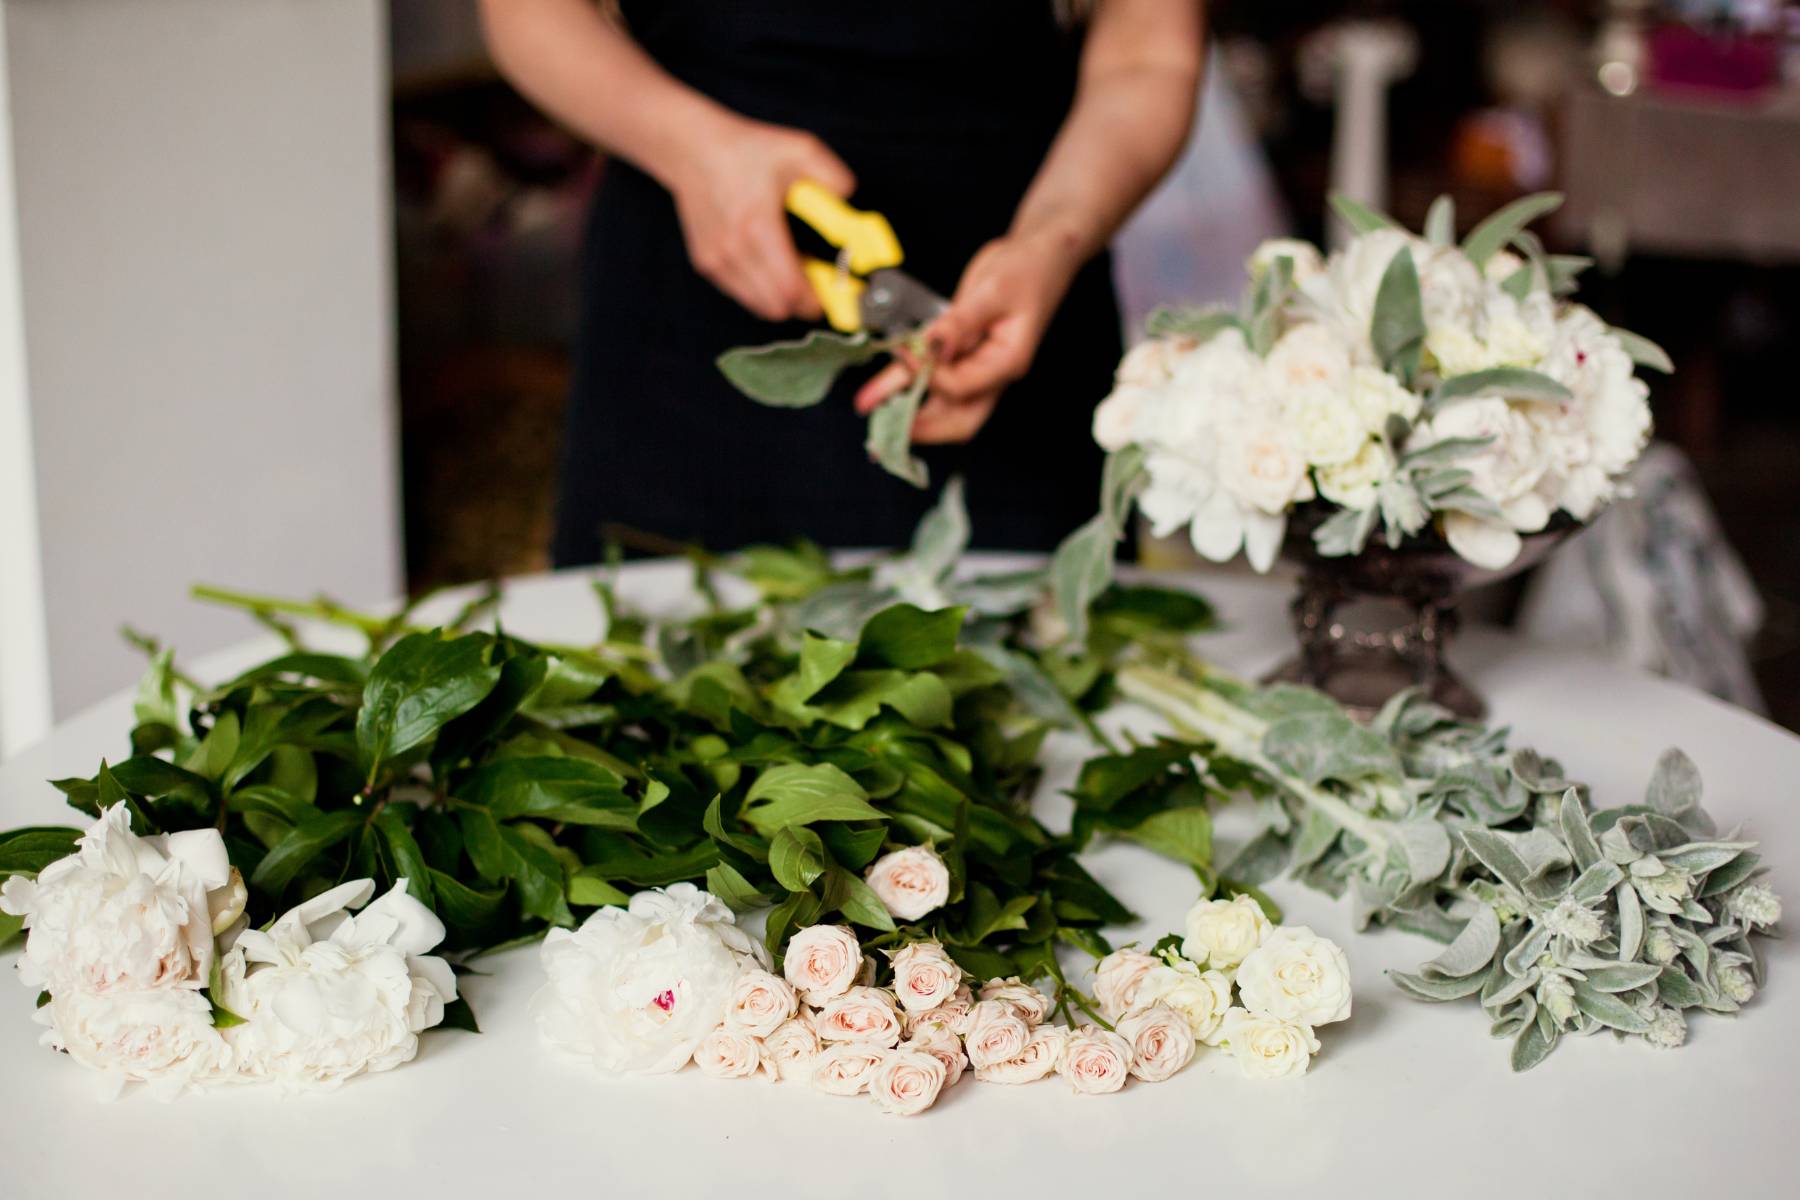
4. Remove leaves : DIY Wedding Bouquet
When you are ready to assemble the flowers, removing the greens will be the first thing!
To make any bouquet or flower arrangement, the first objective in designing is to remove all of the leaves from the stem.
Many experienced florists have “greenery and thorn strippers” or those devices they use to assist them in doing this, but you’ll have to do it by hand. Remove each leaf gently so as not to break the stem.
You can also use scissors and straight up cut them as close to the stem as possible, again, carefully, to ensure that you don’t scrape the stem.
Do this with all of your flowers before going on to the next step; it will save you time later and allow you to get rid of all of the mess before you begin!
5. Line-up
Start your DIY wedding project by lining up your blooms on the table will make it much easier for you to pick them up and arrange them.
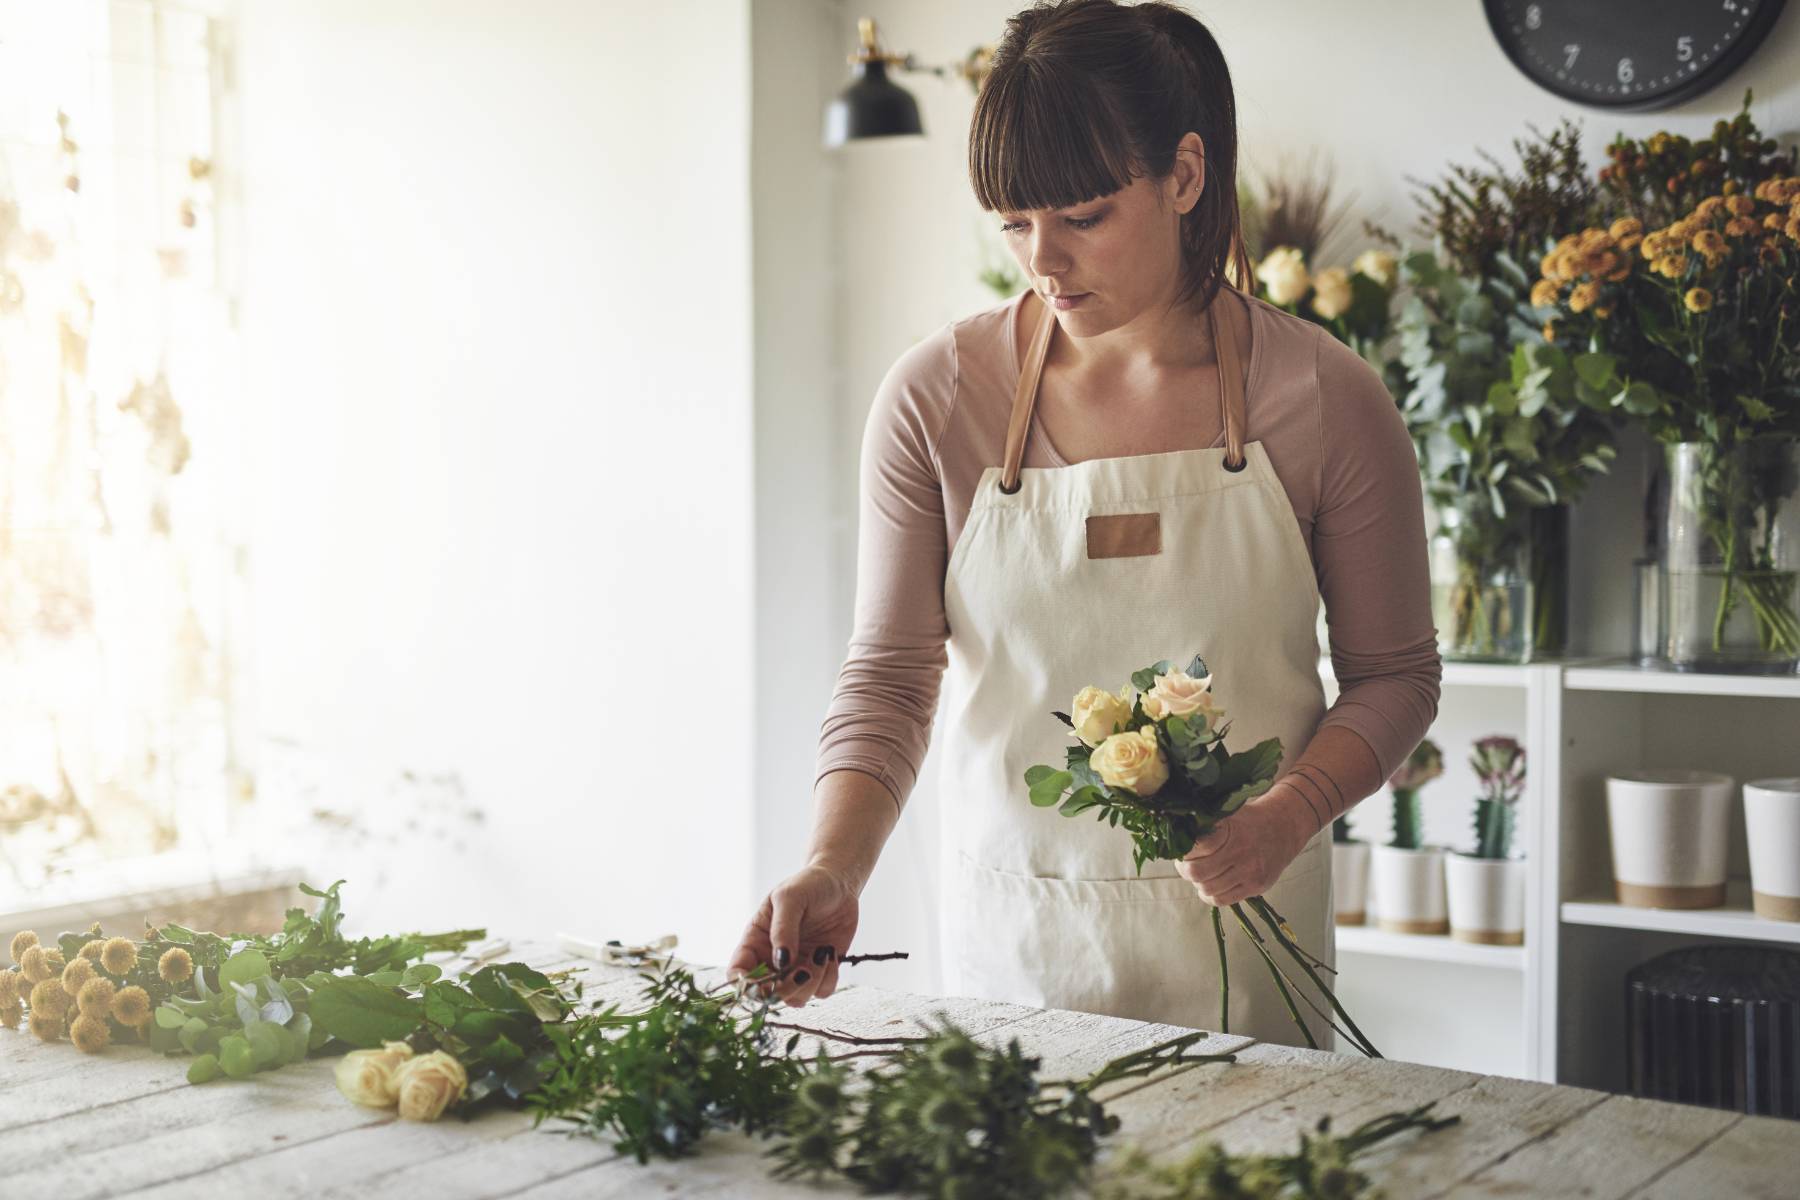
If you are doing more than one bouquet, this is also a great time to divide the flowers accordingly; this way, you can achieve the same size for each bouquet that you are making.
** PRO TIP: Remember that at this time, all the greeneries should have been already stripped. All the blooms and the greeneries you are adding should only be ABOVE where you are holding the bouquet.
Your grip on the bouquet is where you are putting your ribbon wrap later. Ensure that there are no greeneries where your hands are.
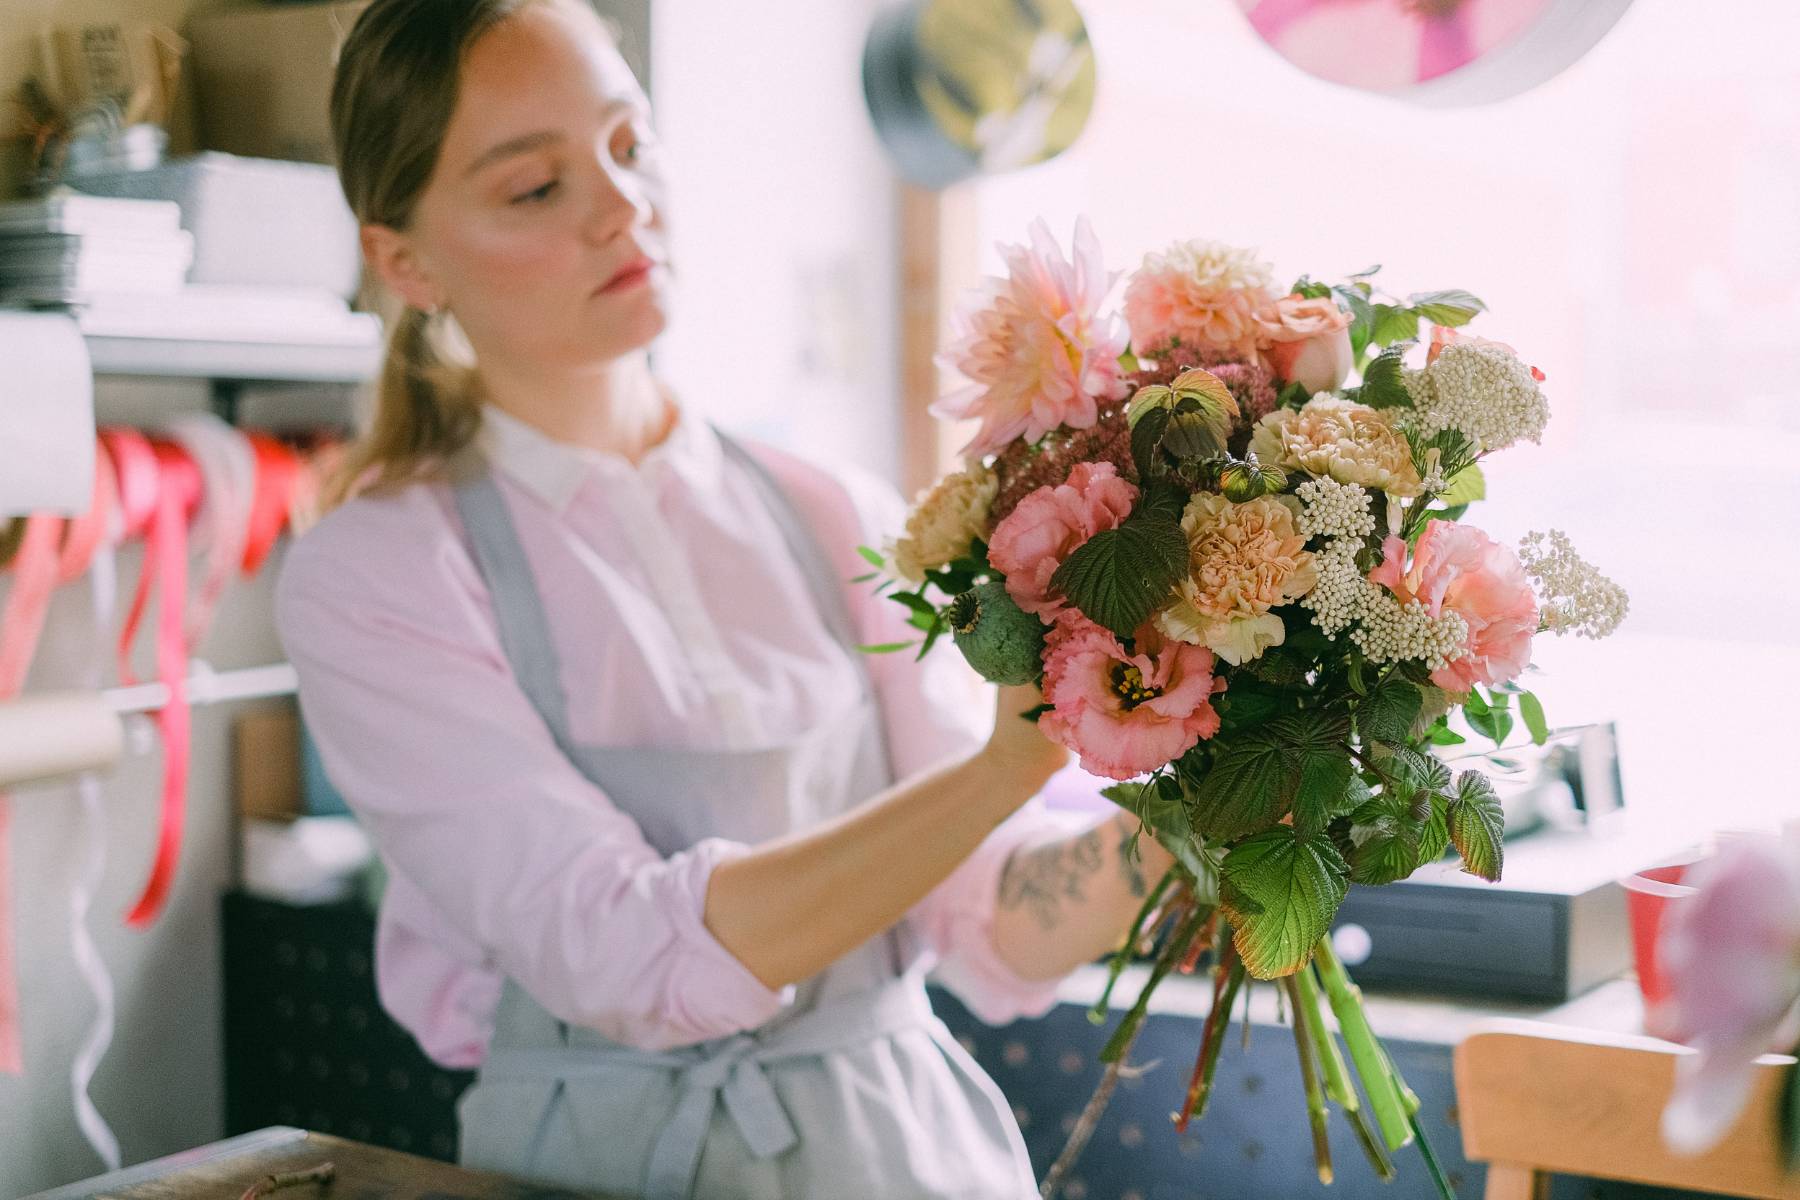
6. Start Arranging the Flowers
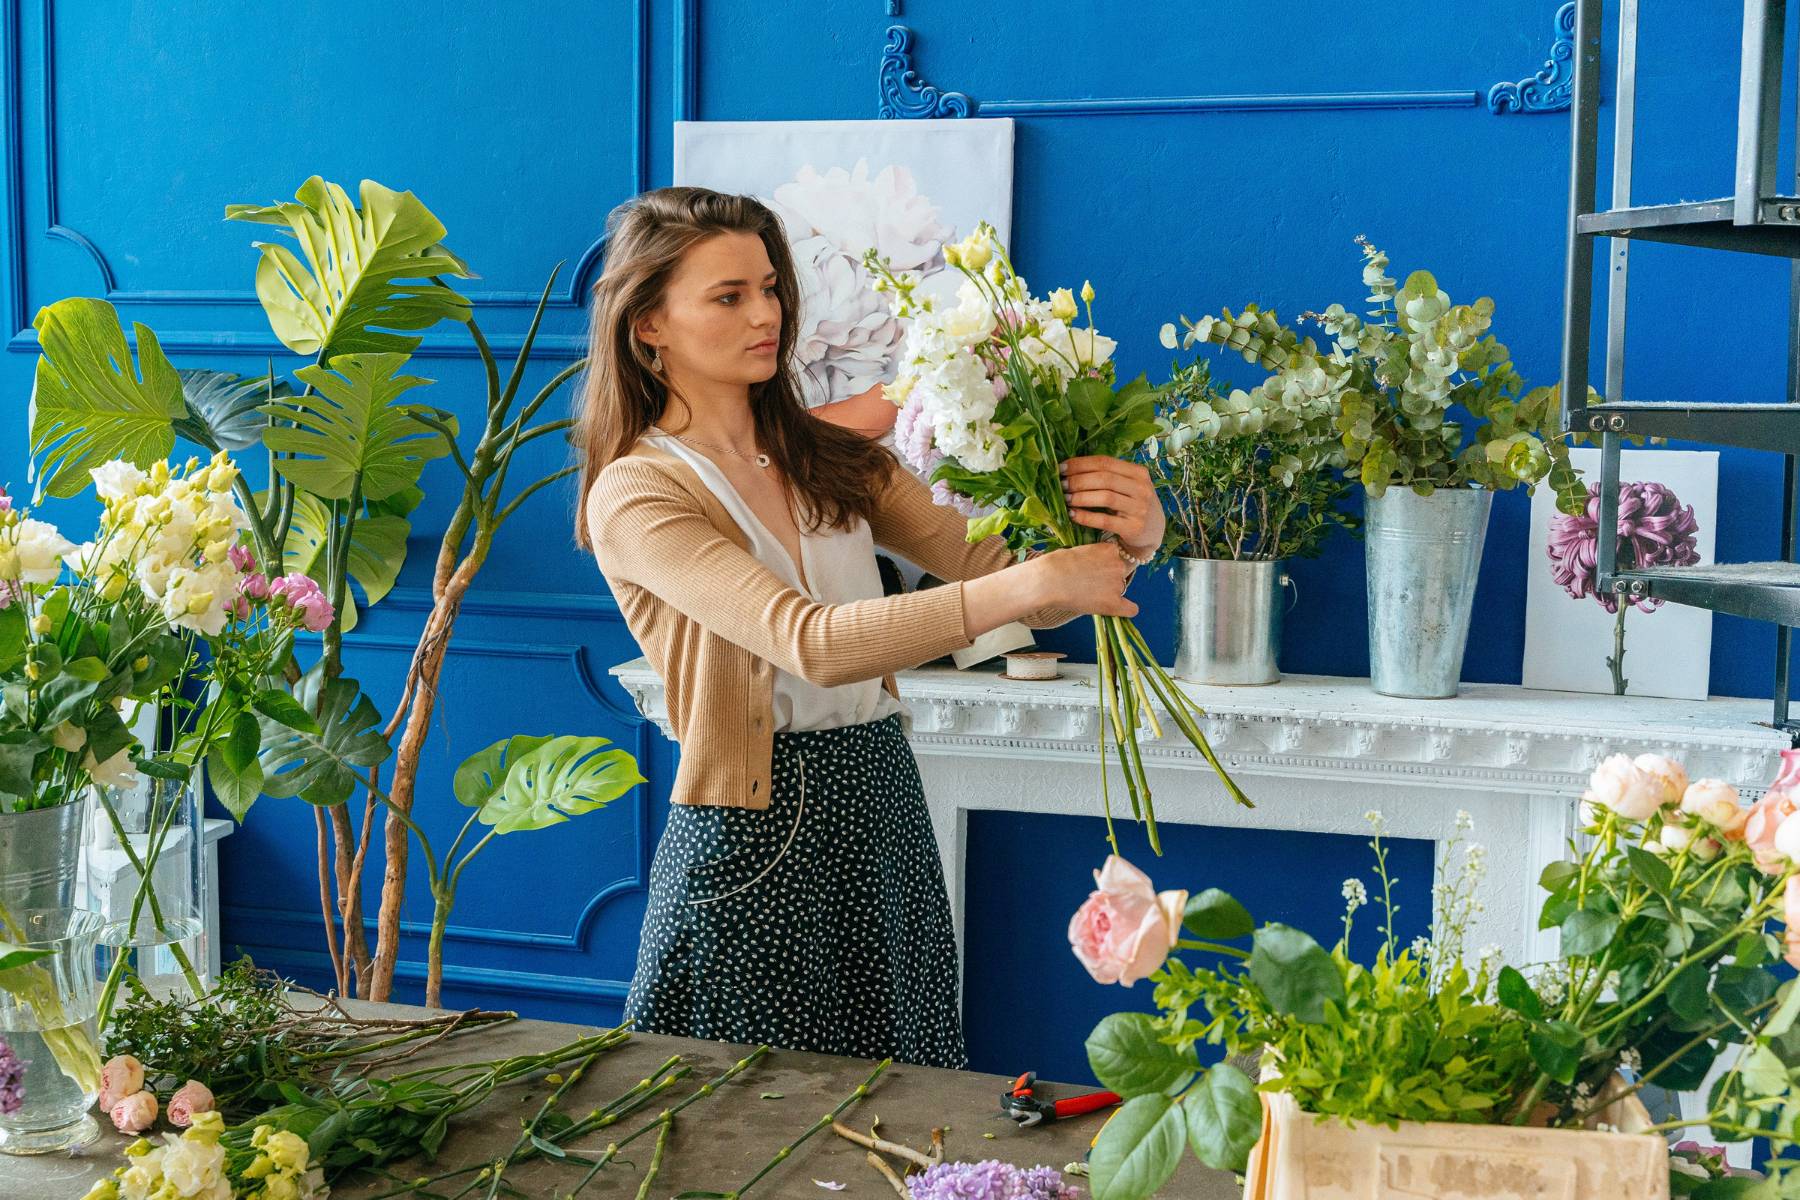
It is essential to determine your overall height and design goal for your DIY bridal bouquet. Do you like it long or do you like it short? This will affect how you place the flowers together, as well as cutting the stems accordingly.
There really isn’t a “hard” rule in arranging your flowers, especially if you are going for a more natural, organic, and garden-style arrangement.
However, here are some tips that you can use when you are working with specific floral varieties:
- Main flowers are usually the ones with sturdy and strong stems, like those from Roses and Carnations are best to start with, as they are the “focal” flowers.
- Soft-stemmed flowers like Tulips, Ranunculus, Gerbera Daisies, and Calla Lilies need to be placed in between flowers or greenery with sturdy stems like Roses and Carnations.
- Greeneries like Salal, Italian Ruscus, and Variegated Pittosporum can be inserted in between the flowers; however, to support the rest of the bouquet, it will help a lot to put them around the bottom of the bouquet so it won’t overpower the design.
Feel the stems of your flower choices before arranging them, and you will understand how “fragile” or “strong” they are. This will help you place them accordingly as you arrange the bouquet to ensure they won’t “break.”
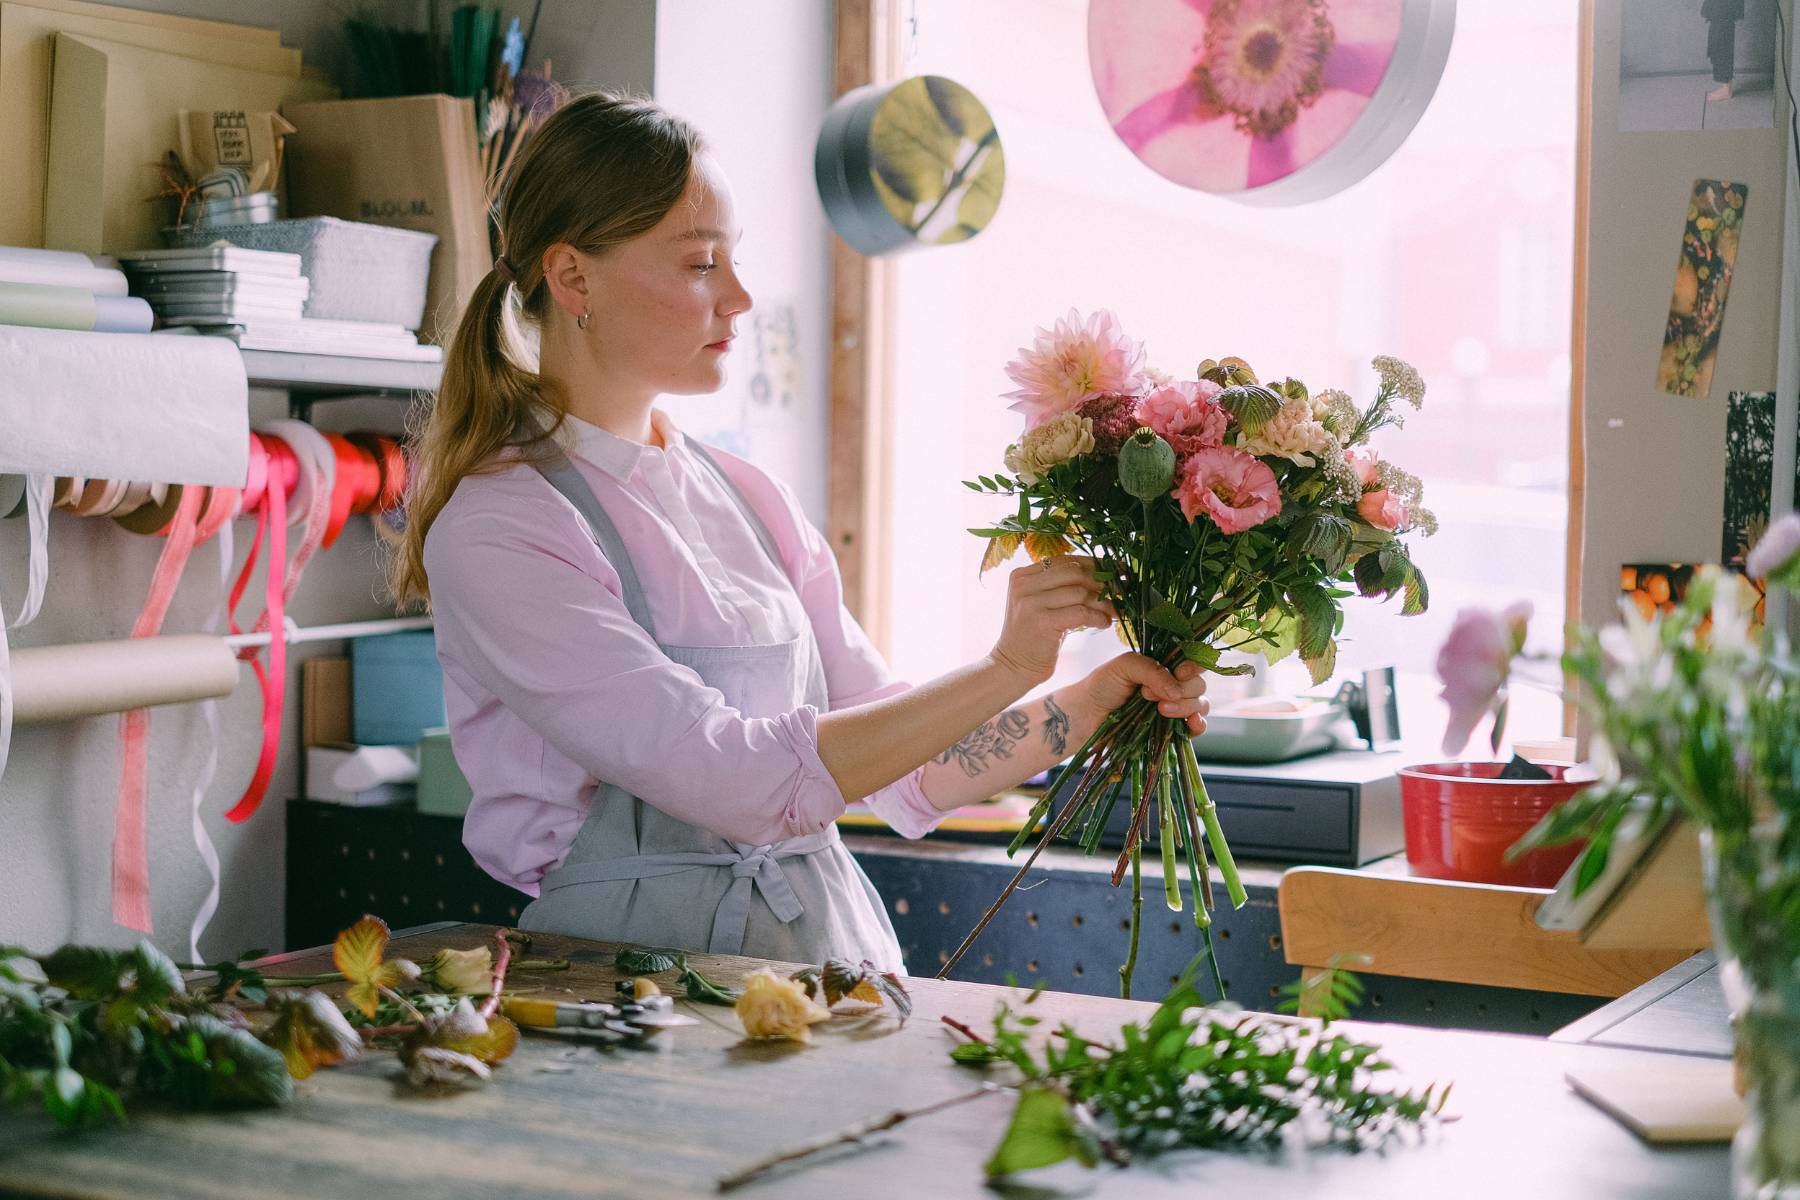
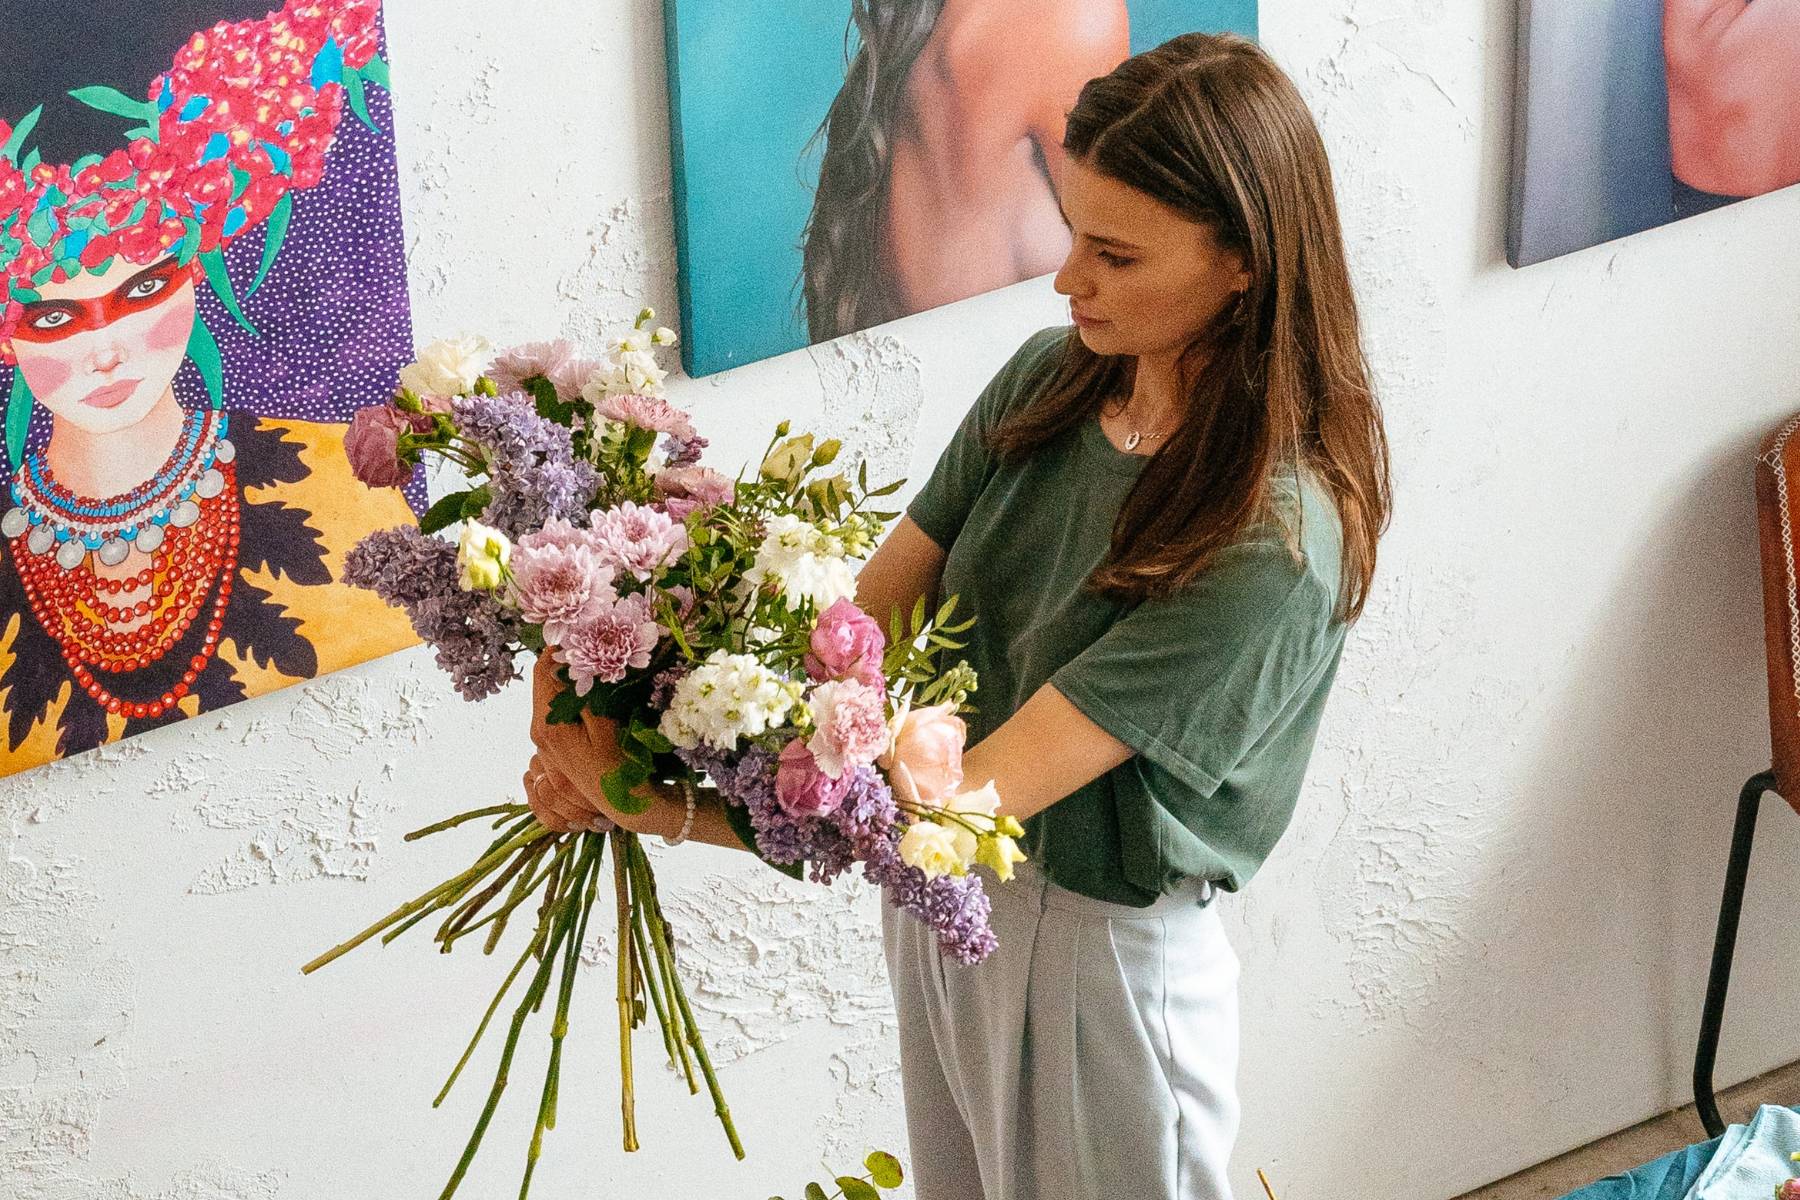
As you start arranging, hold the flowers loosely to insert other items into them as you see fit. Don’t squish the stems too much. Instead, relax your hands and let the flowers move around.
** Uneven height is perfectly ok. Unstructured is very modern. Minimalistic design is sophisticated. You can do your own style. No rules.
** PRO TIP: When you feel like your hand is already getting full with the bouquet and you are quite satisfied with the design that you currently have, you can tape the stems loosely. This will help you manage the stems better as you add more flowers!
** PRO TIP # 2: Hold up your design against a mirror so you can see how it will look from afar instead of looking at it so closely, which might not give you a good view of the design you are working on.

7. Bundle Together
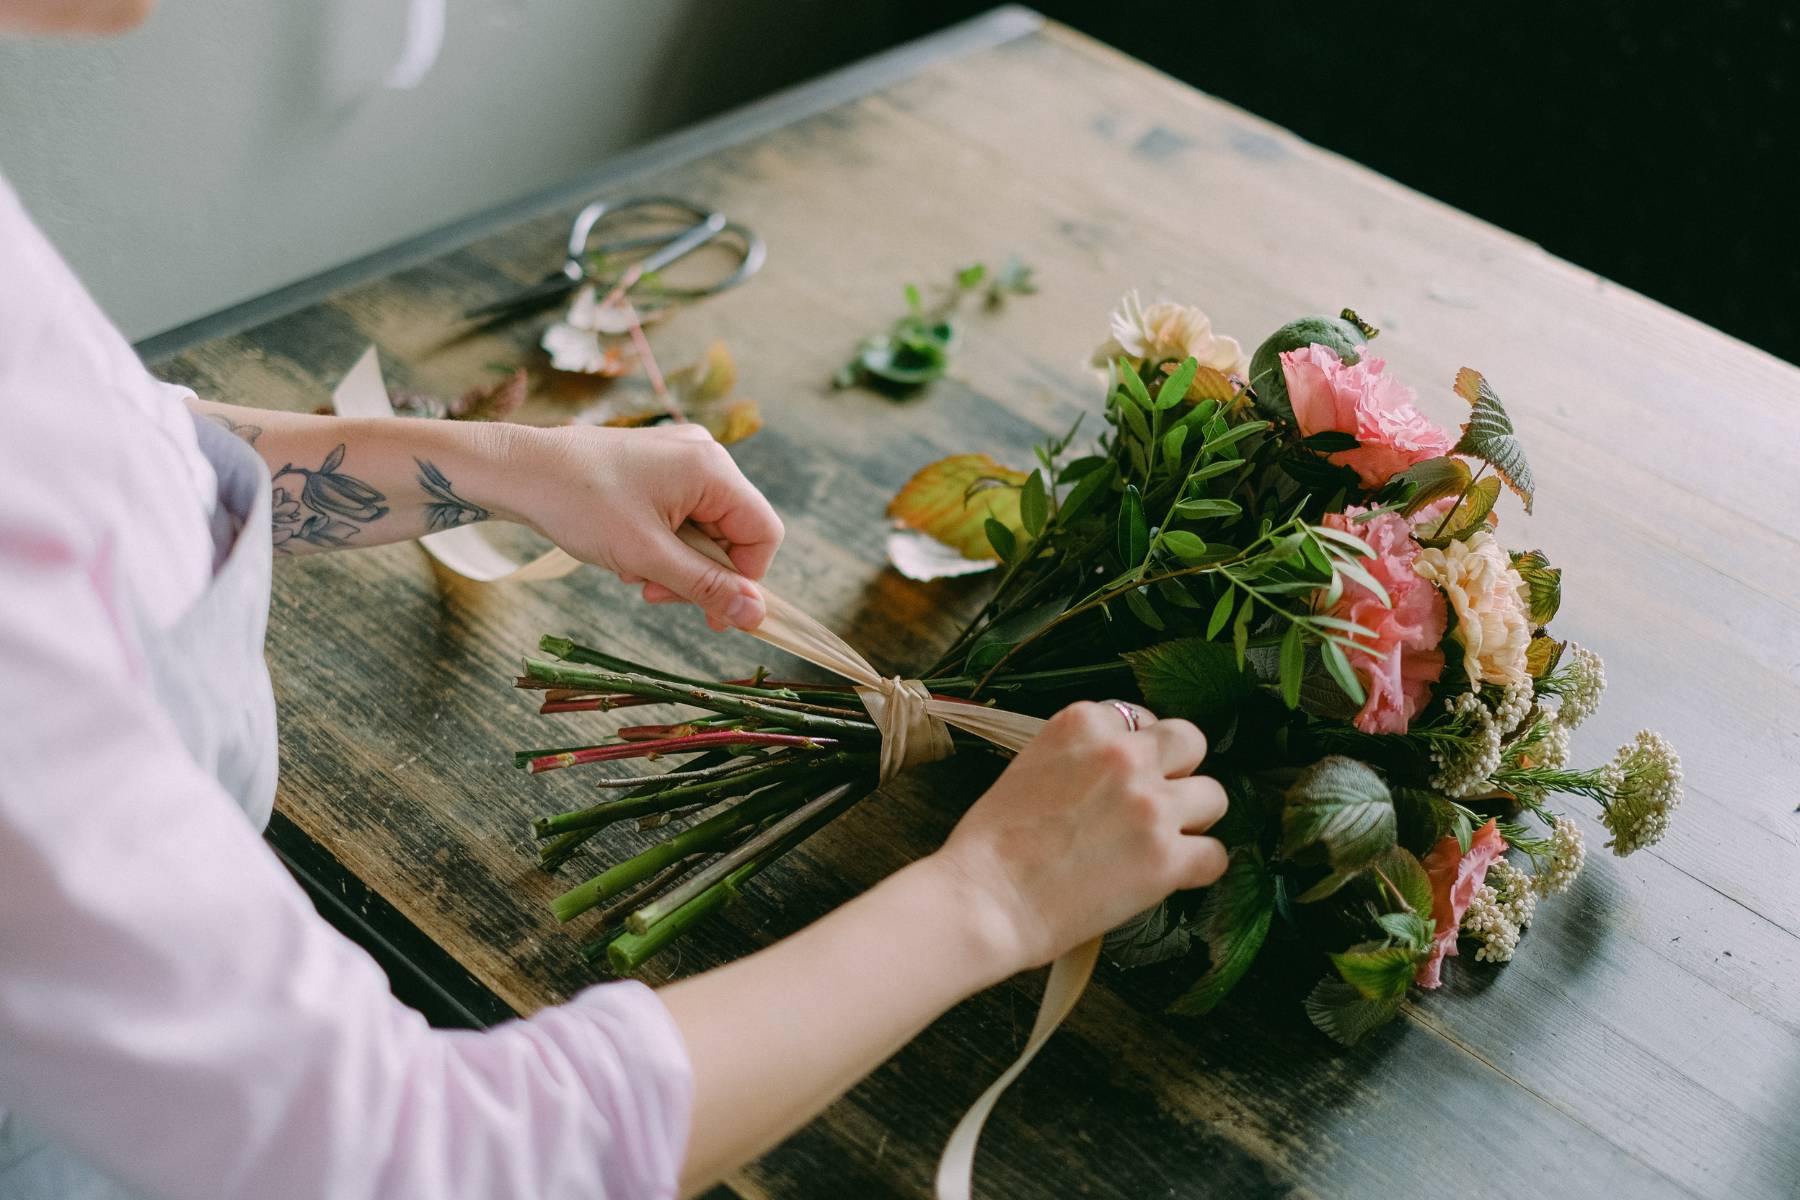
Now it is time to bundle them together! It is almost done! Yay!
You can use floral tape or clear tape, or a ribbon to tie it together. Depending on how heavy your bouquet ends up being, you might need to use a pin to ensure that the ribbon wrap doesn’t fall apart.
Pin through the last part of the ribbon upwards into the stem bundle so it holds firm. See how the pin went through the stem in the photo below? That’s how the ribbon will hold the bundle together better.
You start by wrapping your stems with a generic tape to hold them together (if you have floral tape, the better!), and then you wrap the ribbon OVER the tape; as you get to the end of the ribbon, you fold the edge inwards, and then you poke the pin through the stems upwards.
You will need to push harder since it is going through more than one stem. 3-4 pins through is a safe bet to ensure it won’t unravel.
See how the pin went through the stem in the photo below? That’s how you’ll insert it. Only, upwards instead of downwards.

If you don’t have corsage pins, you can use regular pins. The corsage pins are longer and will help hold the stems better. But if you are not doing a thick-stem bouquet, a normal pin will do.
For a bouquet, we would suggest only doing 2-3 pokes of the pin through the stems, also not to damage it, but just enough to hold it together and avoid unraveling.
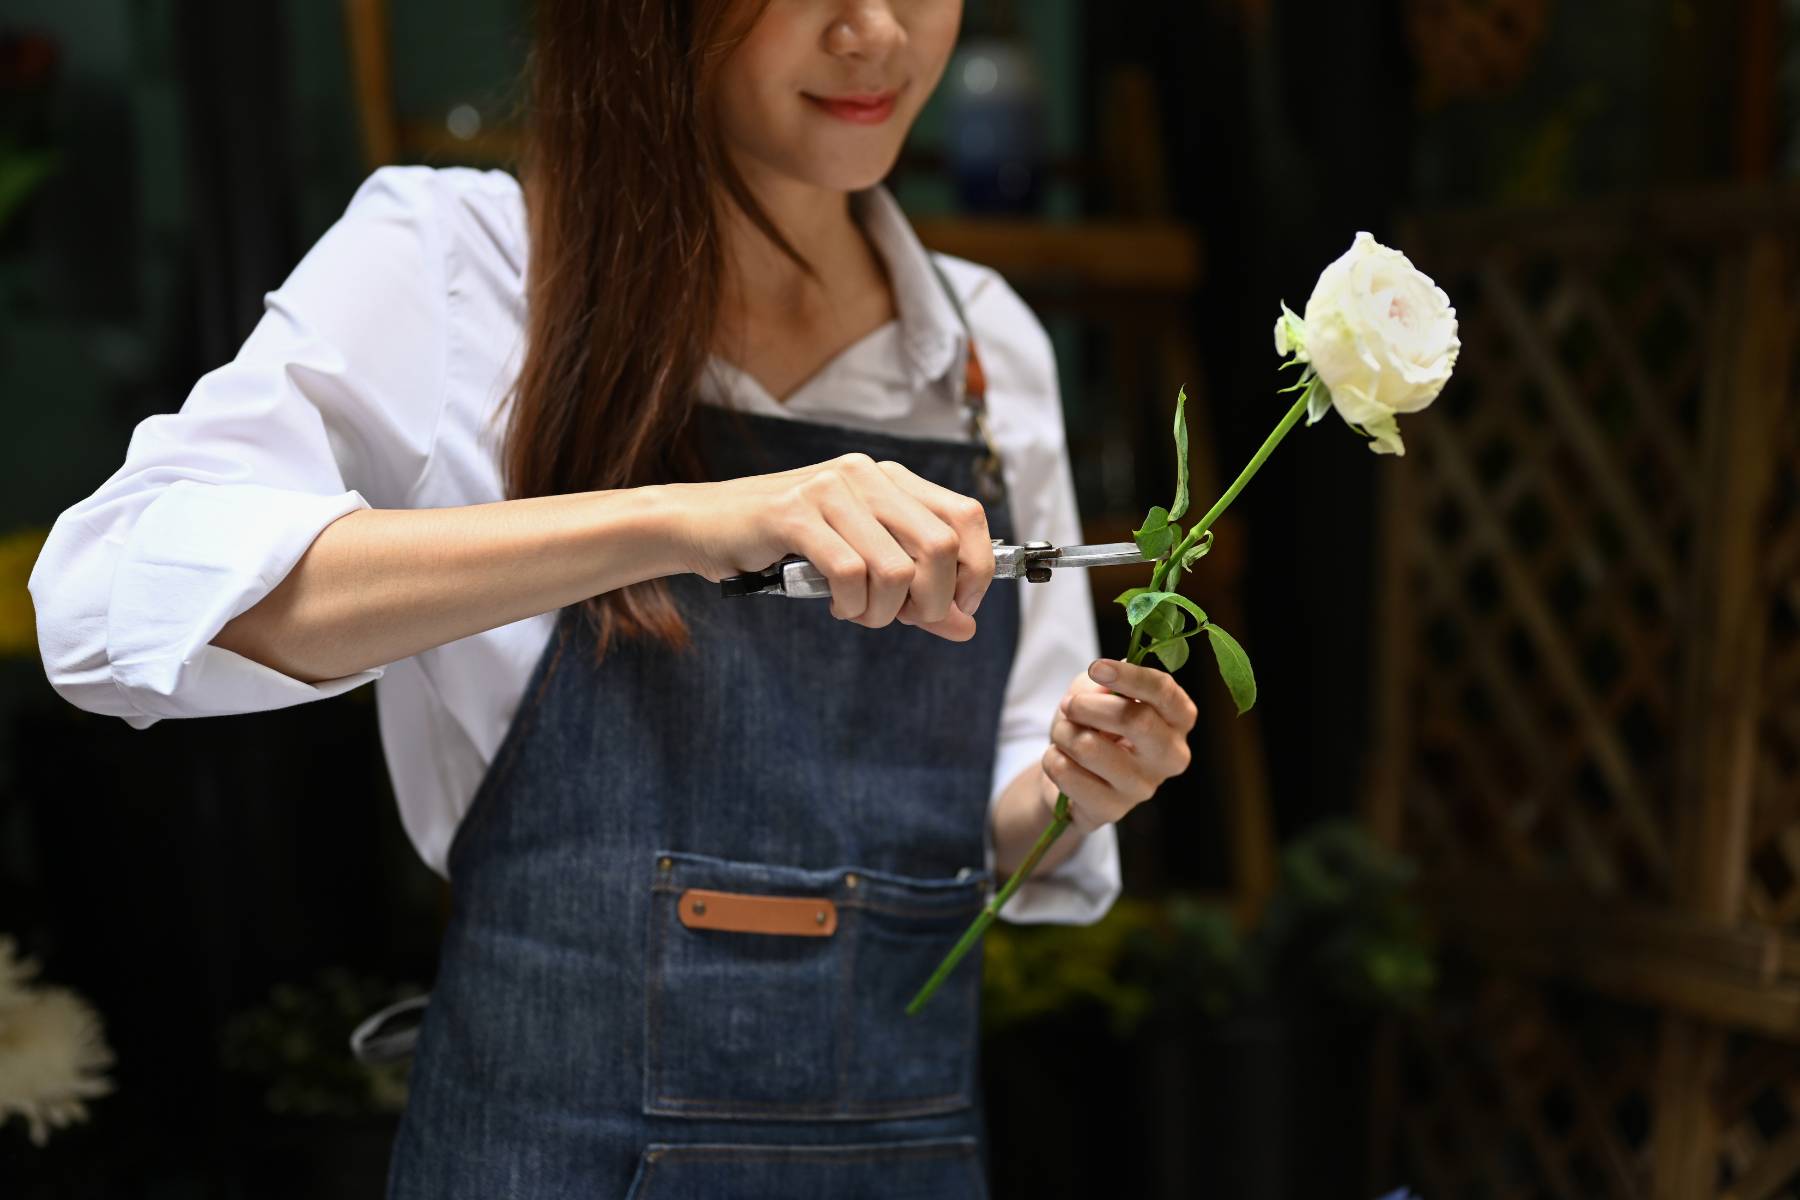
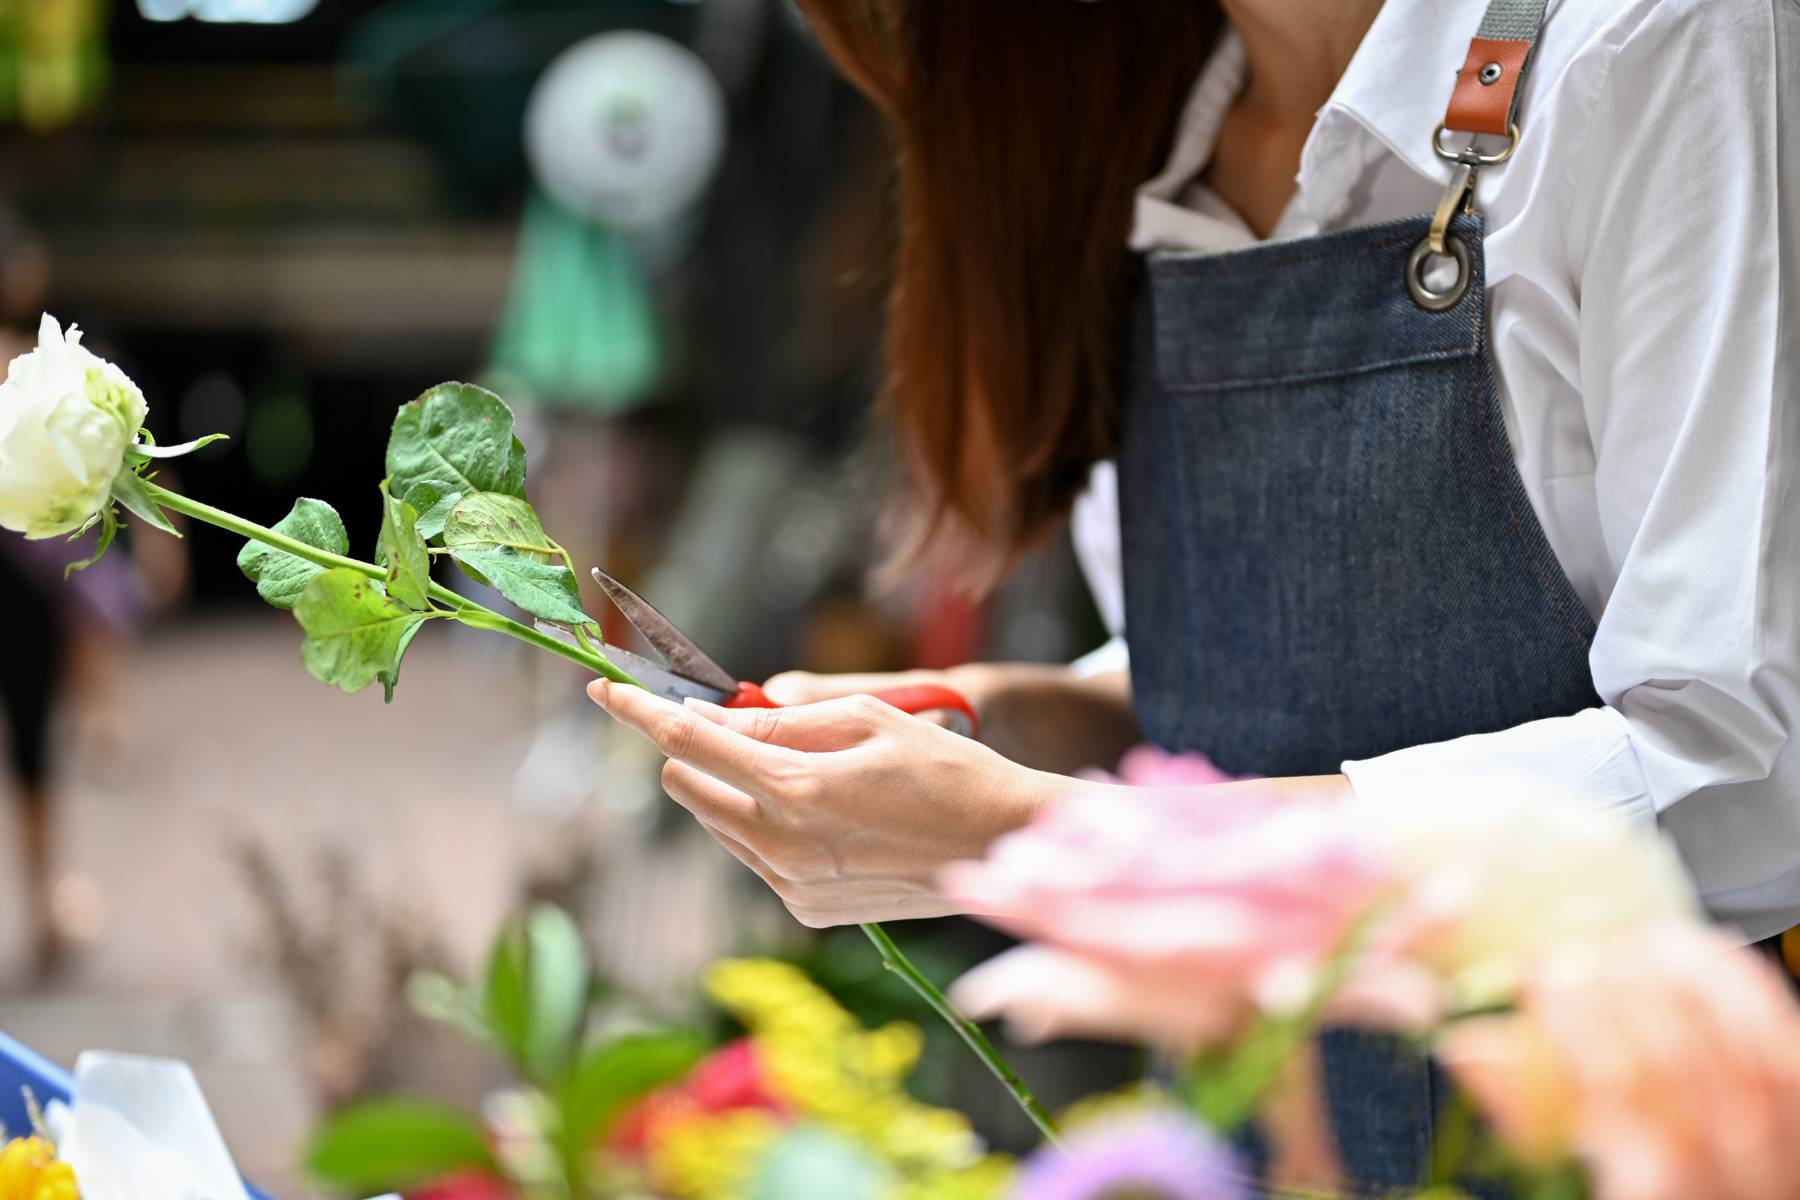
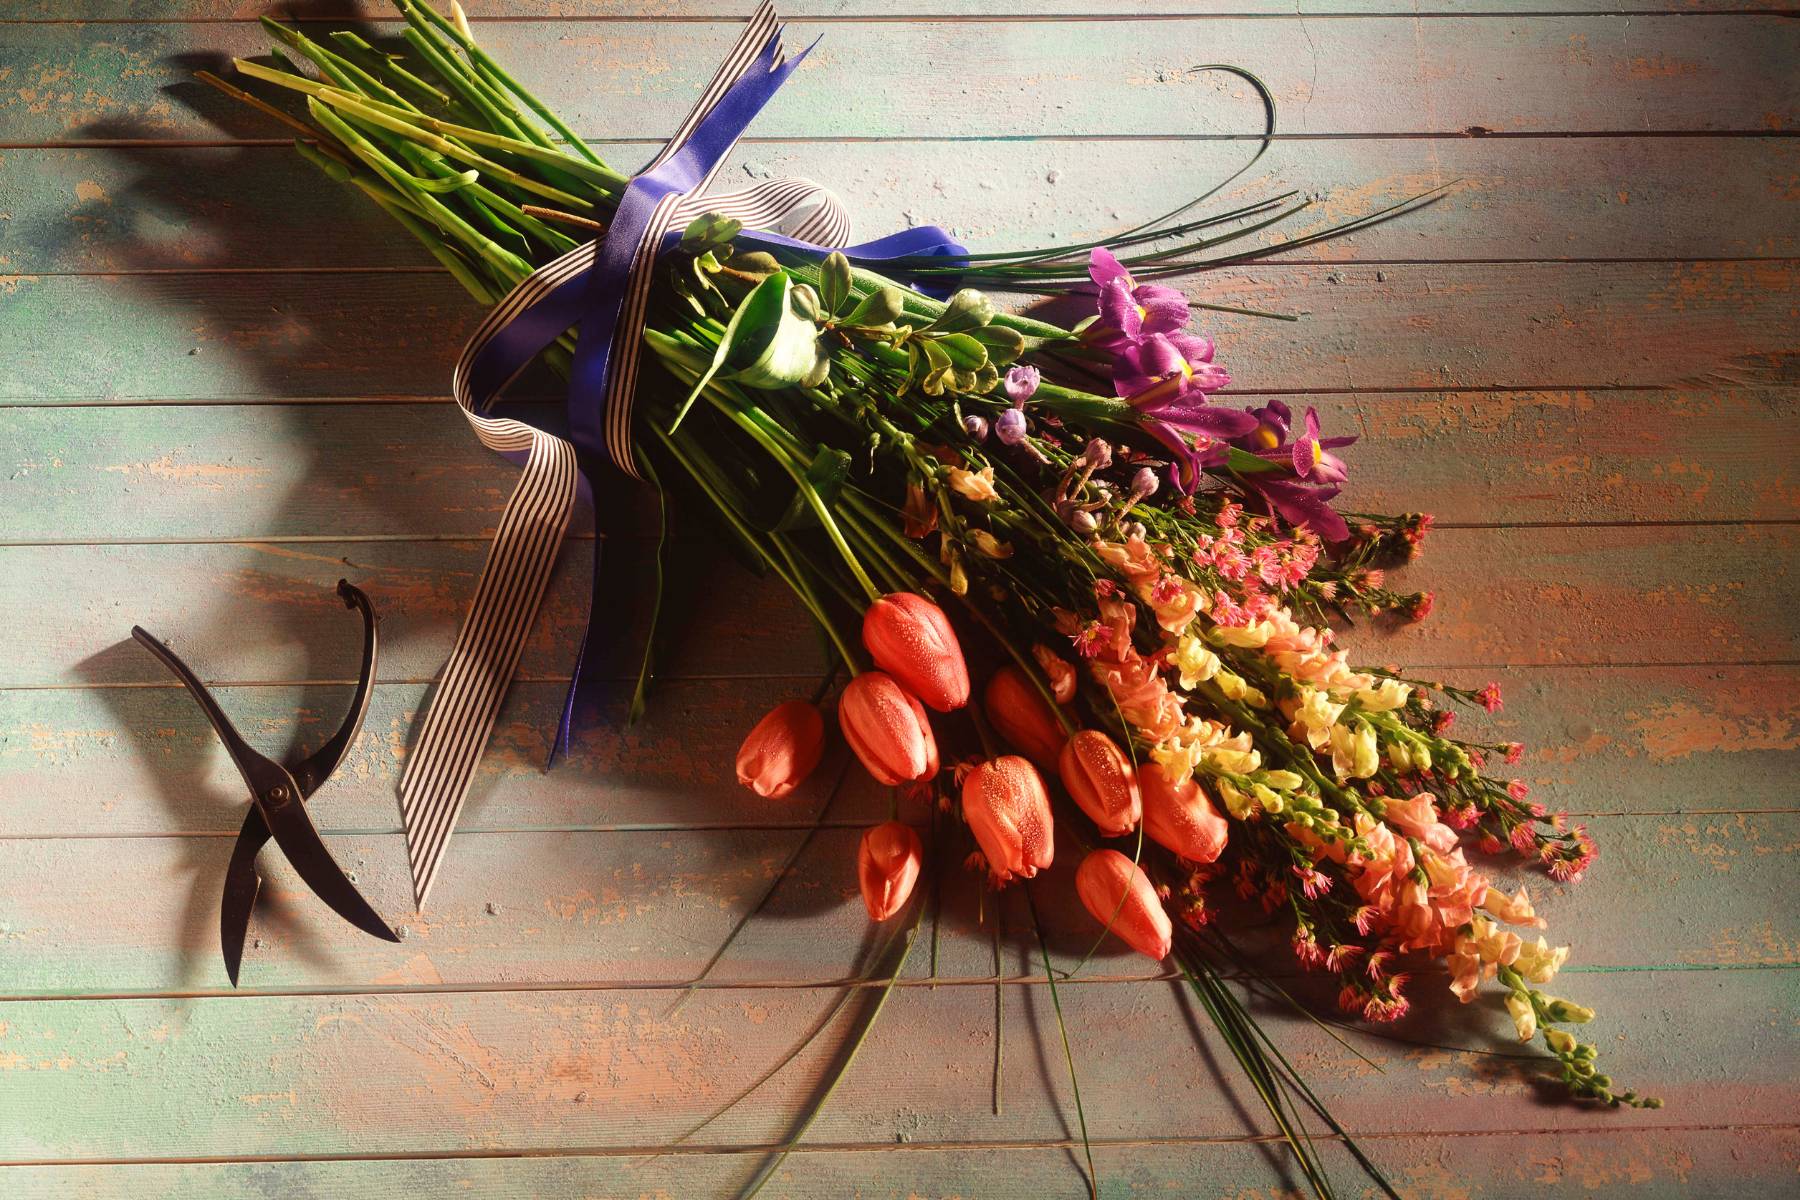
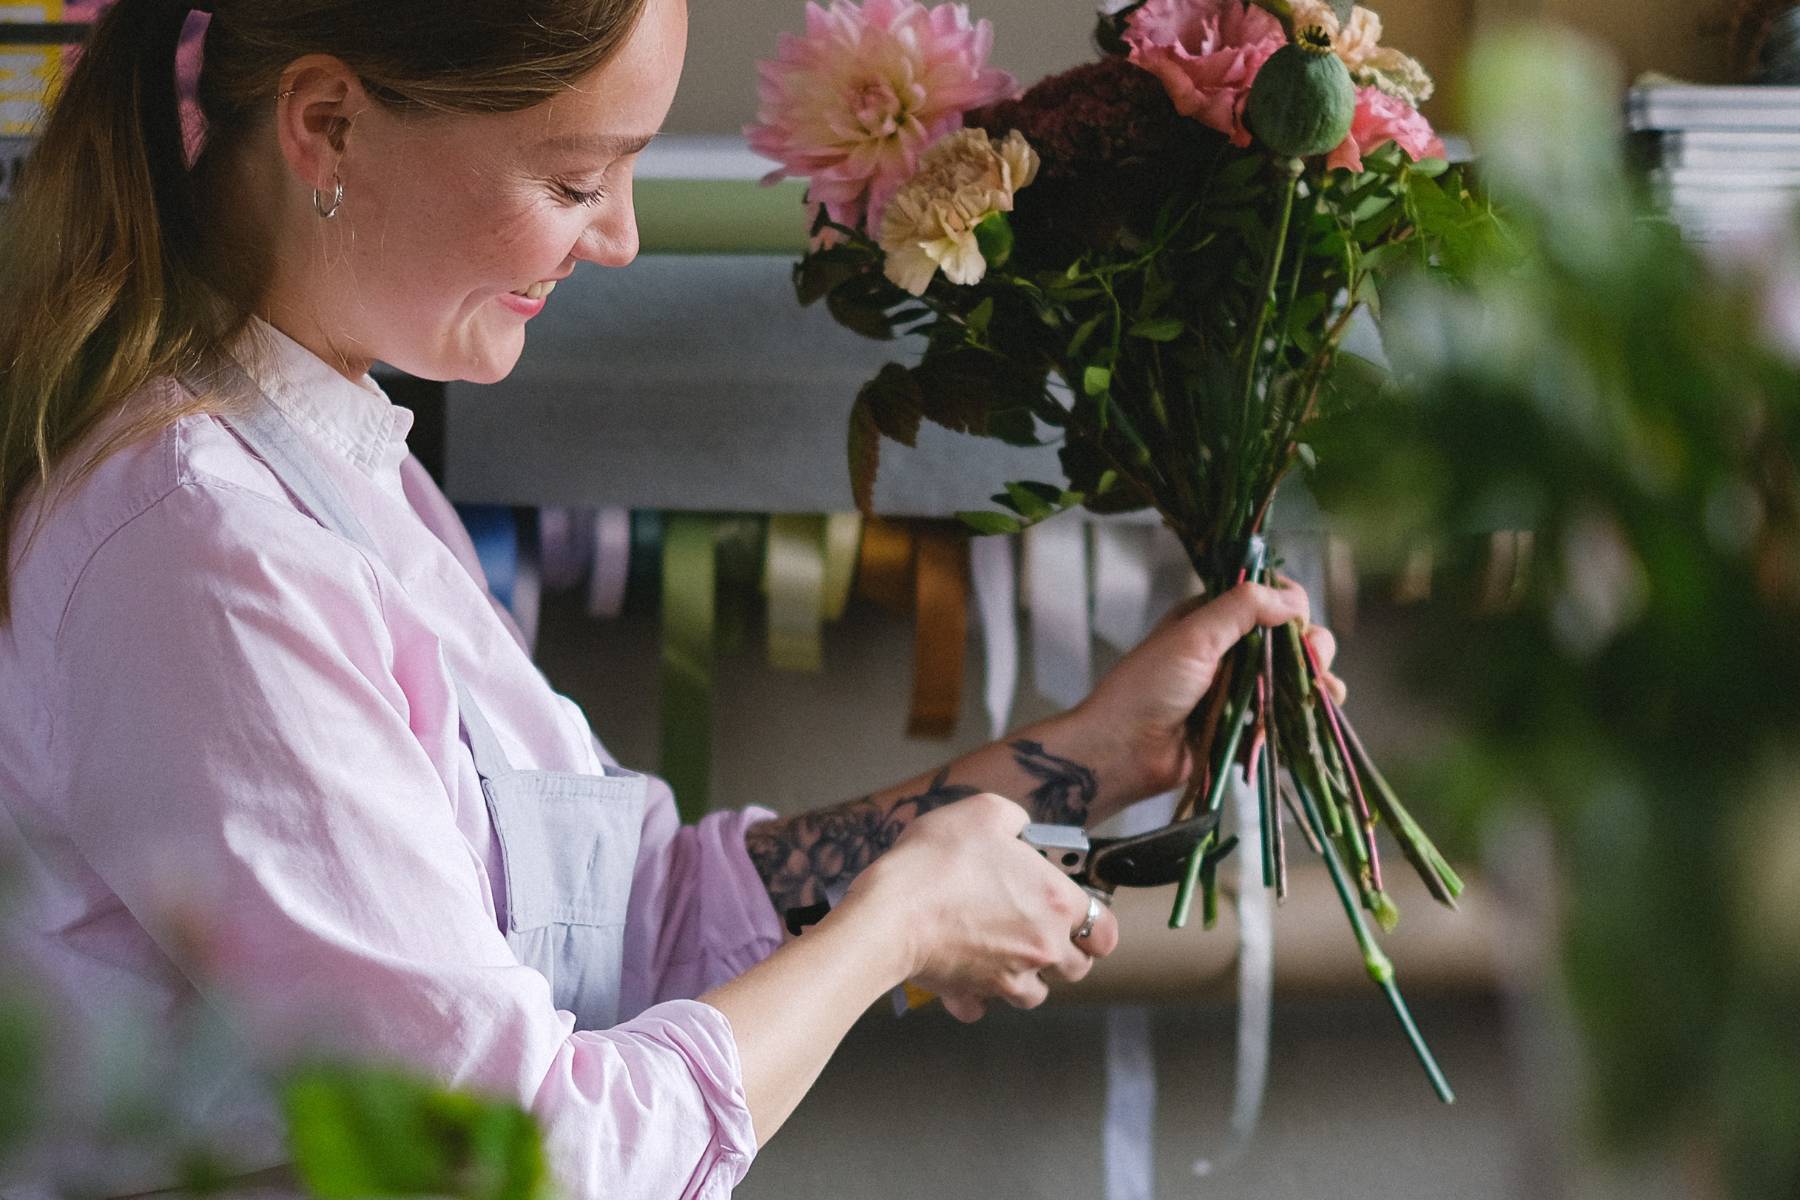
8. Cut the stems
The length of which you are cutting your stems will depend on when your wedding day is.
If you are finished with your arrangements 2-3 days before your wedding, cut the stems longer, so you can keep them fresh as the days go by (more tips on how to on the next step.)
This is where a heavy-duty pruner will come in handy. These stems are stubby and hard to cut.
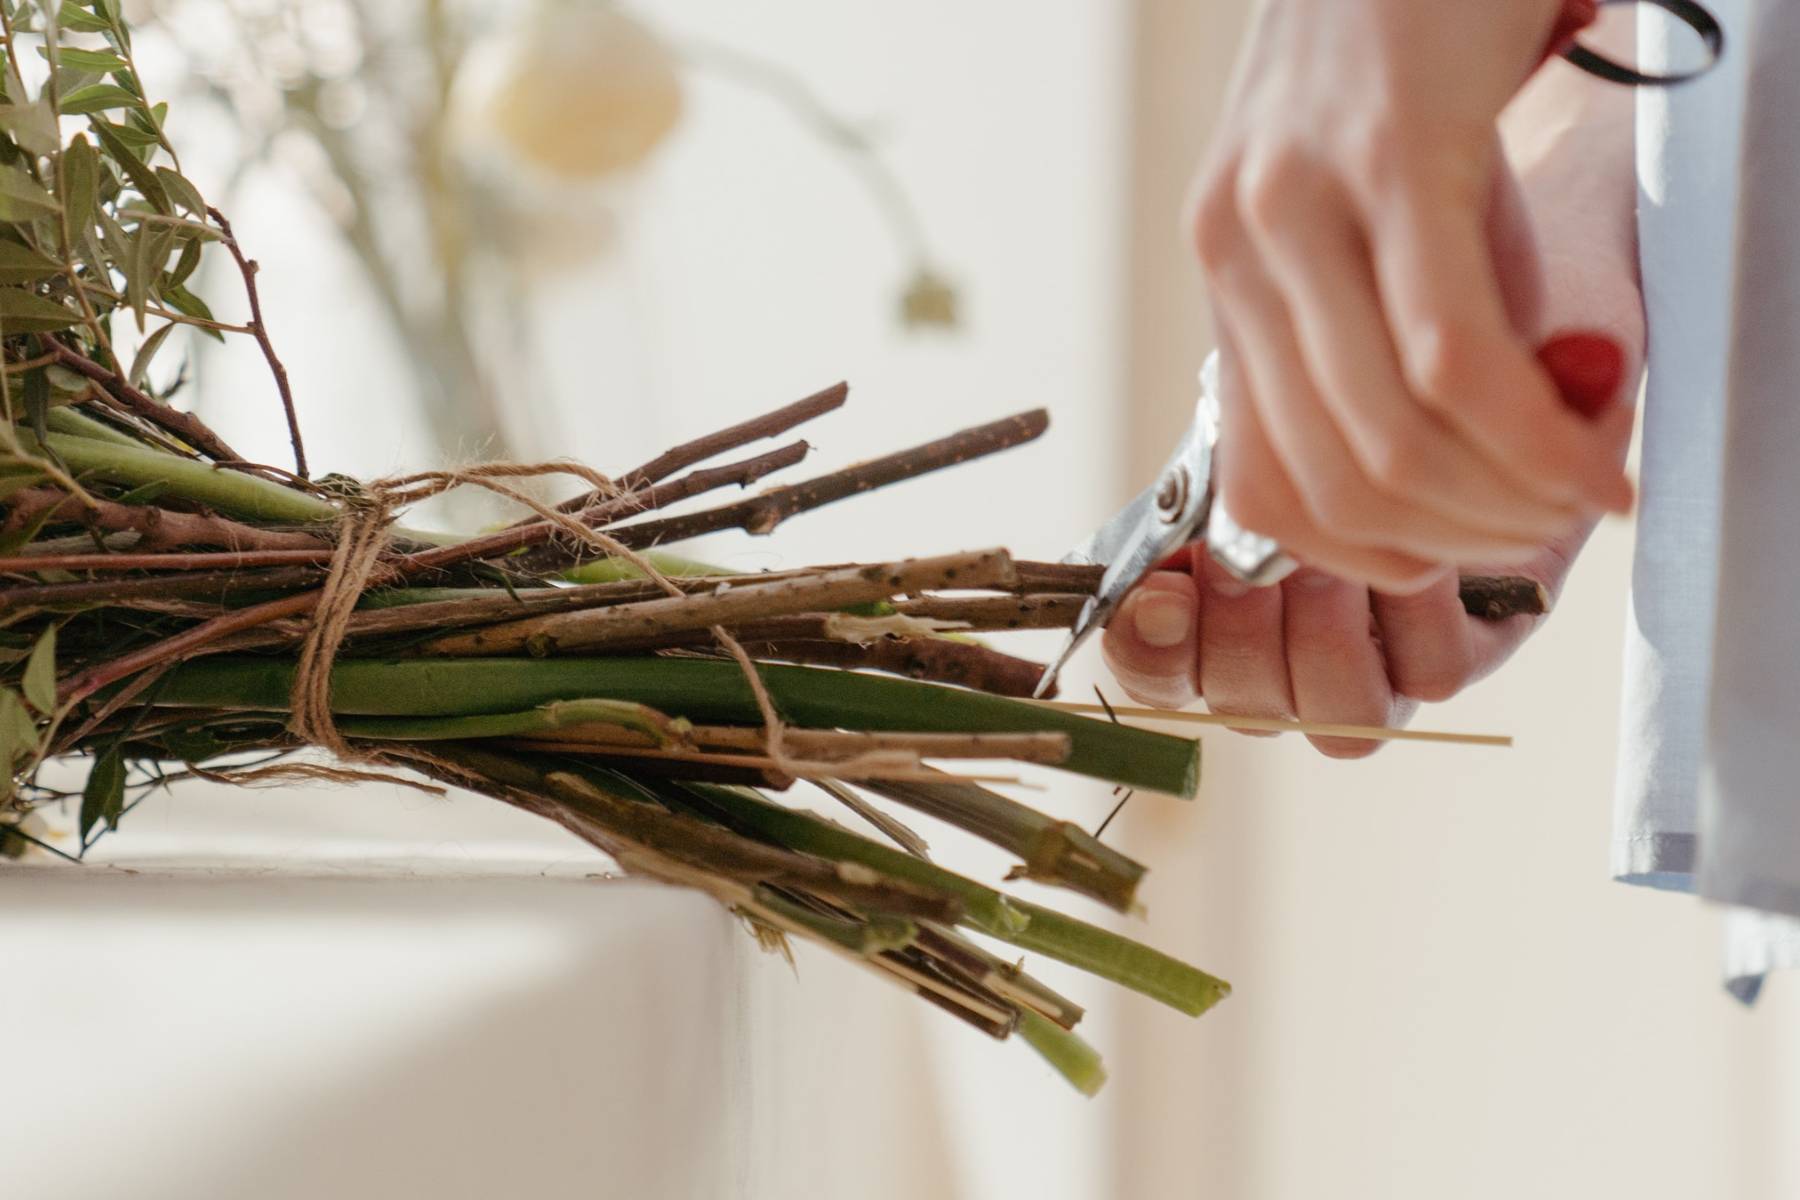
Assuming your wedding is the next day, cut the stems based on your final design, making it ready to go the next day!
Cut the stems flush. Regardless of the style of your bouquet, you would like to cut the stems flush so that they won’t snag on anything, especially your dress!
9. Storing

You can purchase bouquet vases from your discount craft store for your bouquet storage.
As mentioned earlier, if you are 2-3 days before your wedding, cut your stems a lot longer so you can give them a fresh cut for the next 2 days as you change the water in your vase.
These are essential steps to keep your flowers fresh and healthy for your wedding day!
** PRO TIP 1: Store away from draft and direct sunlight. Please keep them in a cool room. AVOID fondling the blooms as they will brown easily the more you touch them! The oils on your hands will make them look wilted if you keep touching them!
** PRO TIP 2: Purchase a box and place rubber non-slip liners at the bottom before you place your bouquet vases so they won’t move around as you transport them. This way, when you get to your wedding venue, they are still fresh!
** PRO TIP 3: Only fill your vases with water halfway through so they won’t spill while in transport.

10. Practice (This is important if you want to do a DIY Wedding Bouquet!)
We’re adding this tip here to reiterate the importance of trying this first as a practice. Arranging flowers definitely looks easy.
But the placement of flowers and the “flow” you need to achieve the design and look you are going for will definitely take more than one try, especially if this is your first time working with flowers.
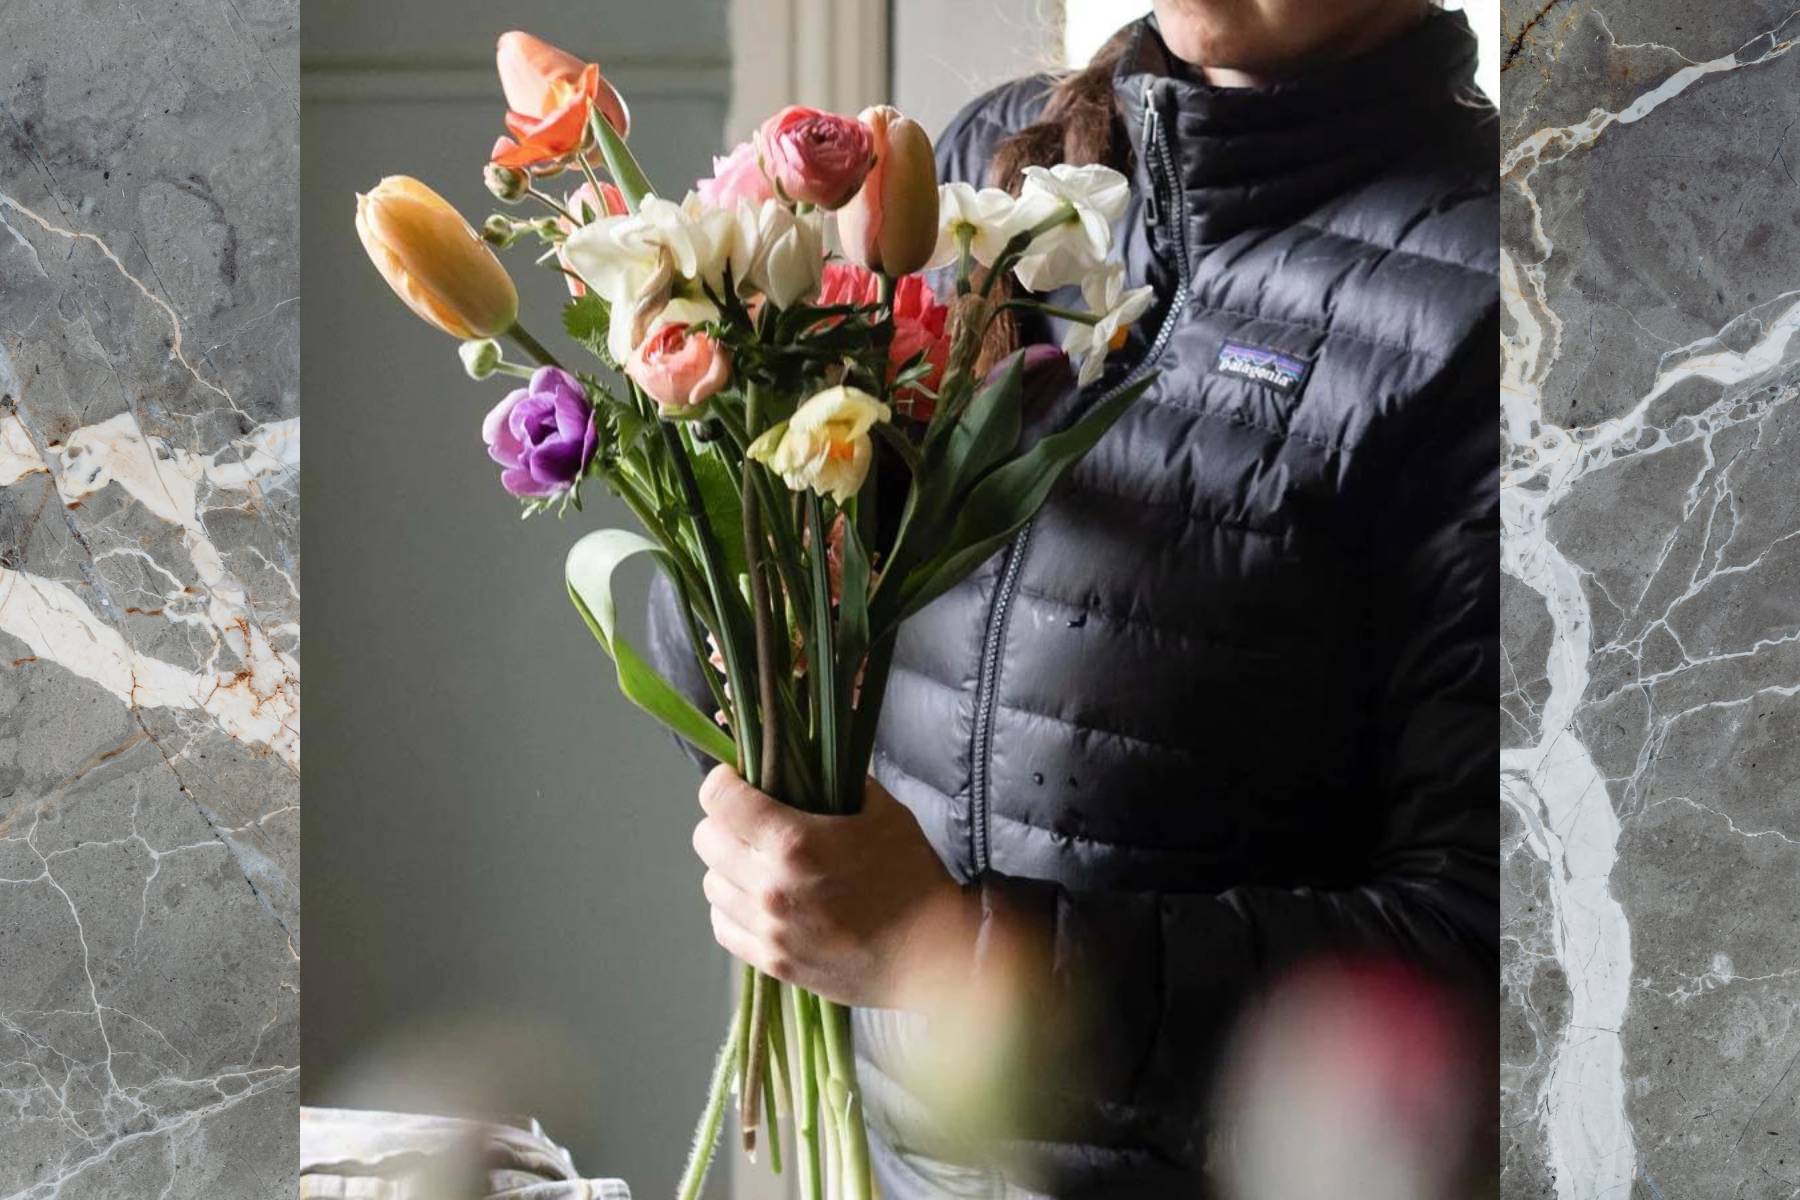
You can practice using affordable grocery flowers to give you that level of comfort with flowers.
Then, when you have practiced or at least now have that experience of working with different kinds of flowers, it will be much more manageable and less stressful to go on your full DIY wedding bouquet creation!
〰️ Crafting a DIY wedding bouquet is a truly heartwarming and rewarding experience.
Whether you choose fresh blooms or opt for the lasting beauty of artificial flowers, your DIY bouquet will be a symbol of love and joy, cherished for years to come.
Also, how great is this? You can tell your friends, loved ones, and your children and great-grandchildren the story of how you designed and made your own wedding bouquet!

DIY Wedding Bouquet
Creating a DIY wedding bouquet is one of the most personal and beautiful touches a bride can add to the wedding day. A handmade bouquet allows creativity to shine while keeping the wedding budget under control. Fresh flowers, greenery, and seasonal blooms can be arranged into a stunning bridal bouquet with just a few simple steps. Many couples love DIY wedding projects because they add meaning, personality, and a handmade element to the celebration.
Flower arranging becomes easier with the right tools, floral tape, ribbon, and a clear bouquet design in mind. Popular wedding flowers like roses, peonies, eucalyptus, ranunculus, and garden blooms create texture and balance in a bouquet arrangement. A well-planned bouquet shape helps the flowers sit naturally while still looking elegant and polished.
Floral design is really about layering colors, textures, and stems to create harmony and movement. Budget-friendly wedding flowers can still look luxurious when arranged with care and creativity. Brides often enjoy the process of selecting flowers that reflect the overall wedding theme and color palette.
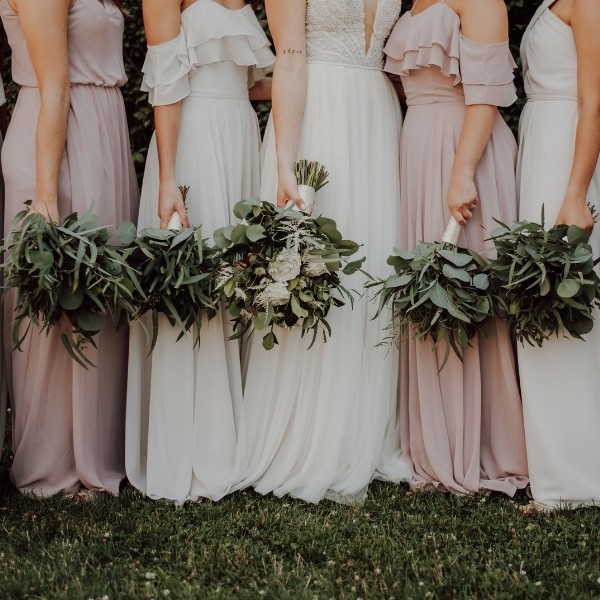
A DIY bridal bouquet also pairs beautifully with matching bridesmaid bouquets, boutonnieres, and floral arrangements for the ceremony. Simple floral techniques like spiral stems and balanced placement help keep the bouquet full and structured. Many florists agree that practice, patience, and fresh flowers make a huge difference in the final bouquet’s look.
A well-wrapped bouquet handle with satin ribbon or twine finishes the design with style. Wedding flowers become even more meaningful when they are arranged by hand for such an important moment. Floral inspiration often comes from garden-style arrangements, romantic textures, and soft color palettes. Creativity grows when brides mix classic flowers with greenery and natural accents.
Handmade wedding details bring warmth and personality into the celebration. A DIY wedding bouquet proves that beauty, creativity, and thoughtful design can absolutely go hand in hand. A little patience, fresh blooms, and a touch of confidence can turn simple flowers into a bridal bouquet that feels unforgettable.
Before You Get Started
As mentioned earlier, before committing to a DIY project, it’s important that you evaluate what’s on your plate and estimate how much time it will take you to complete a task.
By the same token, also consider “phantom costs” associated with DIY projects like supplies. packaging, storing, transportation, and most importantly, being open to mistakes and redoing things, which means you might need to re-purchase things to start over.
** This post has Amazon links, and as an Amazon Associate, Peppermint & Co. Ltd. earns from qualifying purchases.