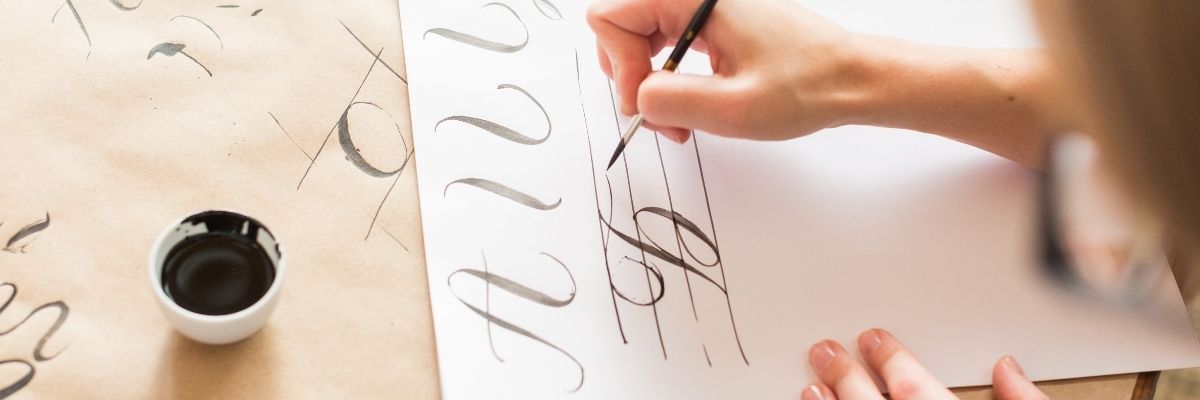
DIY Wedding Calligraphy. Wanted to incorporate something personal to you on your wedding? How about your handwriting? DIY invitations? Want to try your hand at wedding calligraphy?
Here are some tips we have crafted on how to do your wedding stationery calligraphy:
- Which stationery to use it on
- Get started
- Nail the style
- The pen
- Prep the line guides
- Take your time
- The hack / “easier” way
- Finishing Touches
- Real Talk
If you have good handwriting (don’t worry if you feel like you don’t want to write a whole lot, we still got tricks for you!), then wedding stationery calligraphy is one of the best things you can do for your wedding. Not only will it keep your creative juices flowing, but it will also make you feel so proud of yourself and amaze your guests.
This site contains affiliate links. For more info, please see our full disclosure.
DIY Wedding Calligraphy: How To
Which stationery to use
You can do calligraphy for welcome signage, favor tags, invitations envelope, photo props, table numbers, seating arrangements/seating tags, and menus. Choose fewer tasks and do what you are doing as a pro. If you want to USE YOUR OWN HANDWRITING on your wedding invitations, we got a trick for you. Keep reading.
Get started
Play around. How to DIY your wedding calligraphy might be that personal touch you have been looking to add to your stationery! Research styles and practice handwriting. There are sites like 1001Fonts where you can browse and download fonts for free! Use them as guides when figuring out your style.
Once you have narrowed down the “feel” you are looking for, you can now research wordings. For invitations, the shorter, the better – unless, of course, you want it pretty long. But that will be a lot of work, especially if you have not done calligraphy before.
Nail the style
Once you’ve browsed and practiced, now you can nail the style you are going for. Do you have to know all the styles of each letter? Nope. You can use and practice the wordings you are using.
The pen
How to DIY your wedding calligraphy isn’t just all about the style because you can elevate the style and effect of it by using appropriate pens. You can find calligraphy packs easily at Michaels. Getting a pack is great, so you can play around with the pens’ thickness and find your preference. Using a set will most likely help you uncover other styles that you might not have considered initially – like maybe adding some flourishes, etc.
Prep the line guides
Now we’re getting a little serious. Prep line guides to get your practice game stronger. You can use very light pencils so you can easily erase them after.
Take your time (DIY Wedding Calligraphy)
DIY-ing your wedding calligraphy is not an easy feat. Just figuring out how to and practicing is already hard on its own. So if this is your first time attempting this, be gentle and patient with yourself. Take your time. Enjoy the process. Repetition is key to getting those strokes going. Remember, this is your handwriting still; it won’t look like the fonts that you download. You only used those fonts as a guide. Your handwriting is original, and no other font will look like it.
The hack / “easier” way
If you’ve tried and you feel like it’s probably a little too much for you. The hack to an easy version of how to DIY your wedding calligraphy is to try doing just the MONOGRAM! (you and your partner’s initials!)
Once you feel that your “masterpiece monogram” is ready, you can use Canva if you are looking to DIY your wedding stationery and add your monogram to a design of your choice!
Remember to use white paper and a really nice pen! We’ve made a rough video to give you an idea of how you can do it and how even if we used a regular pen and no practice at all, it looks decent.
Even if you want to handwrite the full menu, the same hack can be used:
- You can upload them to Canva by simply taking a photo of it (make sure it is written on white paper)
- Find your wedding stationery of choice (Canva has tons of templates to choose from!)
- Move things around the design you chose to make space for when you insert your handwriting photo – PRO TIP: you can make the rest of the fonts on your design choice non-calligraphy/handwriting, to make your handwriting stand out more
- Insert your handwriting photo and remove the background
- Adjust accordingly to get your desired final result/style
If you have been practicing and wanted your handwriting style to come through, here’s a quick and easy video!
PRO TIP: The same concept goes to anything that wedding stationery you chose to work on. You can upload it to Canva and remove the background and save it as PNG with a transparent background, so you can literally just put that on anything you want!
This is much easier than literally handwriting on every stationery. You upload your hard work and amazing handwriting, and then bam! You got your own monogram and/or calligraphy!
If you are using Minted or Vistaprint to get your invites printed, you can also upload a PNG version of your monogram! As long as you have it in PNG transparent background, you can literally add it to anything you like.
Finishing Touches
If you want it to be clearly known to the world that you did the calligraphy for your monogram – which by the way, you totally should, you can add a note at the bottom of the invite along the lines of…
“Monogram handwritten by Mindy.. With Love..”
Right? Let everyone know how amazing you are! Did you make your own monogram? Or probably did lots of the sign/s and invitations? Come on! That’s really amazing!
Real Talk
If you are uncomfortable doing the whole calligraphy thing, you can still add your personal note.
You and your partner can sign “xo, Mindy and Jack” (for example), use your regular handwriting, and include it at the bottom of your invite. You still get to add your personal touch and be true to your handwriting: no fuzz or any flourish needed on this.
If you don’t want that handwriting on your wedding invitation, you can add it to a label and use it as an envelope sealer. There are many ways you can incorporate your personal note! Have fun doing it!