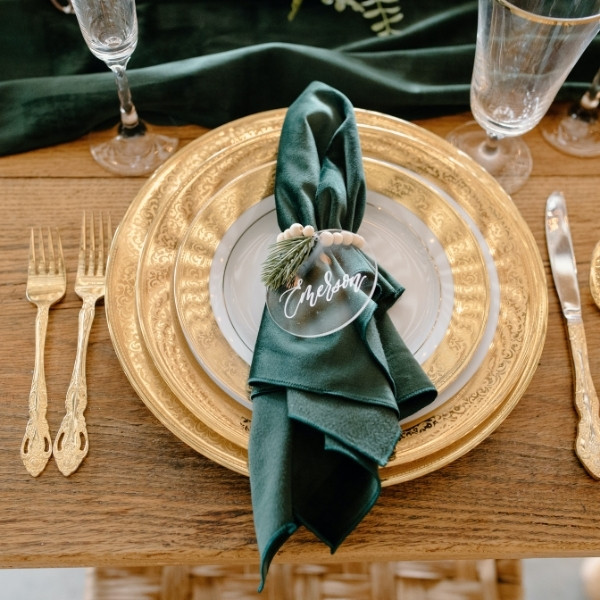
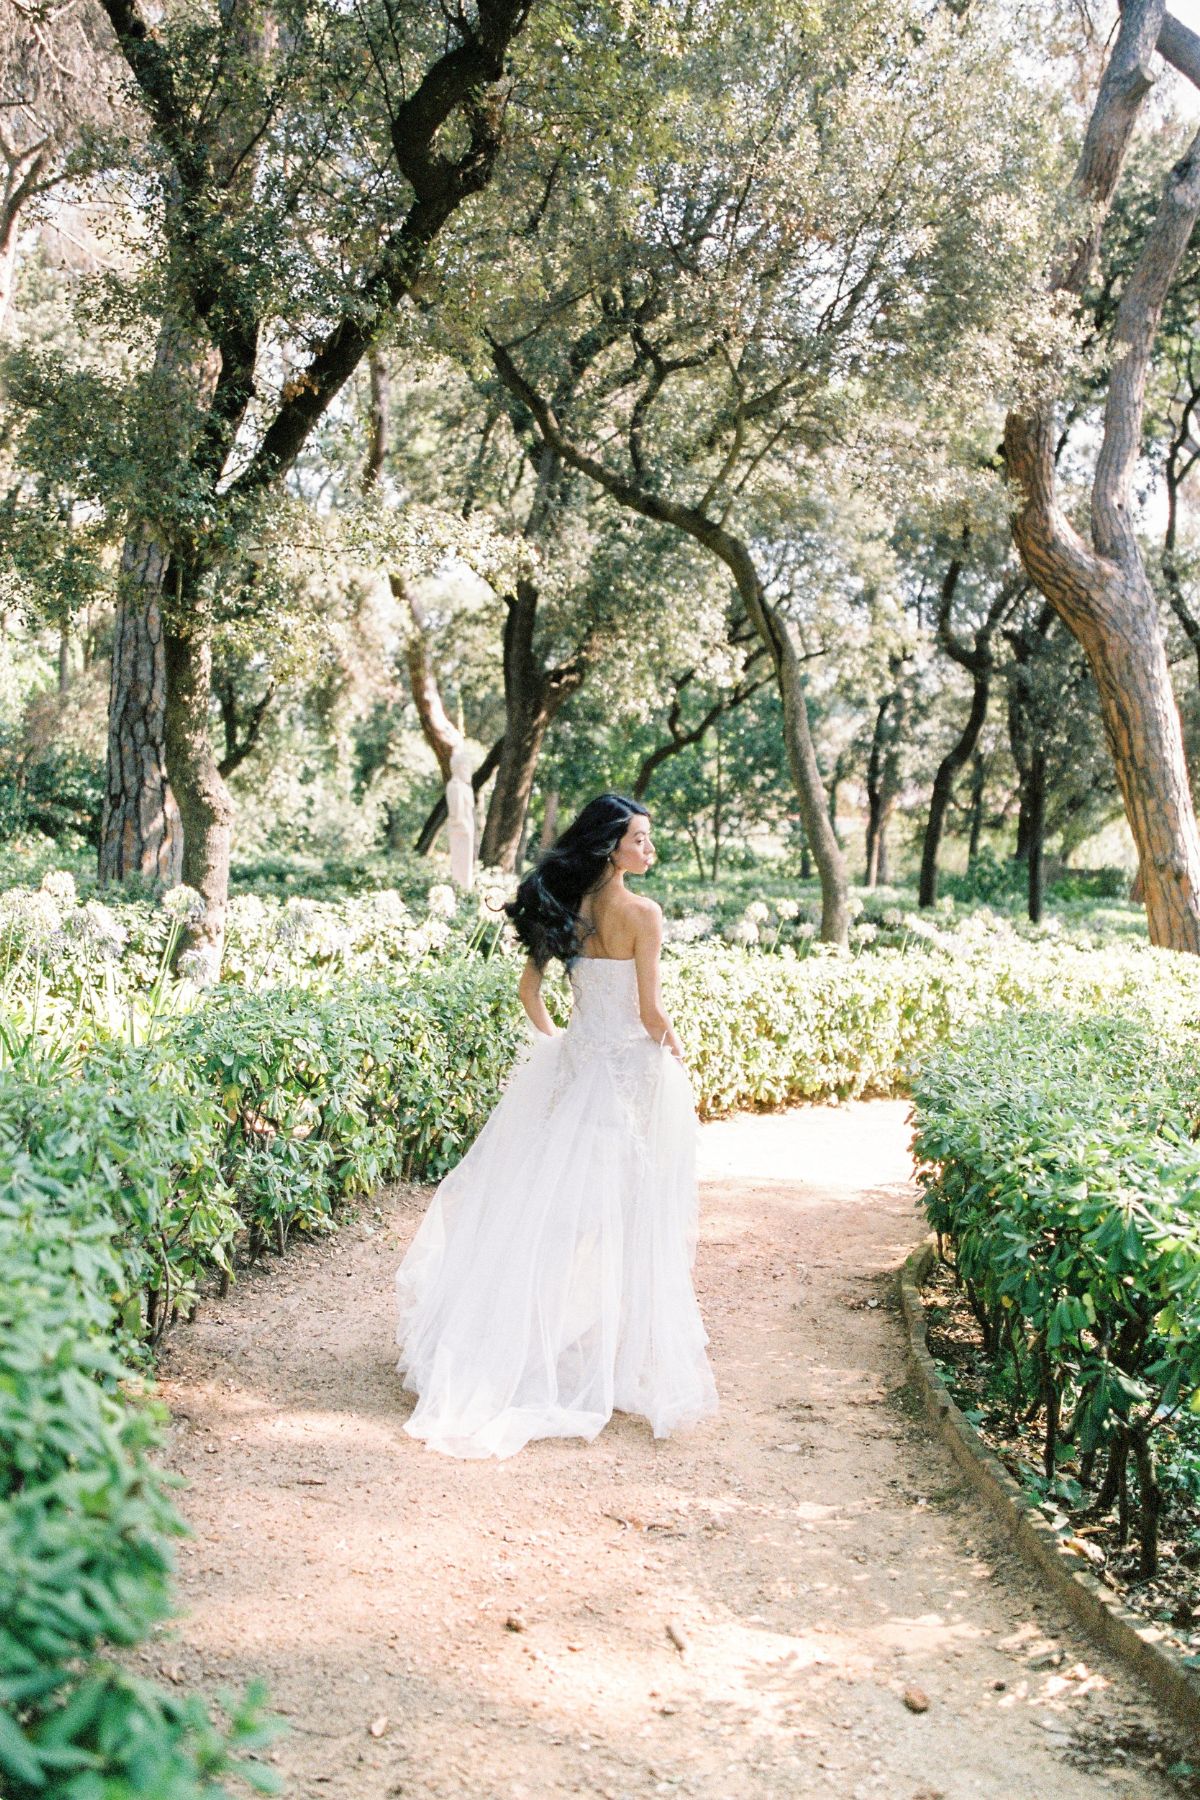
How To Plan A Wedding Timeline : Day-Of! Very helpful tips! Step by step guide to creating a seamless wedding day timeline. How to organize your wedding day. Designing your wedding day timeline. Day-of wedding coordination timeline.
- Start with the details that are already locked in
- Coordinate with suppliers
- Fill in the blanks
- Move to the finer details
- Distribute your timeline
Almost at the end of your wedding planning journey? Time to create your ceremony and reception timeline? We are here for you! If you are starting to put together your day-of wedding timeline or itinerary, then you have come to the right place!
This site contains affiliate links. For more info, please see our full disclosure.
A day of wedding timeline is essential to ensure that every part of your special day will go as smoothly as possible.
A well-structured timeline not only ensures the seamless orchestration of wedding day events but also guarantees that you can enjoy and cherish moments that you will remember forever.
The key to creating a wedding timeline is to make it as detailed as possible, beginning from the preparations up to the last part of the reception. This will help everyone part of your wedding, suppliers included, and be on the same page throughout.
Creating a wedding day timeline is essential to ensure that everything runs smoothly and that all events are properly organized on your special day.
If you’re getting started drafting your wedding timeline, we created a wedding guide that includes tips, important reminders, and even a sample timeline that you can use and personalize.
How to plan a wedding timeline
First things first.
Before anything else, you have to identify the activities that will happen throughout your wedding: from getting ready, having your photos taken, and up to your wedding exit/closing remarks.
THE ROUGH DRAFT:
Decide on the critical times for your wedding, such as the ceremony start time, reception start time, and any other significant events, like a first look or cocktail hour.
You must communicate with your vendors and ask how long their services/activities will take FIRST before drafting your timeline.
Create a rough outline by working backward from the ceremony time. Consider how much time you’ll need for hair and makeup, dressing, and transportation.
Consult with your hair and makeup team to establish a schedule for you and your bridal party. Allow extra time for any unforeseen delays.
Calculate how much time it will take for you and your bridal party to get dressed, put on makeup, and take pre-ceremony photos.
If you plan to have a first look with your partner, allocate time for this special moment and for photo opportunities.
Ensure that your vendors, florists, and decorators have ample time for setting up the ceremony and reception venues. Verify access times with your venue.
Plan dedicated time for pre-ceremony photos, both candid and posed, with your bridal party, family, and partner. Allow extra time for travel between locations if needed.
Specify when guests should start arriving at the ceremony venue. This will provide a buffer for any delays.
Determine the start time for your ceremony and allow for a brief window for guests to be seated before the processional begins.
If you’re having a cocktail hour between the ceremony and reception, set a specific start and end time.
Decide on the start time for your reception, which typically follows the cocktail hour. It may include the grand entrance, first dance, and dinner service.
Include a time slot for toasts and speeches during the reception. Make sure your speakers know their allotted time.
Plan for dancing and entertainment, which may include the bouquet toss, garter toss, and other fun activities.
Set a specific time for cutting the wedding cake. This serves as a sweet photo opportunity and can mark the transition to the dessert portion of the evening.
Throughout your day-of timeline, add buffers for unexpected delays or issues.
These are the “main” things to consider. However, as you might have noticed, there are a lot of moving parts that you would want to consider and schedule in.
To help you make a day-of wedding timeline, we’ve listed the usual activities for a wedding, and we also included the approximate time how long each will take.
This way, you can incorporate those time frames accordingly into your timeline and work around it.

PRO TIP: Create your own wedding email. Create an email account specifically for your wedding – “the.wedding.joe.and.jane@gmail.com” (this is just an example). This will help you put everything together in one place.
Also, manage the calendar for bookings and deadlines. When you book appointments on your wedding email calendar, invite your personal email so you can also see them on your personal calendar! Having a separate personal/work and wedding email will make you more focused and organized!
PRO TIP 2: SPEAK TO A PRO WEDDING CONSULTANT OR YOUR WEDDING VENUE COORDINATOR
An easy way to get a great start on how to plan a wedding timeline is to speak to a pro wedding consultant. This can be your venue coordinator. They usually have a specific coordinator for your event and they can provide you with professional insights.
Even if you are not planning on hiring a full wedding planner, speak to a wedding consultant to help you organize your thoughts and plans.
This will help you have a generic idea of the flow of the day, which will help you make a day-of wedding timeline. This can also help you with the execution moving forward.
Speaking to a pro puts many things in perspective and gives you pro insights to help you move forward with your planning, ensuring you have the process working for you!
Later on, as you start putting things together and think you will need more help, you can consider hiring a day-of coordinator.
Note: You can adjust these time blocks when working on how to plan a wedding timeline, depending on your wedding plans.
| *** Pre-ceremony *** | |
| Preparation of wedding party members (bride and groom included!) (this depends on how many people in your wedding party! If you are doing hair and make-up on your own – which you shouldn’t – you will need more time than this!) | 2-3 hours |
| Bride gets dressed | 15-30 mins |
| Solo portraits – especially if you are doing first-look shots (you can have shots planned with your photographer so that this portrait session will be seamless and organized) | 30-45 mins |
| Photos with the wedding party/family (again, this should be planned and organized ahead of time) | 30 mins |
| Travel time to the ceremony venue | 30 mins |
| Prelude music as guests arrive (during this time, while your band/musician is playing, you also have the option to hand out welcome drinks) (another thing is you have to ensure that the band/musicians are done with their set-up and already playing as the guests arrive!) | 30-45 mins |
| *** Wedding Ceremony *** | |
| Religious ceremony –or we can also call this FIRST ceremony | 45 mins |
| Secular ceremony –or we can also call this SECOND ceremony (if you are doing 2 ceremonies, it will help if you do one of them in a separate room, so there won’t be a lot of set-up time in between) | 45 mins |
| Newlywed/Family photos (as per earlier, discussing with your photographer your priority portraits will help keep this session organized) | 45 mins |
| *** Reception *** | ** if you can add activities in between the ceremony and reception, the better! ** |
| Cocktail hour (you can also schedule a band/musician or DJ to play during this time to get the guests’ energy up!) | 1 hour |
| Family portraits/newlywed photos (having a shot list will help gather the appropriate family and friends more easily and call them out) (more photos! the more, the better! you can also use this time for make-up touch-ups or dress change if needed!) | 30-45 mins |
| Wedding party entrance/Newlyweds (communicate with your band/musicians about transitions and music cues) | 15 mins |
| Introduction and first dance (tip: you can pre-edit your first dance song only to play your fave parts of the song! it can cut the dance to 5 minutes or less!) | 5-10 mins |
| Welcome toast/cheers (this is optional but really great to set the vibe in the room, either you and your partner can do this, or your emcee can do this!) | 10 mins |
| Dinner (this depends on the meal/s you are serving, take note that buffet set-ups will take longer than this as you have to include the time for line-up and seconds, etc.,) (if this is a sit-down, with the usual 3-course meal, you can fit it in within this time frame.) extra tip: you can have the speeches scheduled right around when dessert is served or after cake cutting/serving. | 1.5 hours |
| Wedding party speeches (save time and make this part toasts instead of speeches! toasts can be 2-3 mins each! let’s not bore the guests too much!) | 15 mins |
| Parent dances (an option that you can consider is doing both mom-groom and bride-dad dance simultaneously!) (as mentioned earlier, you can cut the song into snippets if you don’t want to dance for the whole 5 minutes) | 10 mins |
| Bouquet and garter toss (if you are not a fan of this, you can skip this altogether, although I would say getting the people to get up and shake it up and get acquainted is a great idea to cue that the dance floor will open soon!) | 10 mins |
| Cake cutting/Desserts are served | 10 mins |
| *** Closing remarks *** (if you are not opening the dance floor) – wedding exit *** Dance floor opens *** (get the party started! Yay! GET IT LIT!) | 10-15 mins |

Guide on how to plan a wedding timeline: day-of
1. Start with the details that are already locked in.
This is a good place to begin when figuring out how to make your day-of-wedding timeline.
List down the start time of the ceremony (printed on your invitation), as well as the start and end of the reception time.
You can also include when your suppliers are allowed to set up your ceremony and reception venue.
SIDE TIP: If you have DIY-ed many things for your wedding (easy centerpieces), it is necessary to label your products and match them to the labels you will be using for your timeline. Assign a person/team who will execute the products/things that you have already DIY-ed.
2. Coordinate with suppliers.
Second, on the list of how to plan a wedding timeline is to coordinate with all your wedding vendors.
Remember that when figuring out how to make this day-of wedding timeline is that, this is not only for you and your wedding party but is also a reference point for your wedding suppliers/vendors.
Arrange with your suppliers when the call time would be and how long they would spend onsite.
It is also important to run your timeline with the venue coordinator to prepare and assist vendors as they arrive, load in, execute, and tear down.
If your wedding flowers are getting delivered, ask the delivery window, this way you can schedule photos after you receive the flowers.
PRO TIP #1: The best thing to do is go directly to your suppliers and ask how long they would take. How long would it take for your hair and makeup artist to finish?
What is the best time for your photographers to arrive so they can cover everything?
How much time will your venue stylists, caterer, and DJ set up for the reception?
Your suppliers have pretty much done a lot of weddings before, so you will most likely get helpful time estimates as you navigate how to make your day-of-wedding timeline. This helps you start a wedding day timeline template.
PRO TIP #2: Create a custom timeline for each vendor so they won’t get confused.
For example, if the DJ does not need to know when the flowers will arrive, do not include them on their timeline.
Focus on what the DJ needs to follow in terms of the timeline; the clearer, and more straightforward their timeline is, the easier it is for them to follow through.
PRO TIP #3: Build in some buffer time throughout the day to account for unexpected delays or last-minute adjustments.

3. Fill in the blanks.
Now that you have an initial framework for making a day-of wedding timeline, you can start mapping out your entire day-of wedding timeline. The idea is to work your way backward from the times that are already set in place.
Plan your timeline by working backward from the ceremony time. Consider factors such as the duration of the ceremony, travel time between venues (if applicable), and any post-ceremony rituals or group photos.
For example, from the start of your ceremony, you can plot backward to figure out the time you need to start preparing, getting your make-up done, having your pre-wedding portraits taken, and the travel time to your ceremony venue.
You can also apply the same principle and plot forward from the beginning of the cocktail hour, moving to the reception activities up to your wedding exit.
4. Move to the finer details – how to plan a wedding timeline
At this point, you may already have a rough timeline for your special day.
Now, your goal is to add important details and answer the who, what, where, when, and how questions of each part of your timeline.
Again, go as detailed as possible to make everything crystal clear to everyone involved in your wedding.
You can also consider adding details – like what to do in between the ceremony and reception so that your bridal party, guests, and vendors know what’s going on during that gap.
PRO TIP #1: Include a contact list, often detail is missed in making a day-of wedding timeline!
If your florist needs to contact the venue manager, if you have that included in your contact list, then they won’t need to bother you at all.
If you do not want to be contacted on the day of your wedding, add your maid of honor or bridesmaids (or whoever is in charge) for the day of. Clearly note these details in the contact list and timeline, so all vendors have a go-to contact person.
PRO TIP #2: Include announcements and cues in your timeline; this way, everyone knows when to transition and do it seamlessly.
5. Distribute your timeline.
Ensure to send copies of the wedding timeline you created to key persons in your once-in-a-lifetime event.
You can do this before the day, especially for suppliers who need time to set up on your wedding day.
PRO TIP: As mentioned earlier, vendors should have their own custom timelines. It will also be a great idea to send them the complete timeline to reference what is happening around them.
Wedding Day Timeline Sample
To make things easier for you *because we know you’re juggling too many things already *, we created a sample to help you on how to plan a wedding timeline that you can model around.
This one is for a wedding where the getting ready is at the bride’s house. The ceremony starts at 5:00 pm with the reception happening in the same venue.
You can customize this sample so you can add details, such as travel time if you’re holding the reception in a different venue.
This is a very straightforward sample of how to make a day-of wedding timeline. Note that weddings have a lot of moving parts. The decorator might need a longer time to set up.
The photographer might need extra time to put lighting up – depending on where you are doing the shoots.
Literally, there are a lot of varying situations that will need to be discussed with your vendors. But for a straightforward wedding, here’s a great example, and hopefully, this will give you an idea of how to plan a wedding timeline in the best way possible.
SIDE TIP: doing a time frame instead of just a start time will be much easier for anyone looking at the timeline to follow, especially if they are only there for a specific responsibility. See below.
| TIME | ACTIVITY |
| 10:30 am | Hair and makeup artists are to arrive (for wedding party + bride) (10:30am – 1:30pm) |
| 11:00 am | Vendors arrive; access/set-up begins (for ceremony+reception) (11am – 4pm set-up time) TIP: always create a separate setup/teardown timeline for your wedding vendors! |
| 12:00 pm | Photographer arrives; getting ready photos (behind-the-scenes fun shots) |
| 2:00 pm | Bride gets dressed (2 – 2:30 pm) |
| 2:30 pm | Solo portraits |
| 3:15 pm | Photos with family |
| 3:45 pm | Photos with the wedding party |
| 4:00 pm | Vendors complete set-up/delivery |
| 4:15 pm | Wedding party arrive at the ceremony venue (bride + make-up touch up) (4:15 – 4:50pm) |
| 4:15 pm | Guests begin to arrive/ Prelude music (welcome drinks passed) |
| 4:50 pm | Bridal Party line up for procession/entrance |
| 5:00 pm | Ceremony start time TIP: always create a separate timeline with procession and exit / transition details, so your band/musicians know the flow and provide proper cues– emcee can also announce that the ceremony is about to start! |
| 6:00 pm | Ceremony ends / Cocktail hour STARTS; Newlywed photos and photos with family 6:55 pm: emcee to announce that reception will start in the next 5 mins. |
| 7:00 pm | Reception starts TIP: always create a separate timeline with entrance and track details, so your band/musicians know the flow and can also provide proper cues |
| 7:15 pm | Introduction of newlyweds/ first dance (don’t forget to provide a detailed breakdown of the intro, first dance, toasts, etc., cues, and transitions with your band/musicians!) (7:15 – 7:20pm) |
| 7:25 pm | Welcome toast |
| 7:30 pm | Dinner |
| 8:00 pm | Wedding party speeches/toasts (you can do this towards the end of the main course) |
| 9:00 pm | Parent dances |
| 9:10 pm | Bouquet and garter toss |
| 9:20 pm | Cake cutting/Desserts are served |
| 9:30 pm | Closing remarks/Wedding exit (or open the dance floor) |
| 1:00 am | Vendor tear-down/pick up (1 -2:00am) (technically next day) |

How to plan a wedding timeline is absolutely up to you! If you like to start with cake cutting, please do it! Be your own party planner and shift things around!
There is no right or wrong way! It is your wedding! You can shuffle things around the way you want it!
Ask your vendors’ best practices (so it will still be organized and seamless!), and throw in your thoughts and creative alternatives to what is “common”! You do you! It’s your wedding! Have fun with it!
〰️ Making a day-of wedding has some standard practices around it, but you also have the ultimate creative freedom to add your own flare!
The secret to ensuring that your wedding will be one of the best days of your life is to book the vendors you really connect with (they get you!), plan, and communicate well.
Flexibility will help you manage the mental side of things because unexpected surprises may arise. Embrace them with an open heart, knowing that the essence of your wedding lies in the love and commitment shared between you and your partner.
Remember that even if some small details don’t go your way, do not stress yourself too much. Shift your energy into relaxing and enjoying the special moment with the love of your life. Have a drink and party with the best people in your life!